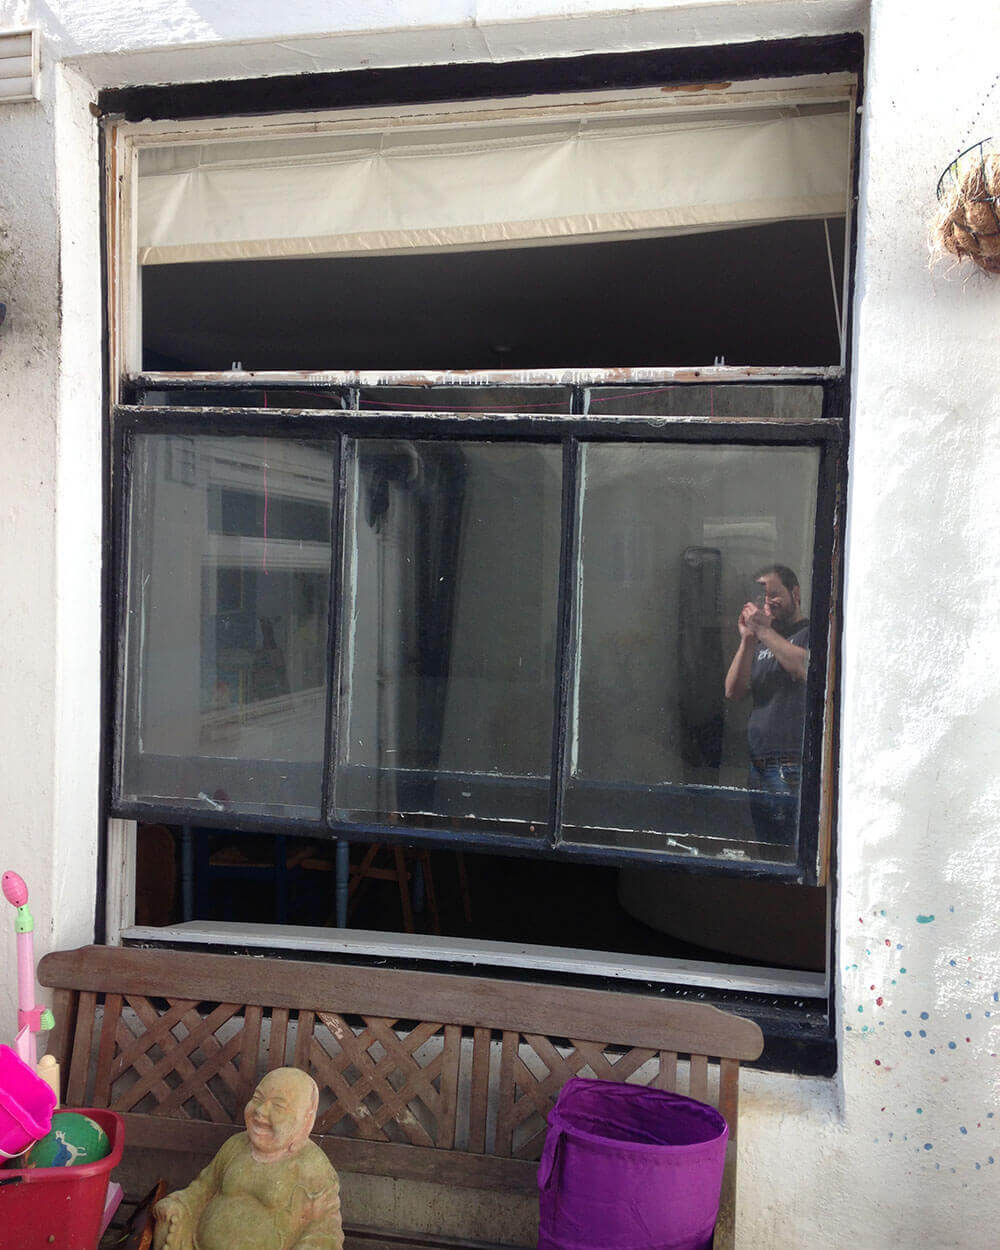
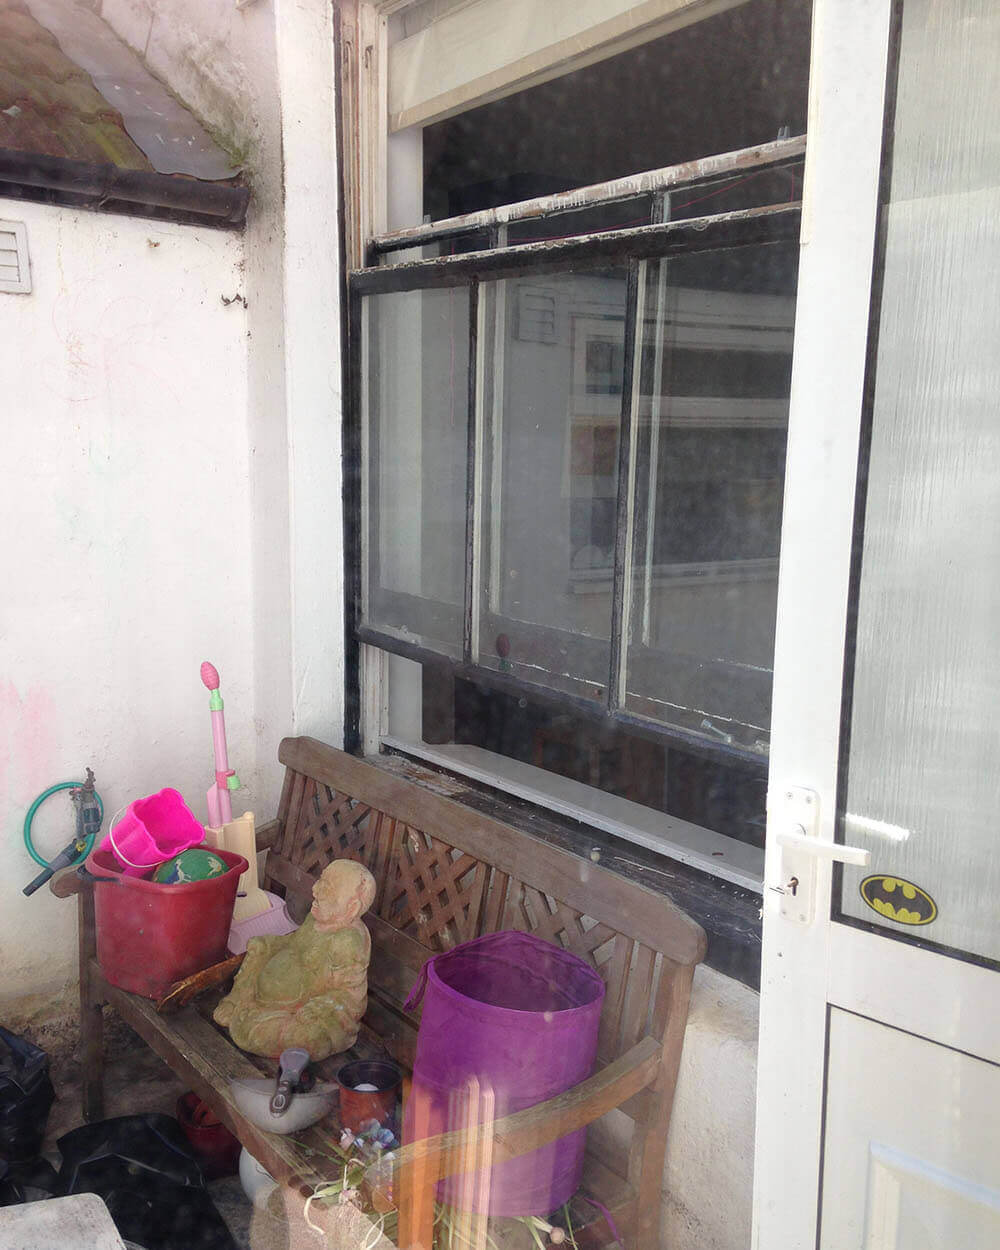
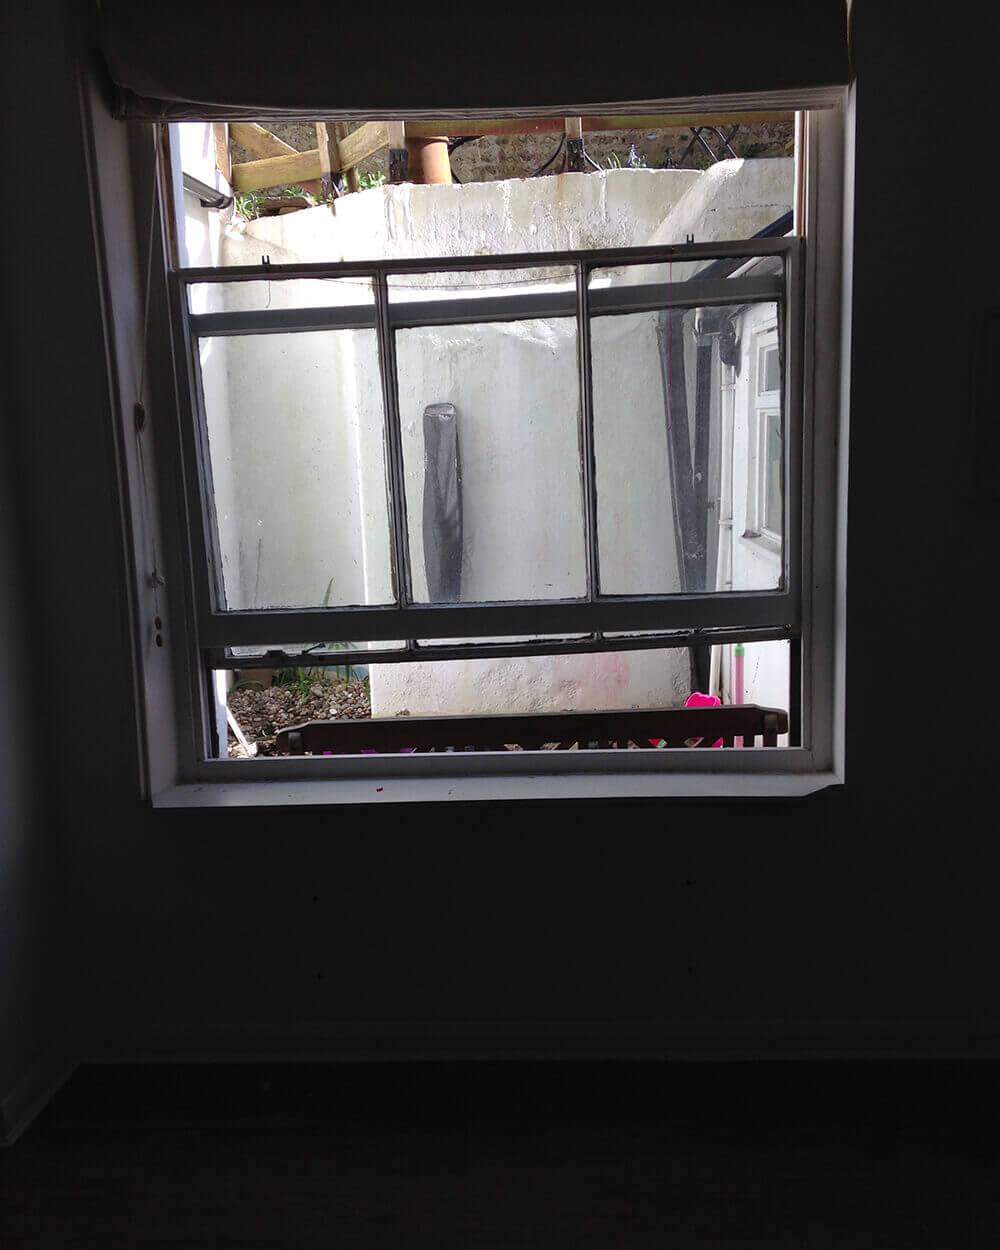
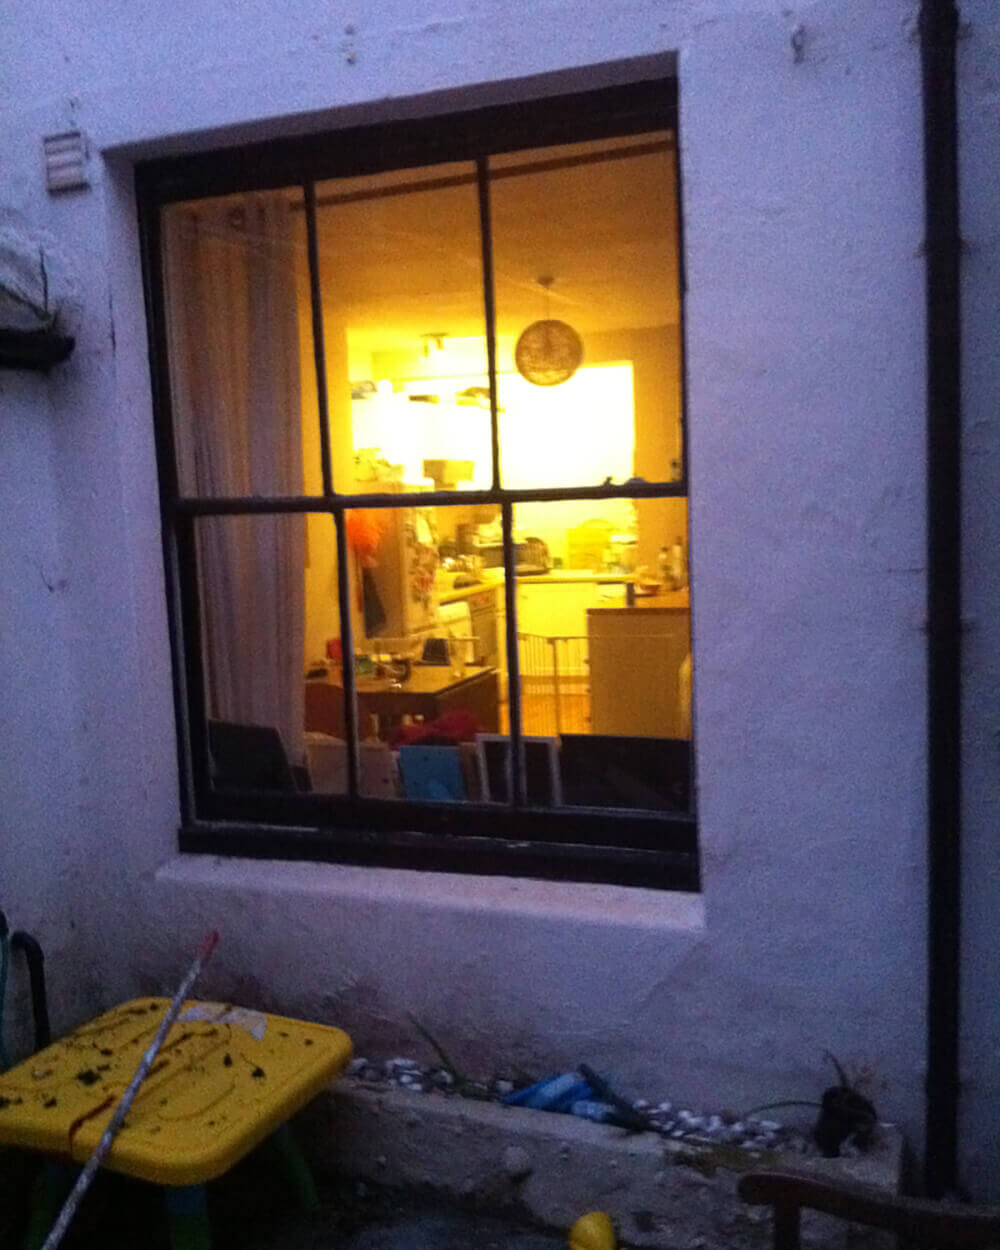
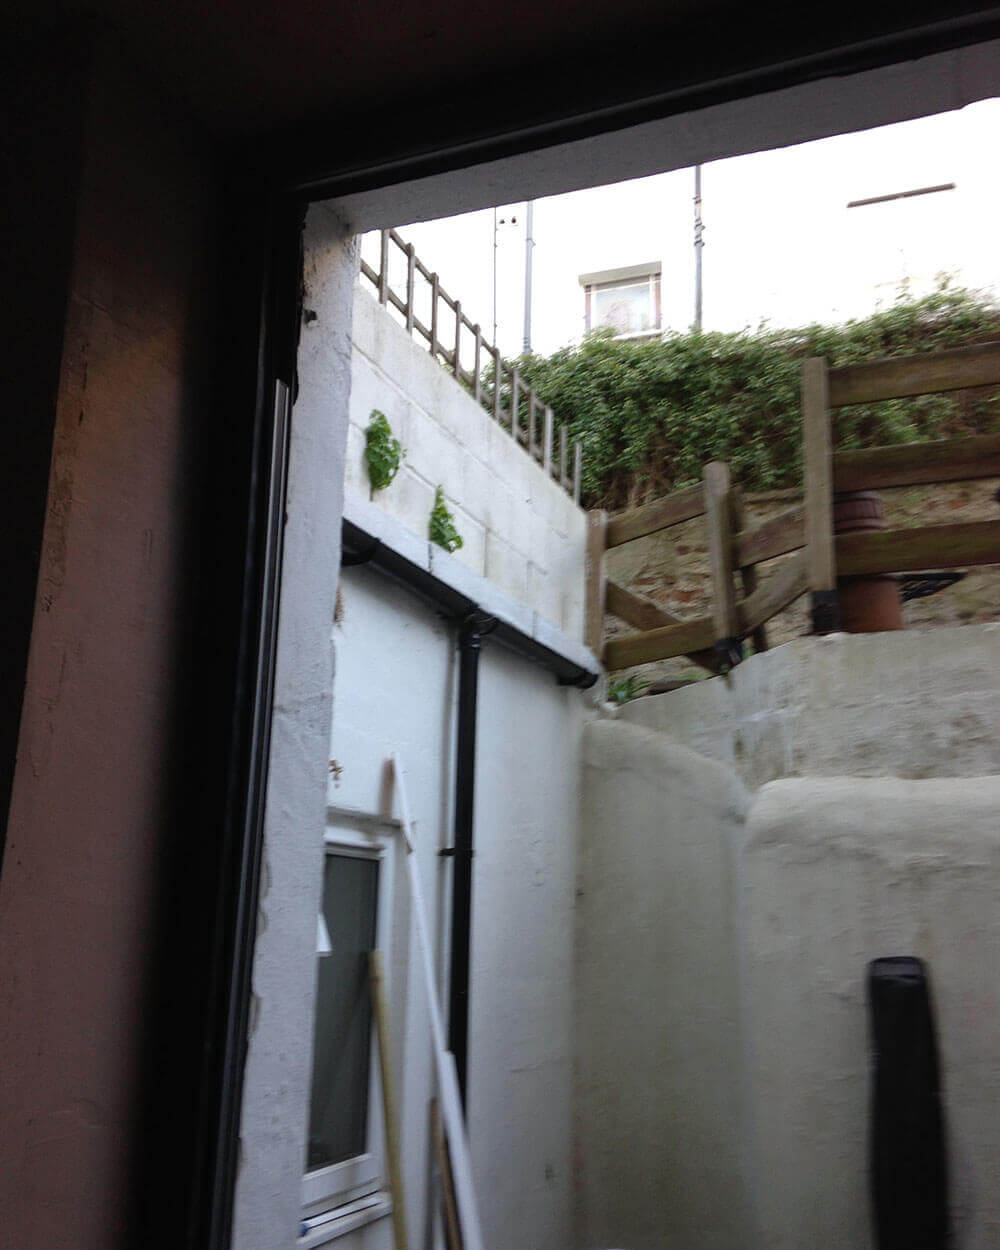
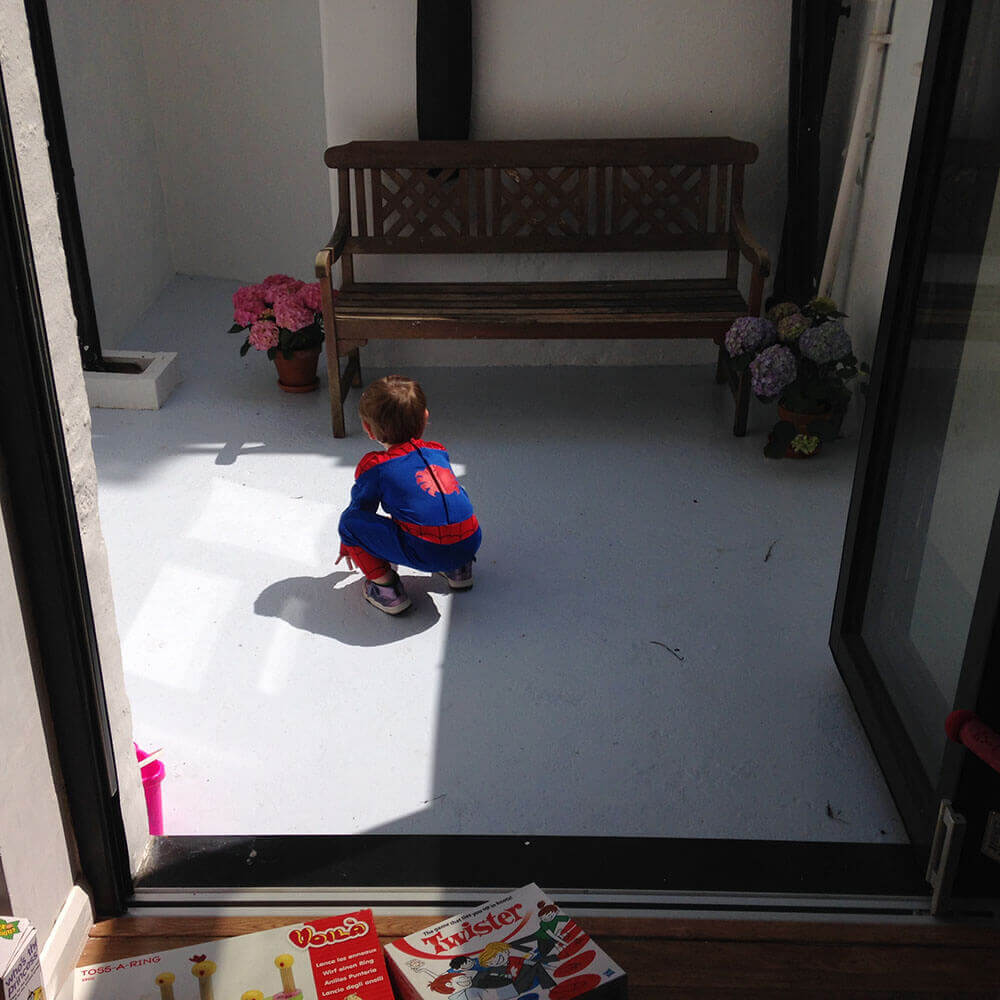
This draughty, single glazed sash window was our main source of light to the living area of our basement apartment. The only way to access the patio beyond was through a door from the 3rd bedroom, which was not ideal.
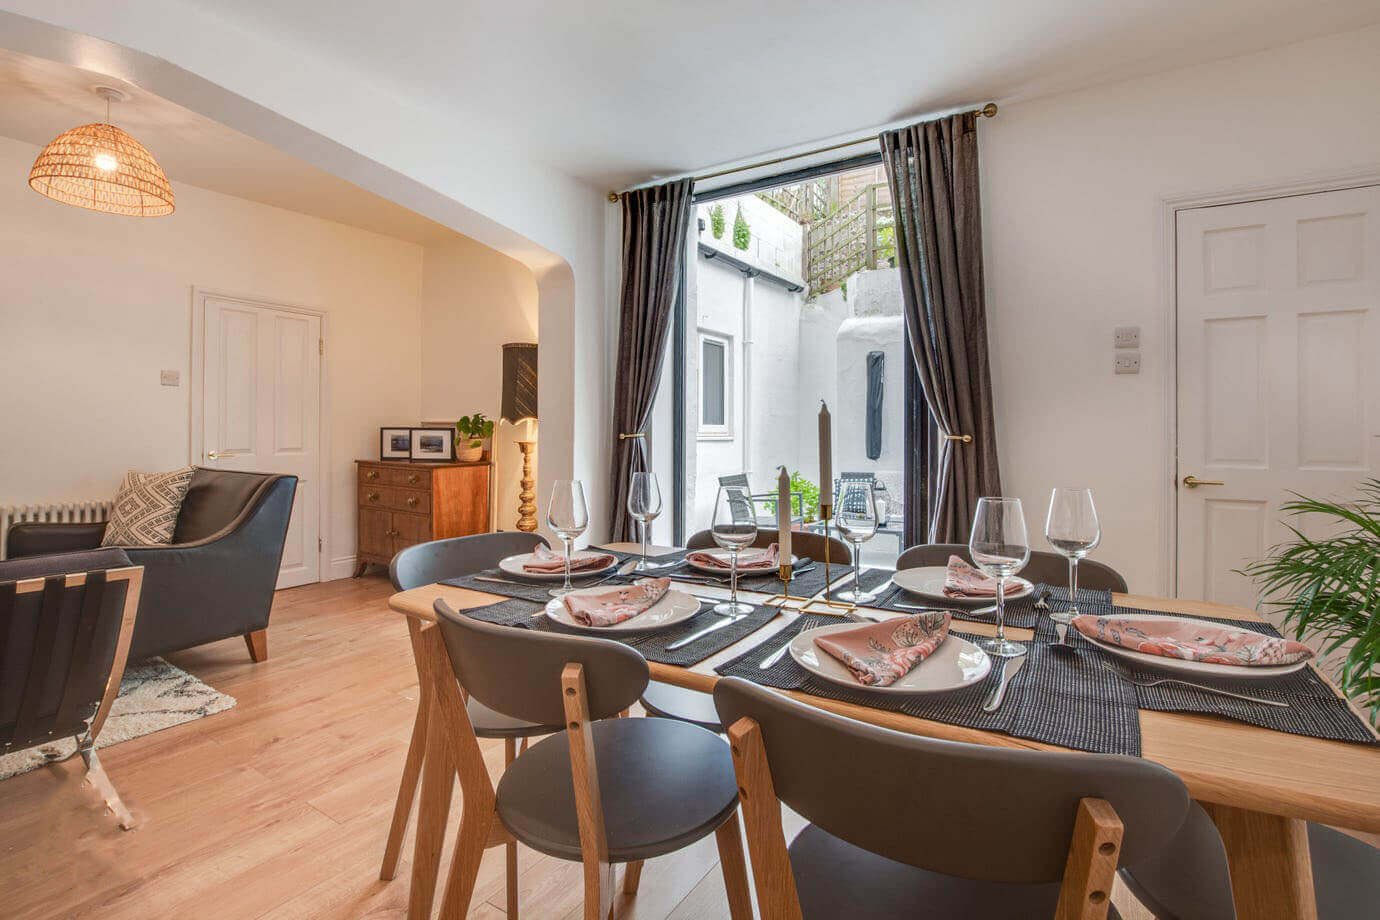
We wanted to replace this window with a sliding bi-fold door, to create flow inside and out and this is how we did it…
The steps we took for installing folding sliding bi-fold doors included:
Speaking with our neighbours who jointly owned the freehold of the building to check for objections
Applying for planning consent
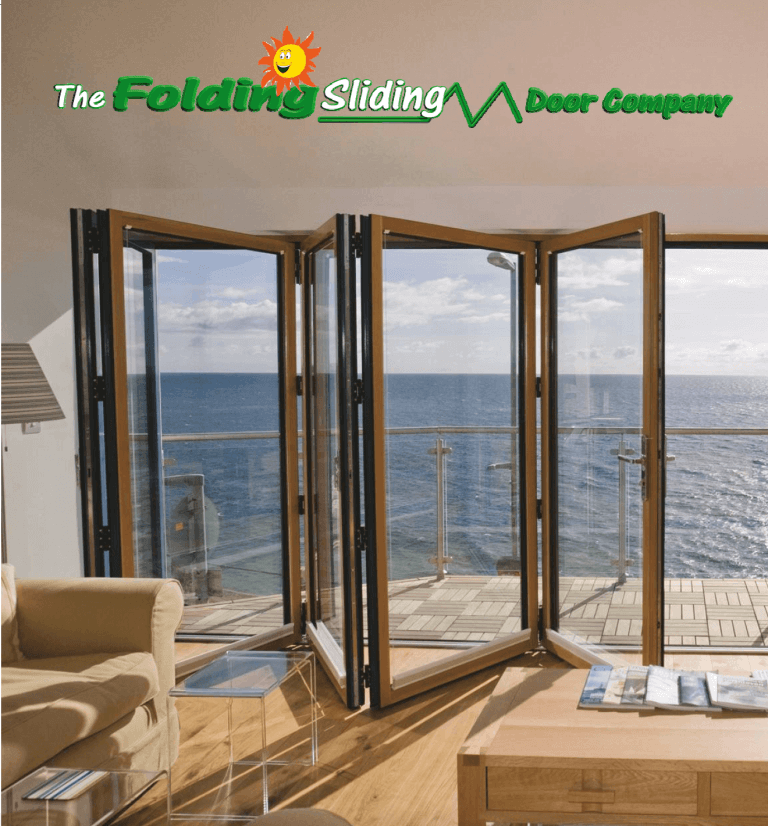
Finding a suitable bi-fold door product
Sought a trusted carpenter/builder to do the work
Unable to find a skilled carpenter/builder we convinced friends and family to help with a little DIY
Phase 1 - planning application
We realised that as we were in a conservation area we would need planning. Additionally, as this was a flat where we owned a share of the freehold, we needed the other freeholders approval.
We spoke to the freeholders and neighbours to ensure they were happy with the plans. We then made a mock-up for the planners, paid our fee and crossed our fingers.
The planners visited the site and were happy with the plans so gave us approval to start.
Always do your research.
Look at local planning rules in your area
Speak to the freeholders if you’re working on a flat
Phase 2 - sourcing the bi-fold doors
This was interesting as there are lots of different products out there, but very few could provide the height we needed at a reasonable price.
The company we found were able to provide the size we needed, and their technical information and guides were superb. Their product information was real joy to read and digest so we knew exactly what to do.
We found a builder/carpenter on check-a-trade that quoted for the job and was ready to go. However, the builder was reluctant to measure the doors until the opening was cut, which wouldn’t work for us as we couldn’t live with a hole in the house for the 6-week delivery time. We therefore paid for one of the door manufacturers engineers to come down and measure up with our builder.
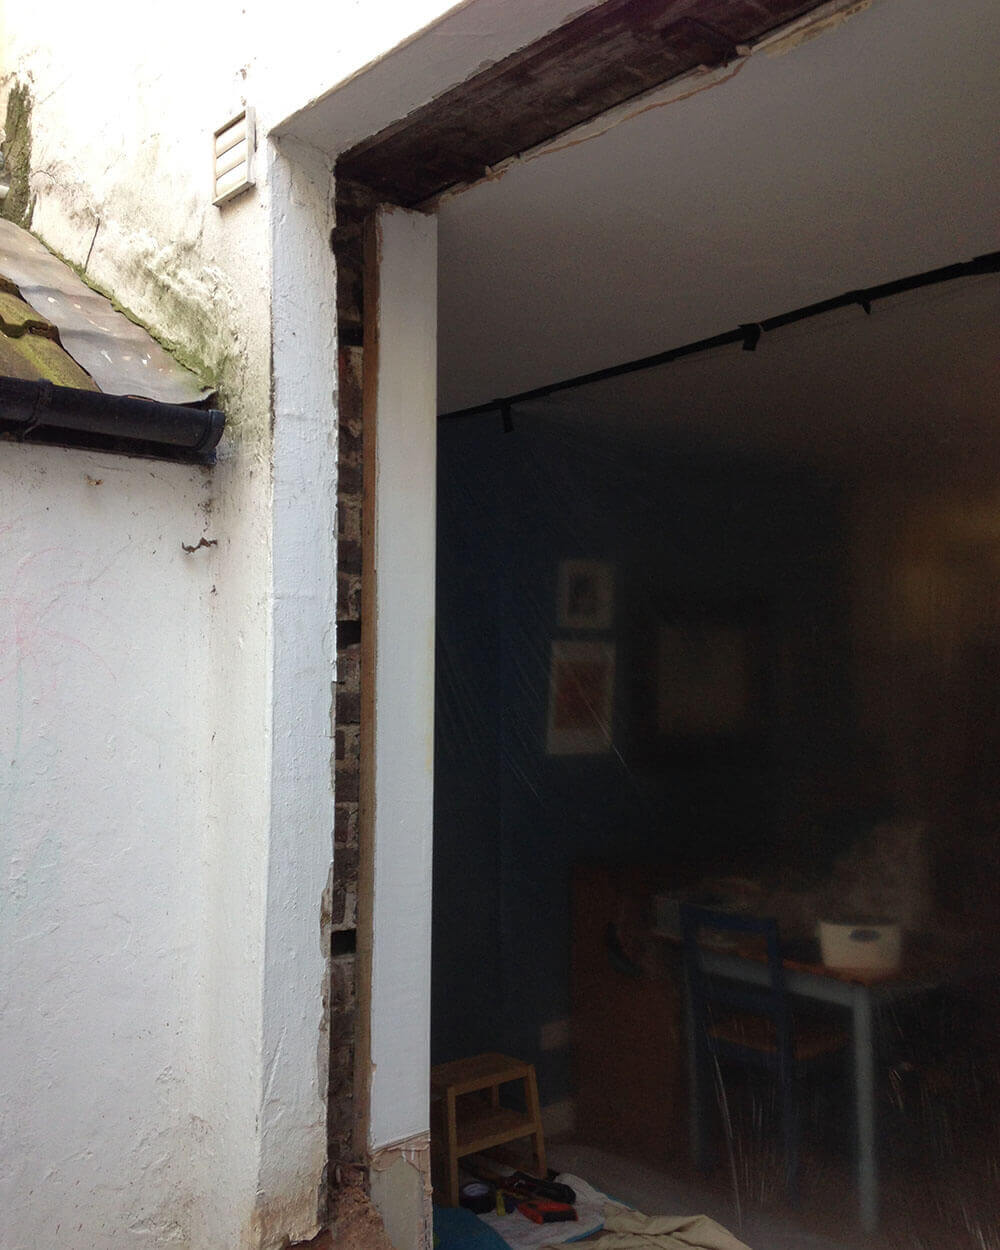
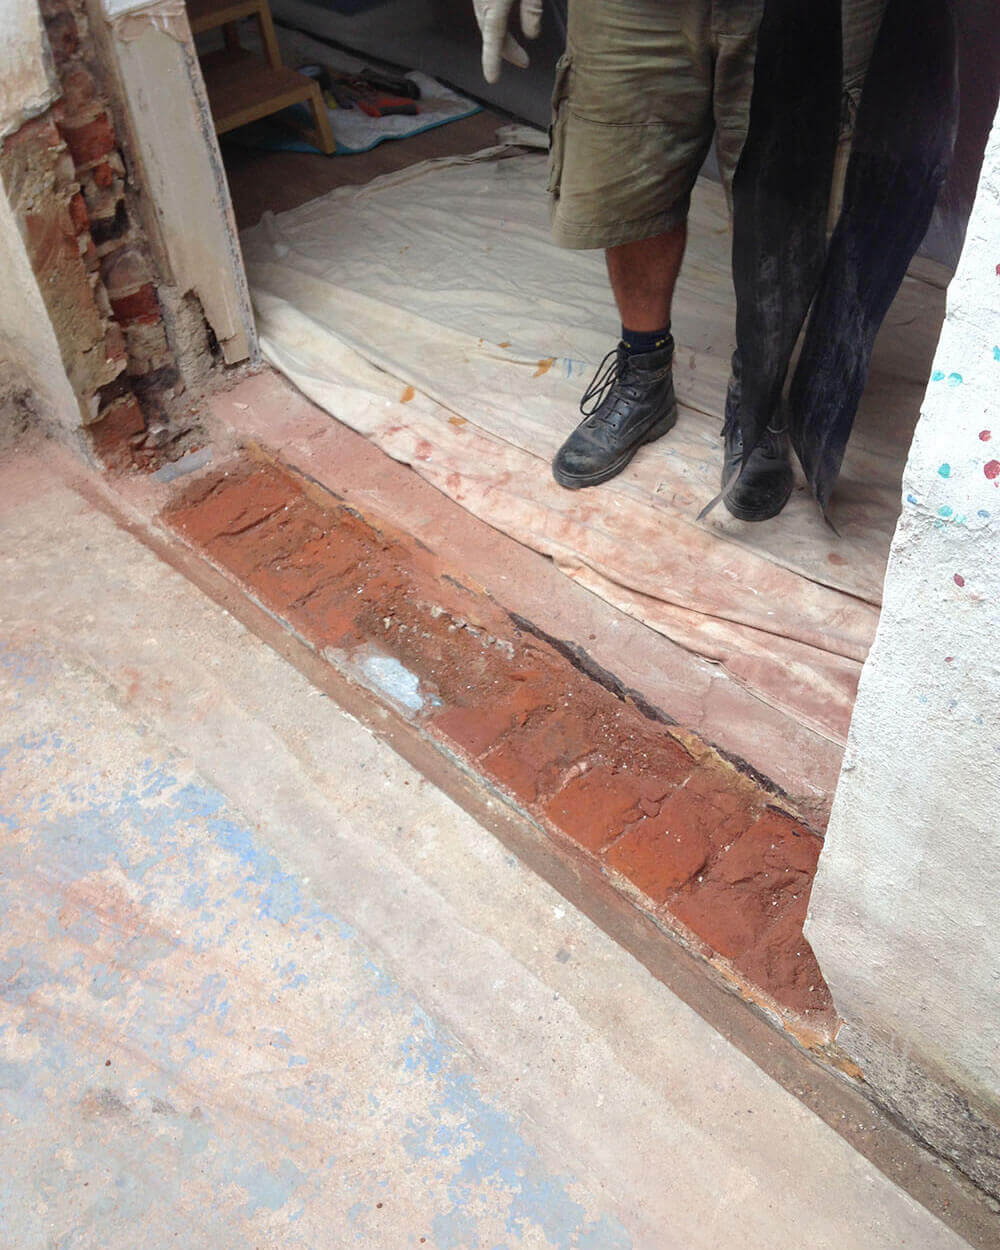
Phase 3 - preparing the opening
When the doors arrived they were massive, 2450mm in height, so they took up a lot of room. At this point our builder suddenly doubled his quote from 5 days to 10 days to fit, with no reasonable explanation, so we had not option but to decline his services.
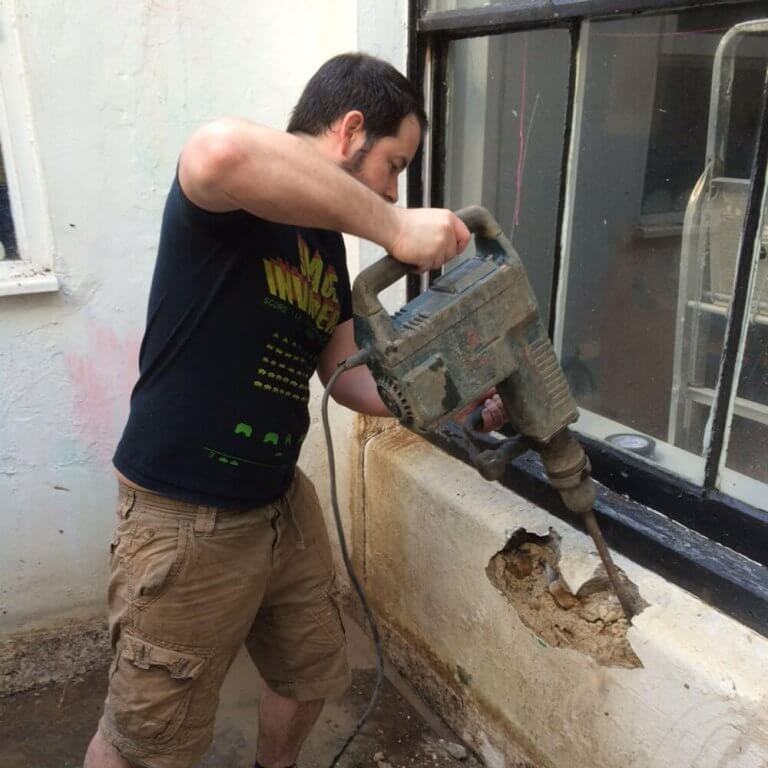
Lucky for us we had a friend that is a builder that had a couple of hours on a Friday afternoon to cut the lines for the external frame with his powerful masonry saw.
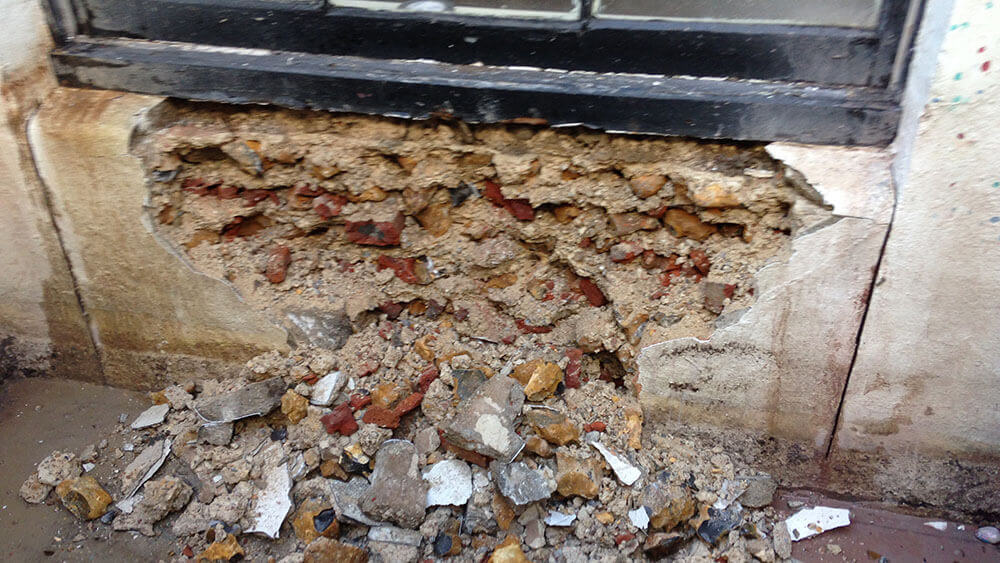
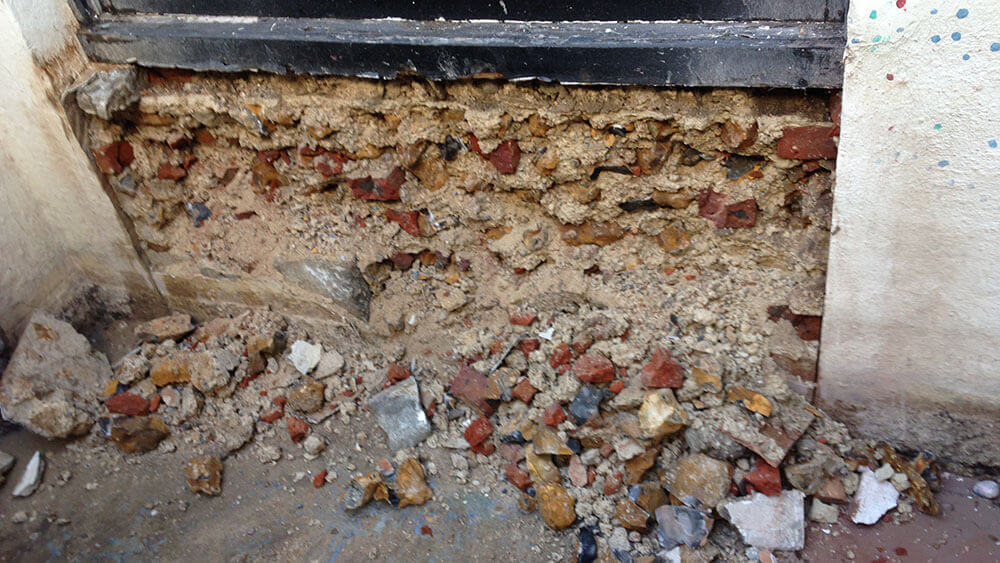
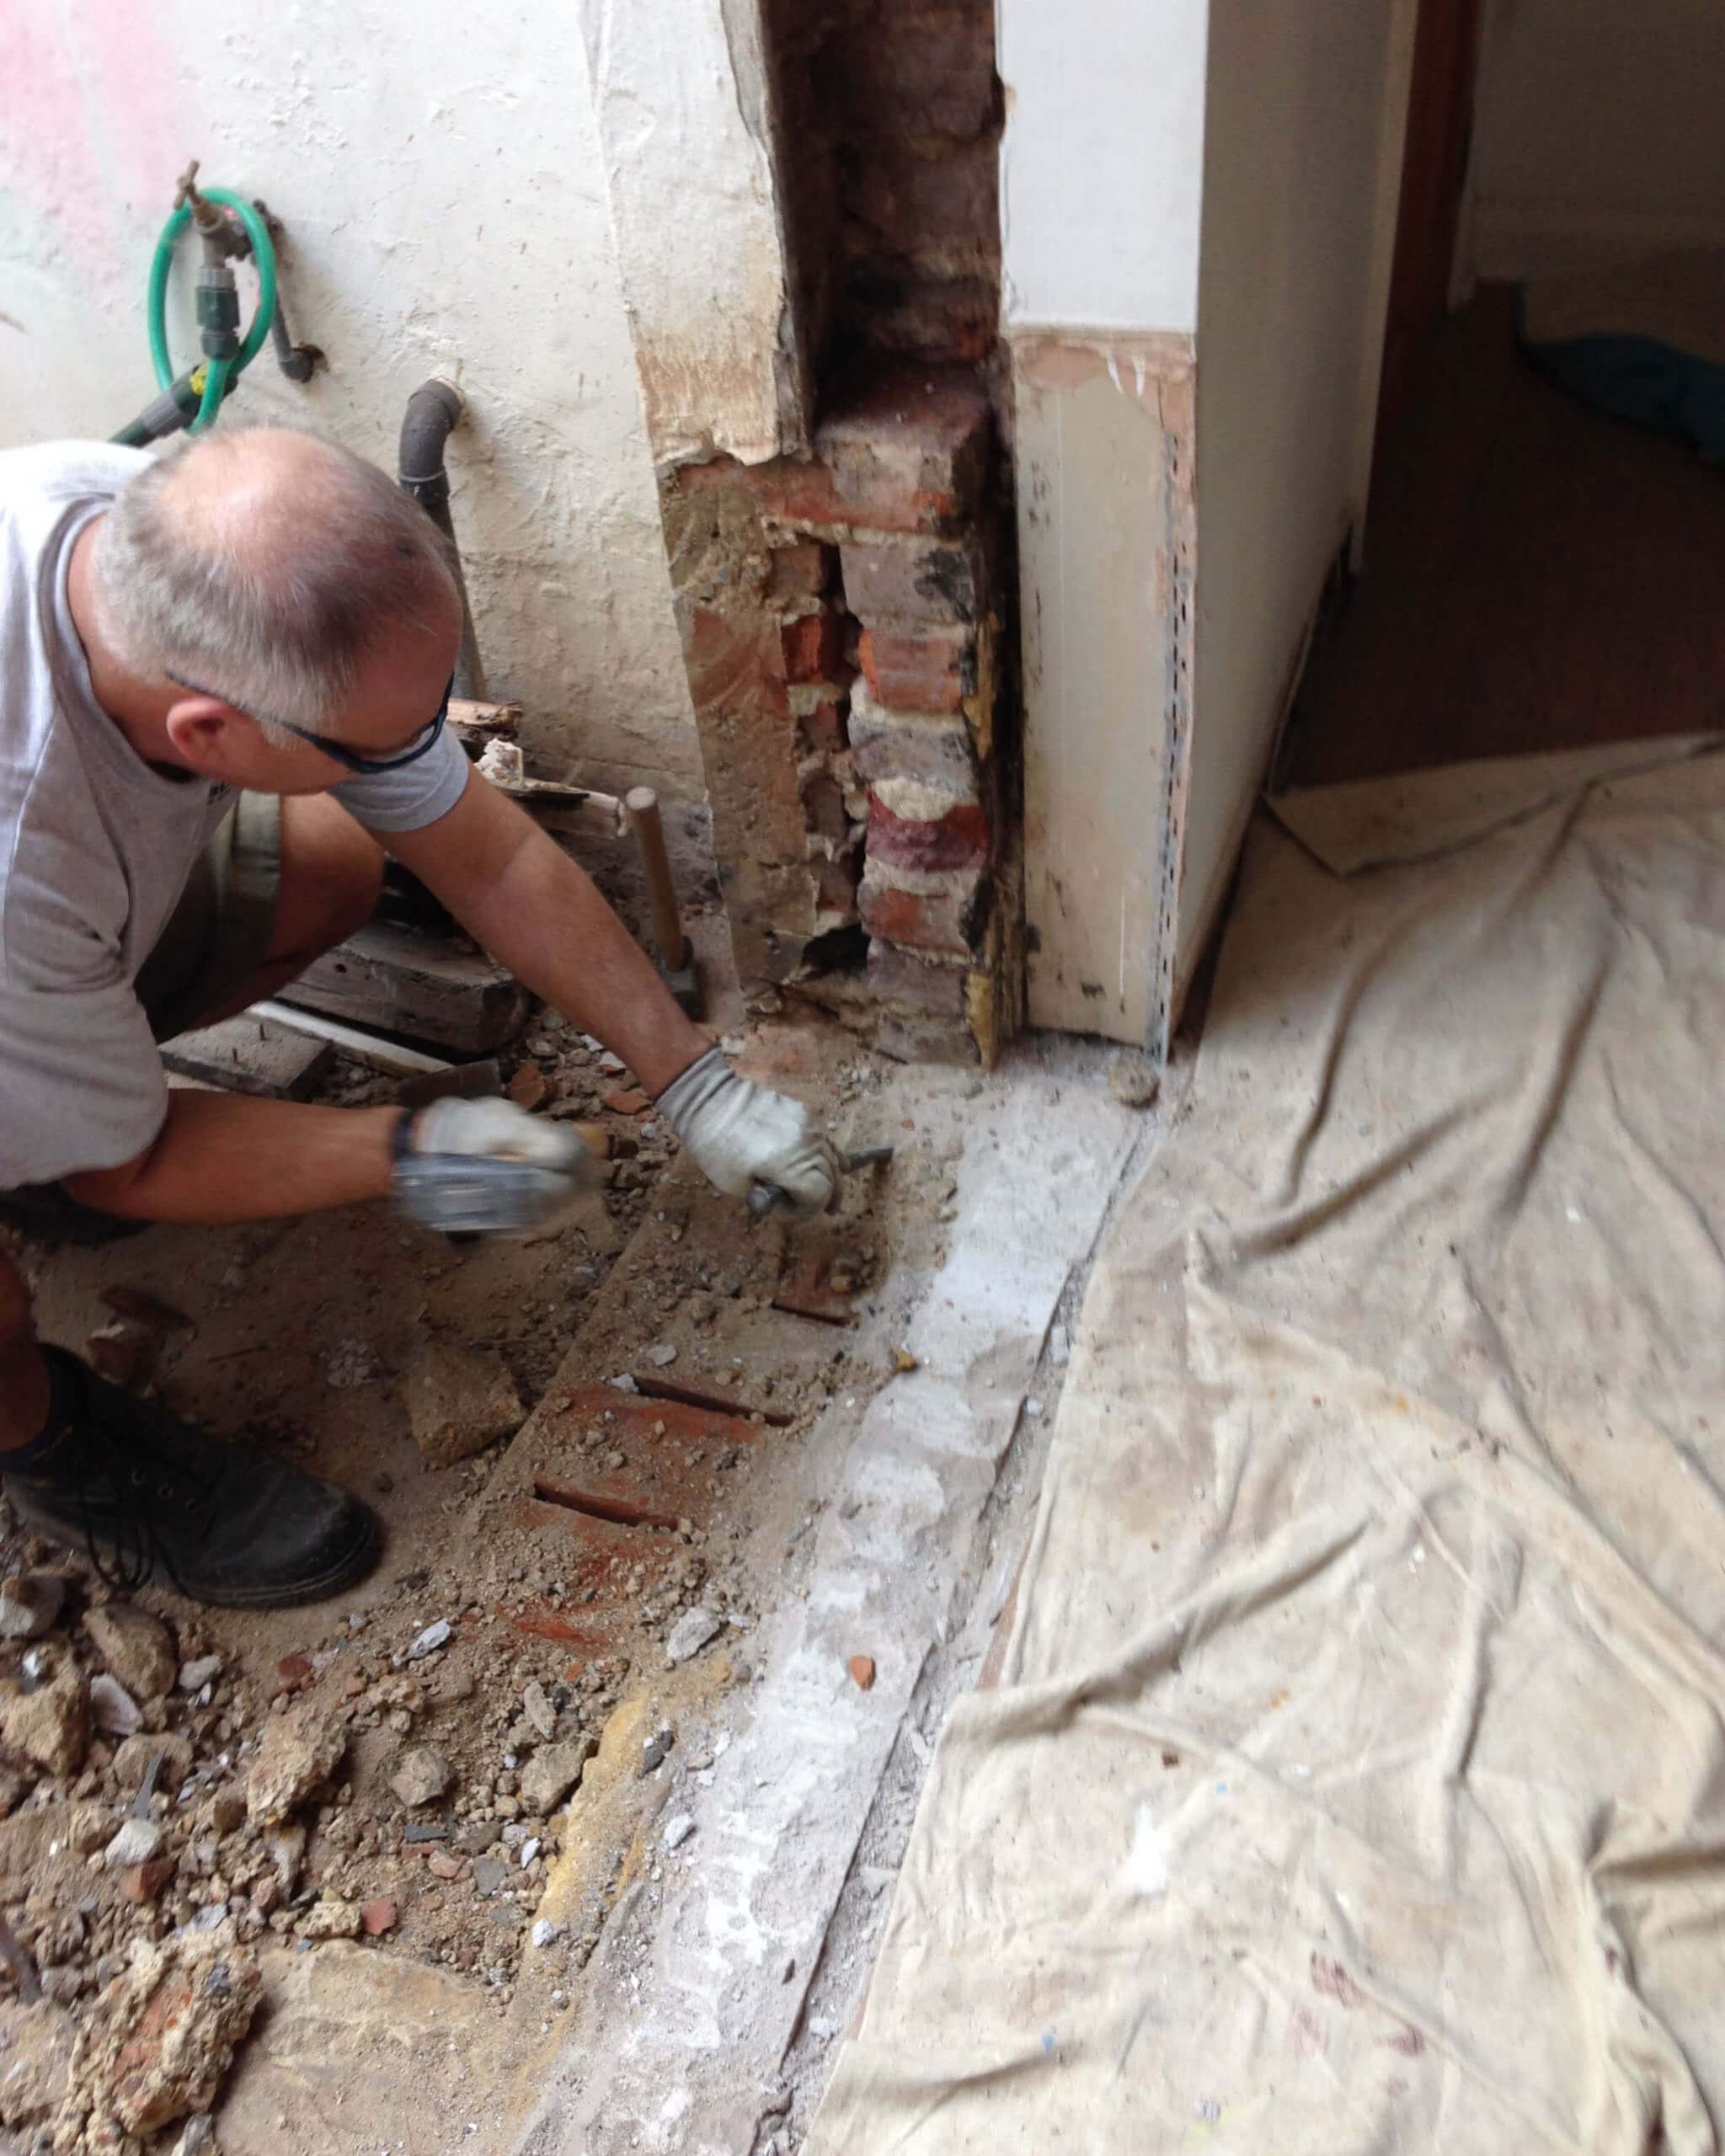
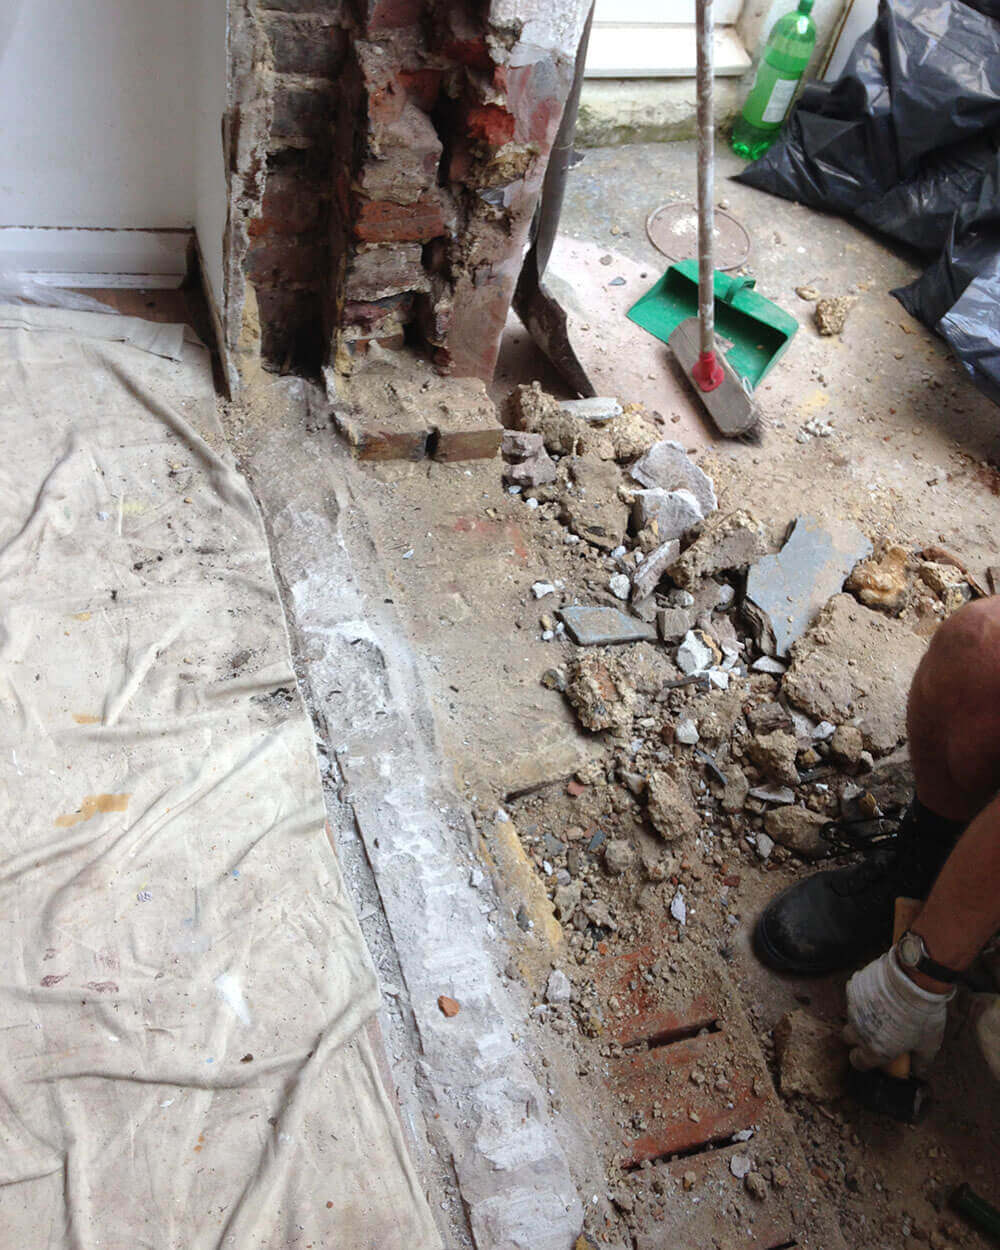
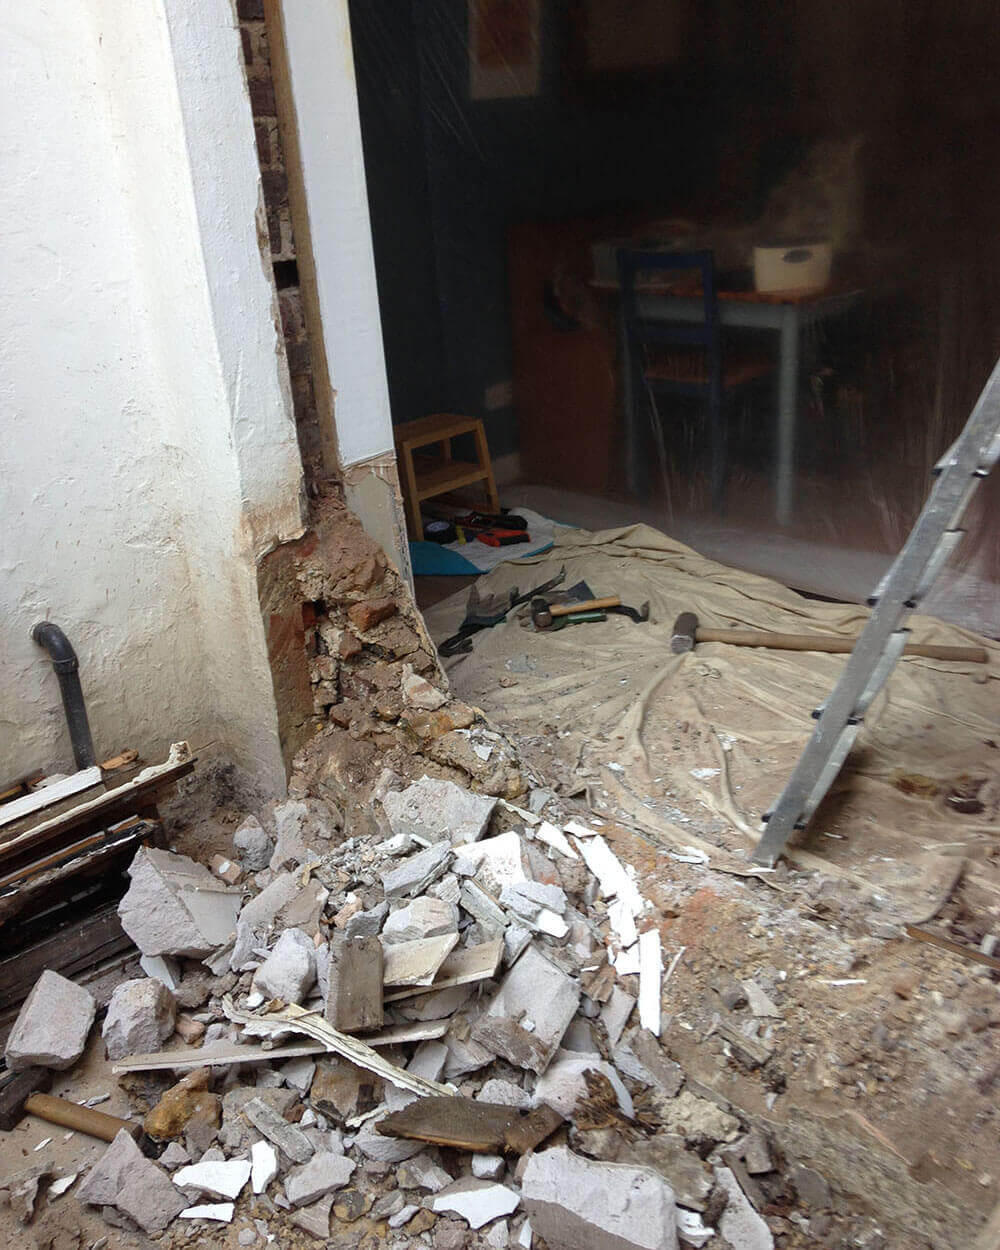
That night we started to remove some of the bungaroosh (Brighton rubble) from below the window.
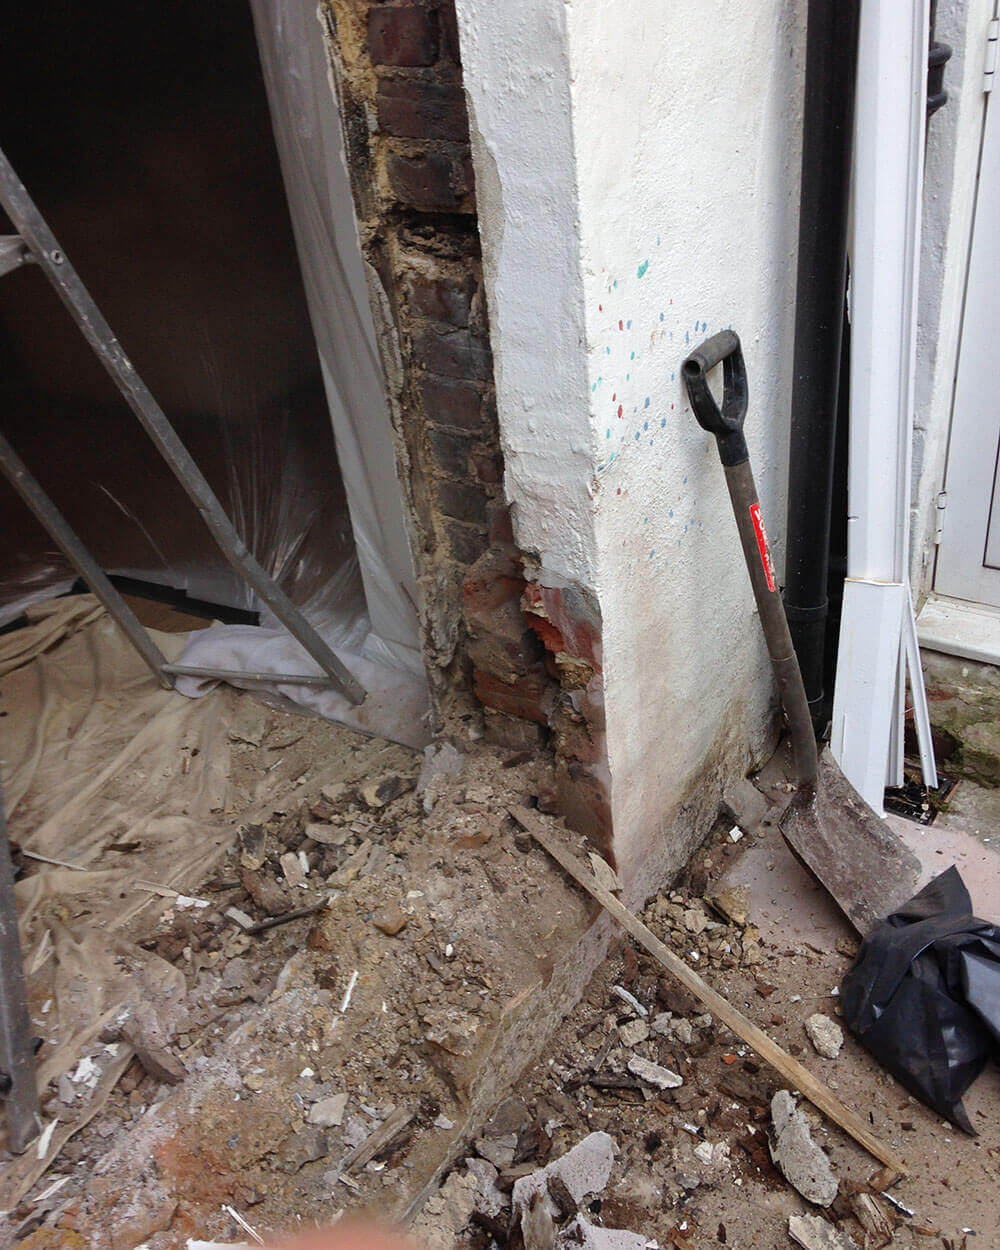
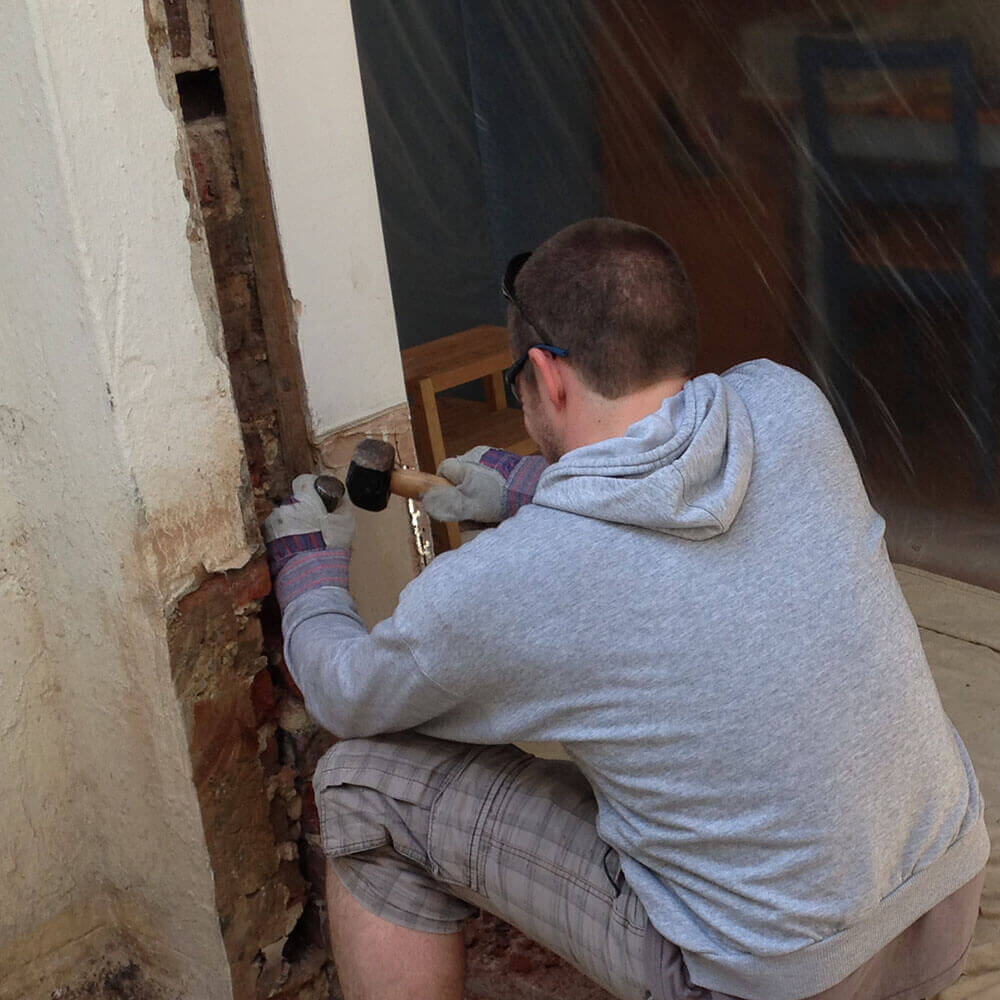
The next morning we removed the window, the remainder of he wall below and cleaned up the frame with a chisel.
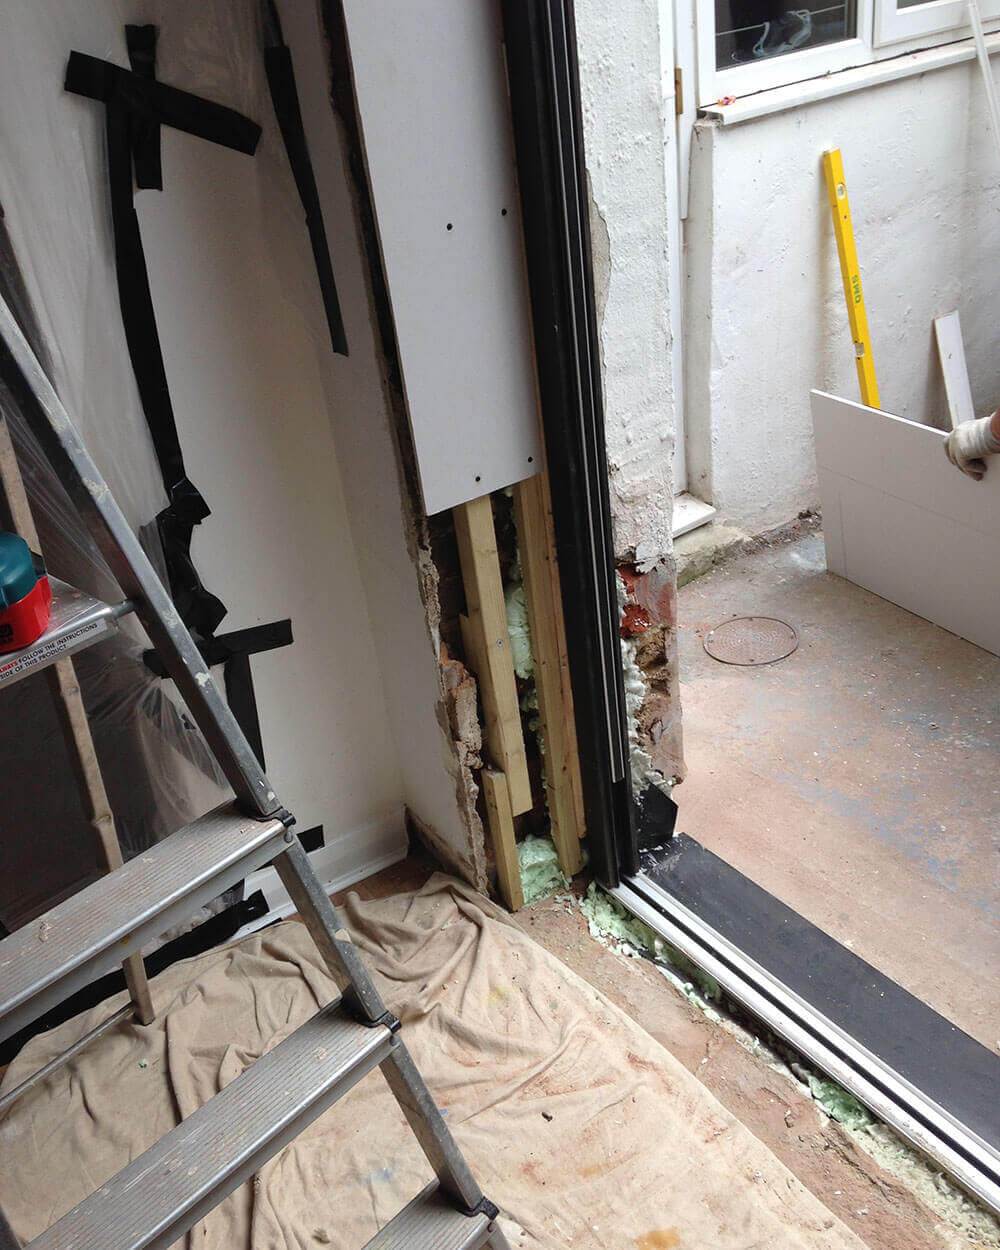
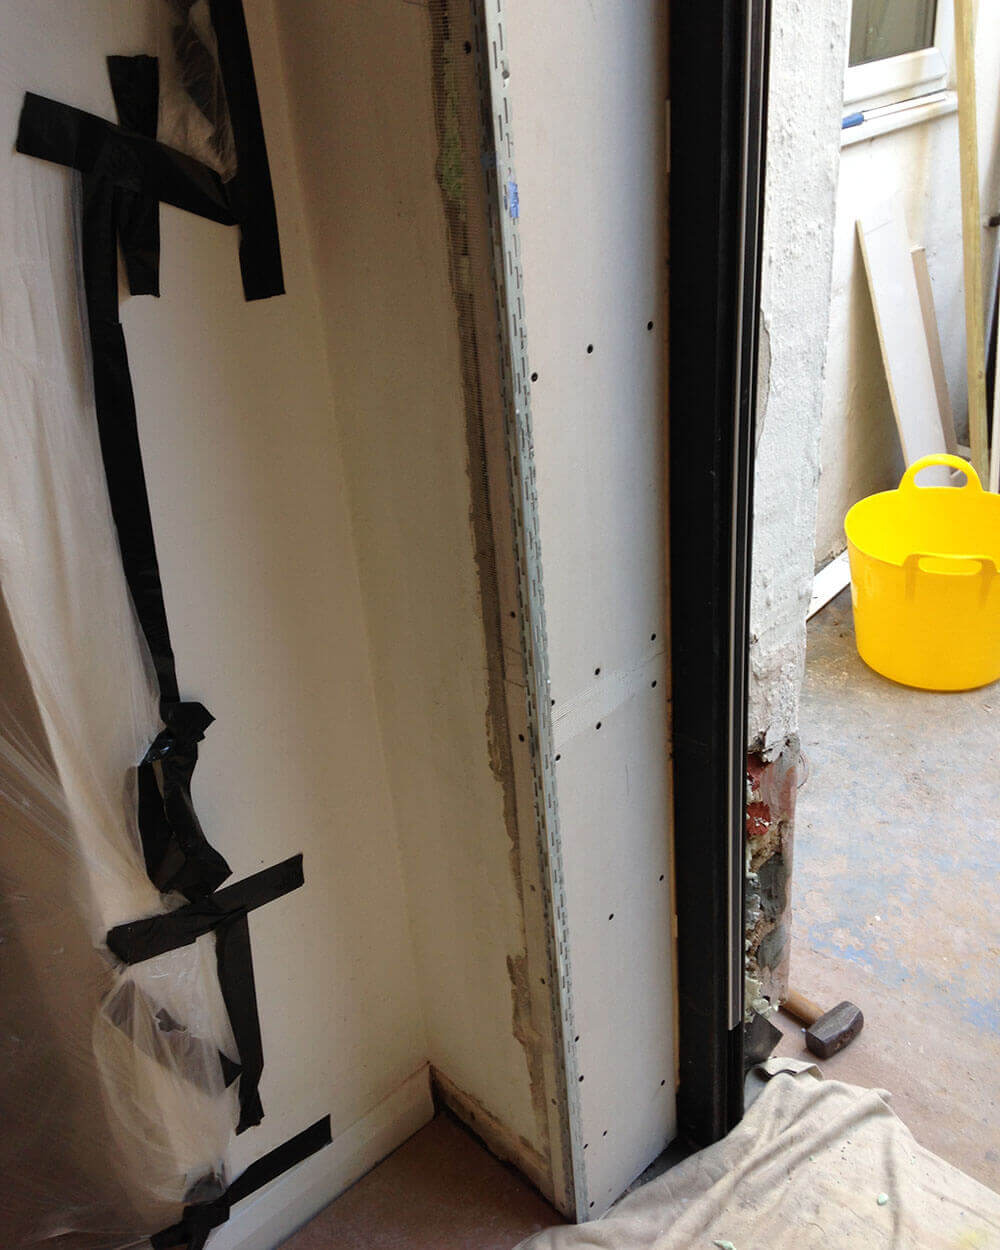
Phase 4 - Fitting the frame
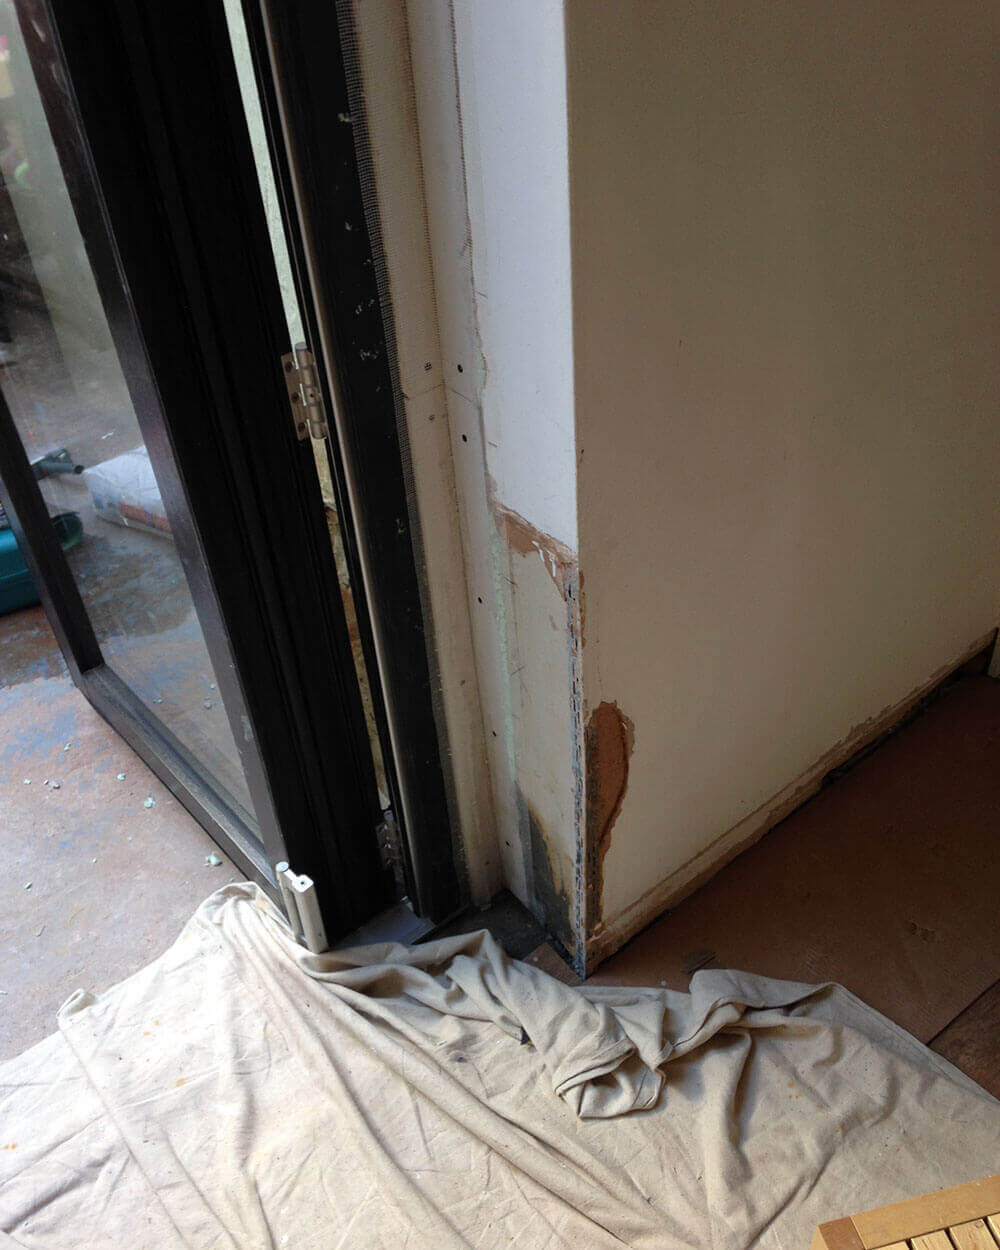
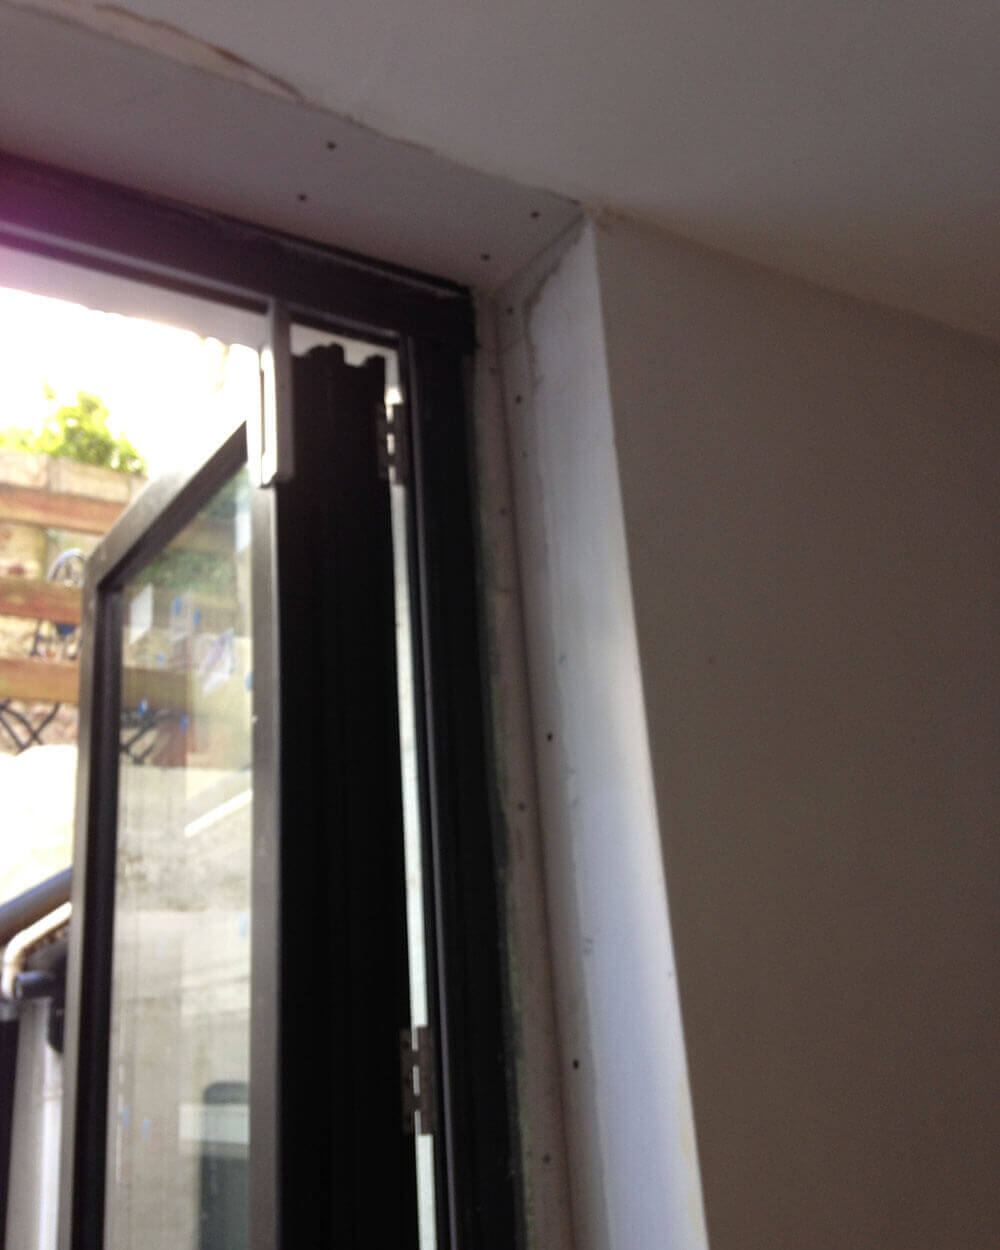
With the opening clean and tidy we could fit the frame.
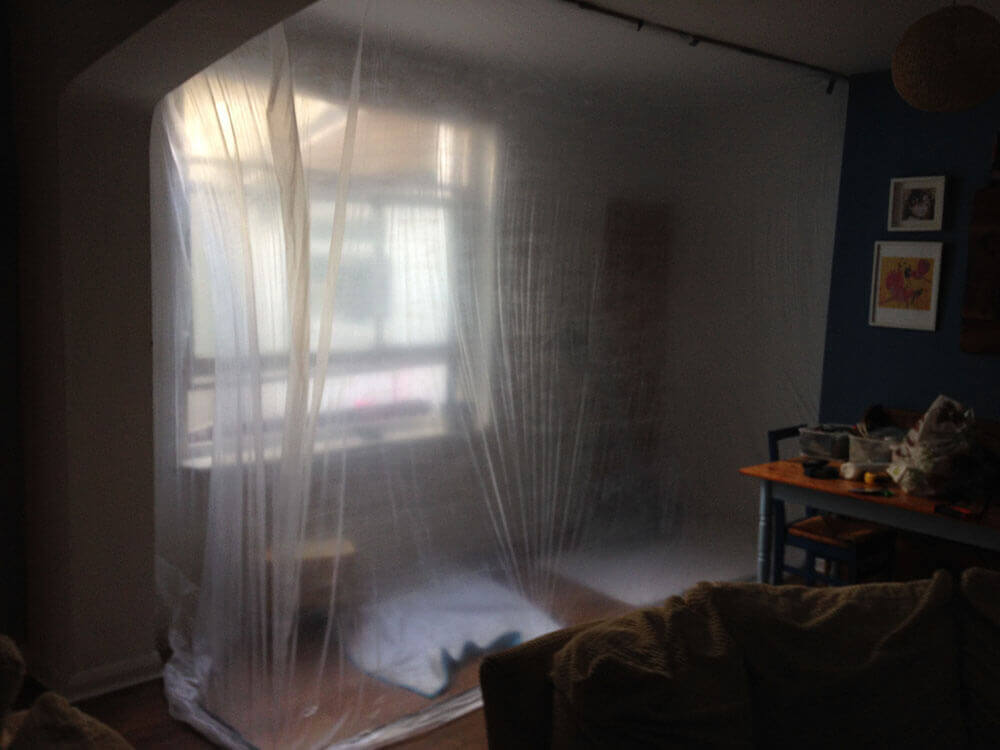
Due to the serious concentration needed for this part of the job we didn’t have time to take any photos! We did however have the frame all in place before tea time.
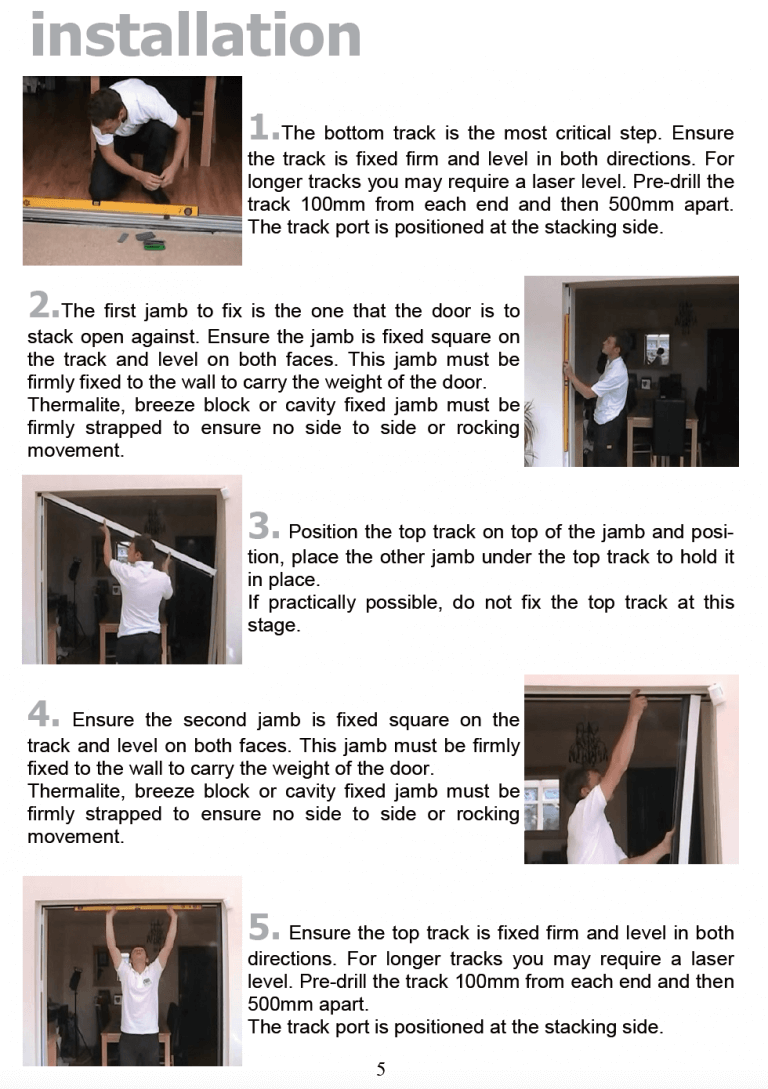
We have included the instructions from the manual to give you a flavour of what’s involved.
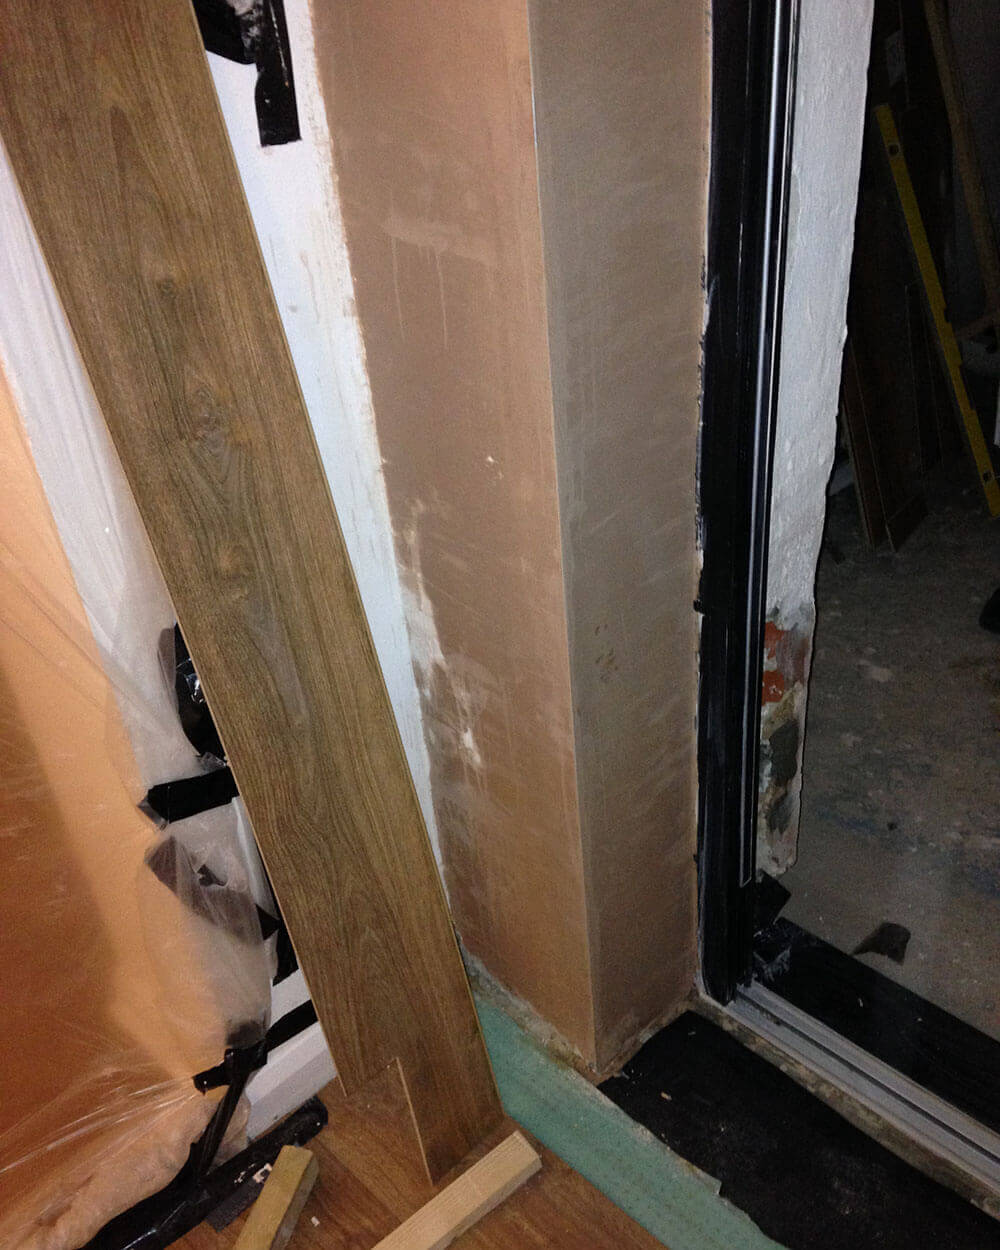
In our case it was a bit more complicated as we had created a new opening by removing the wall below the window so had to use timber to make a subframe.
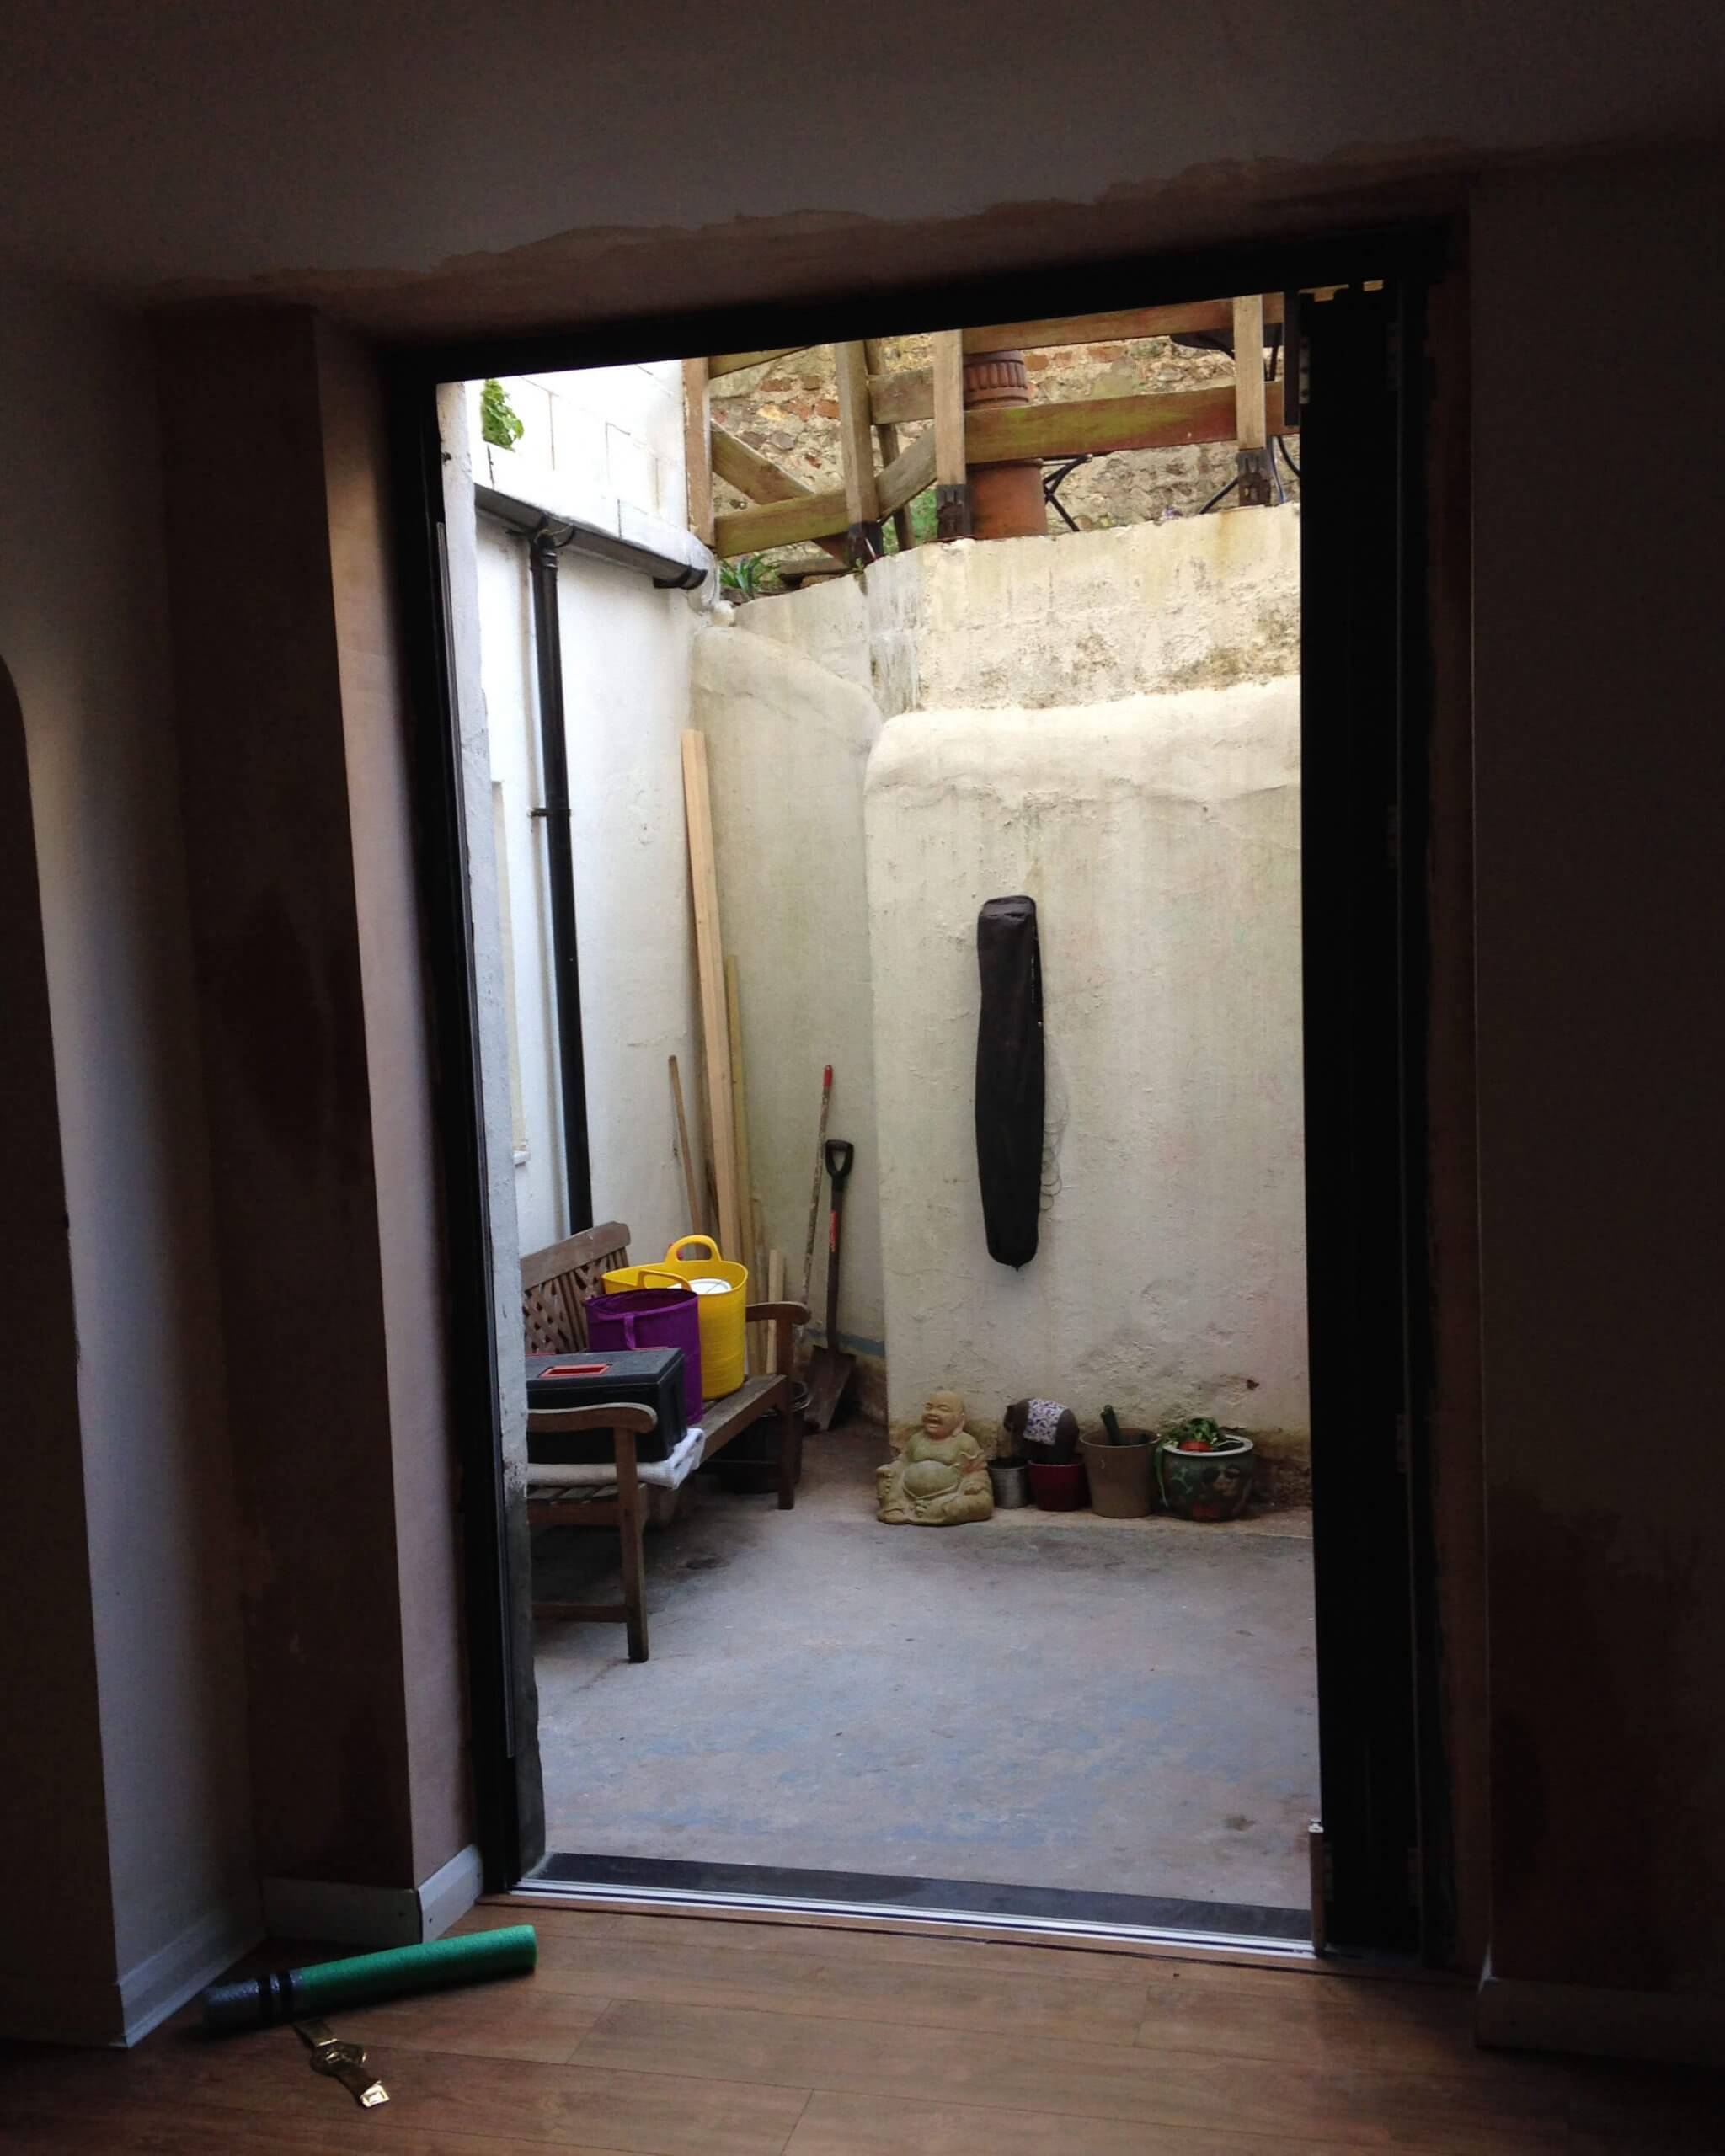
It all worked nicely in the end, and we had day the next day left to fit the doors and make good on the inside.
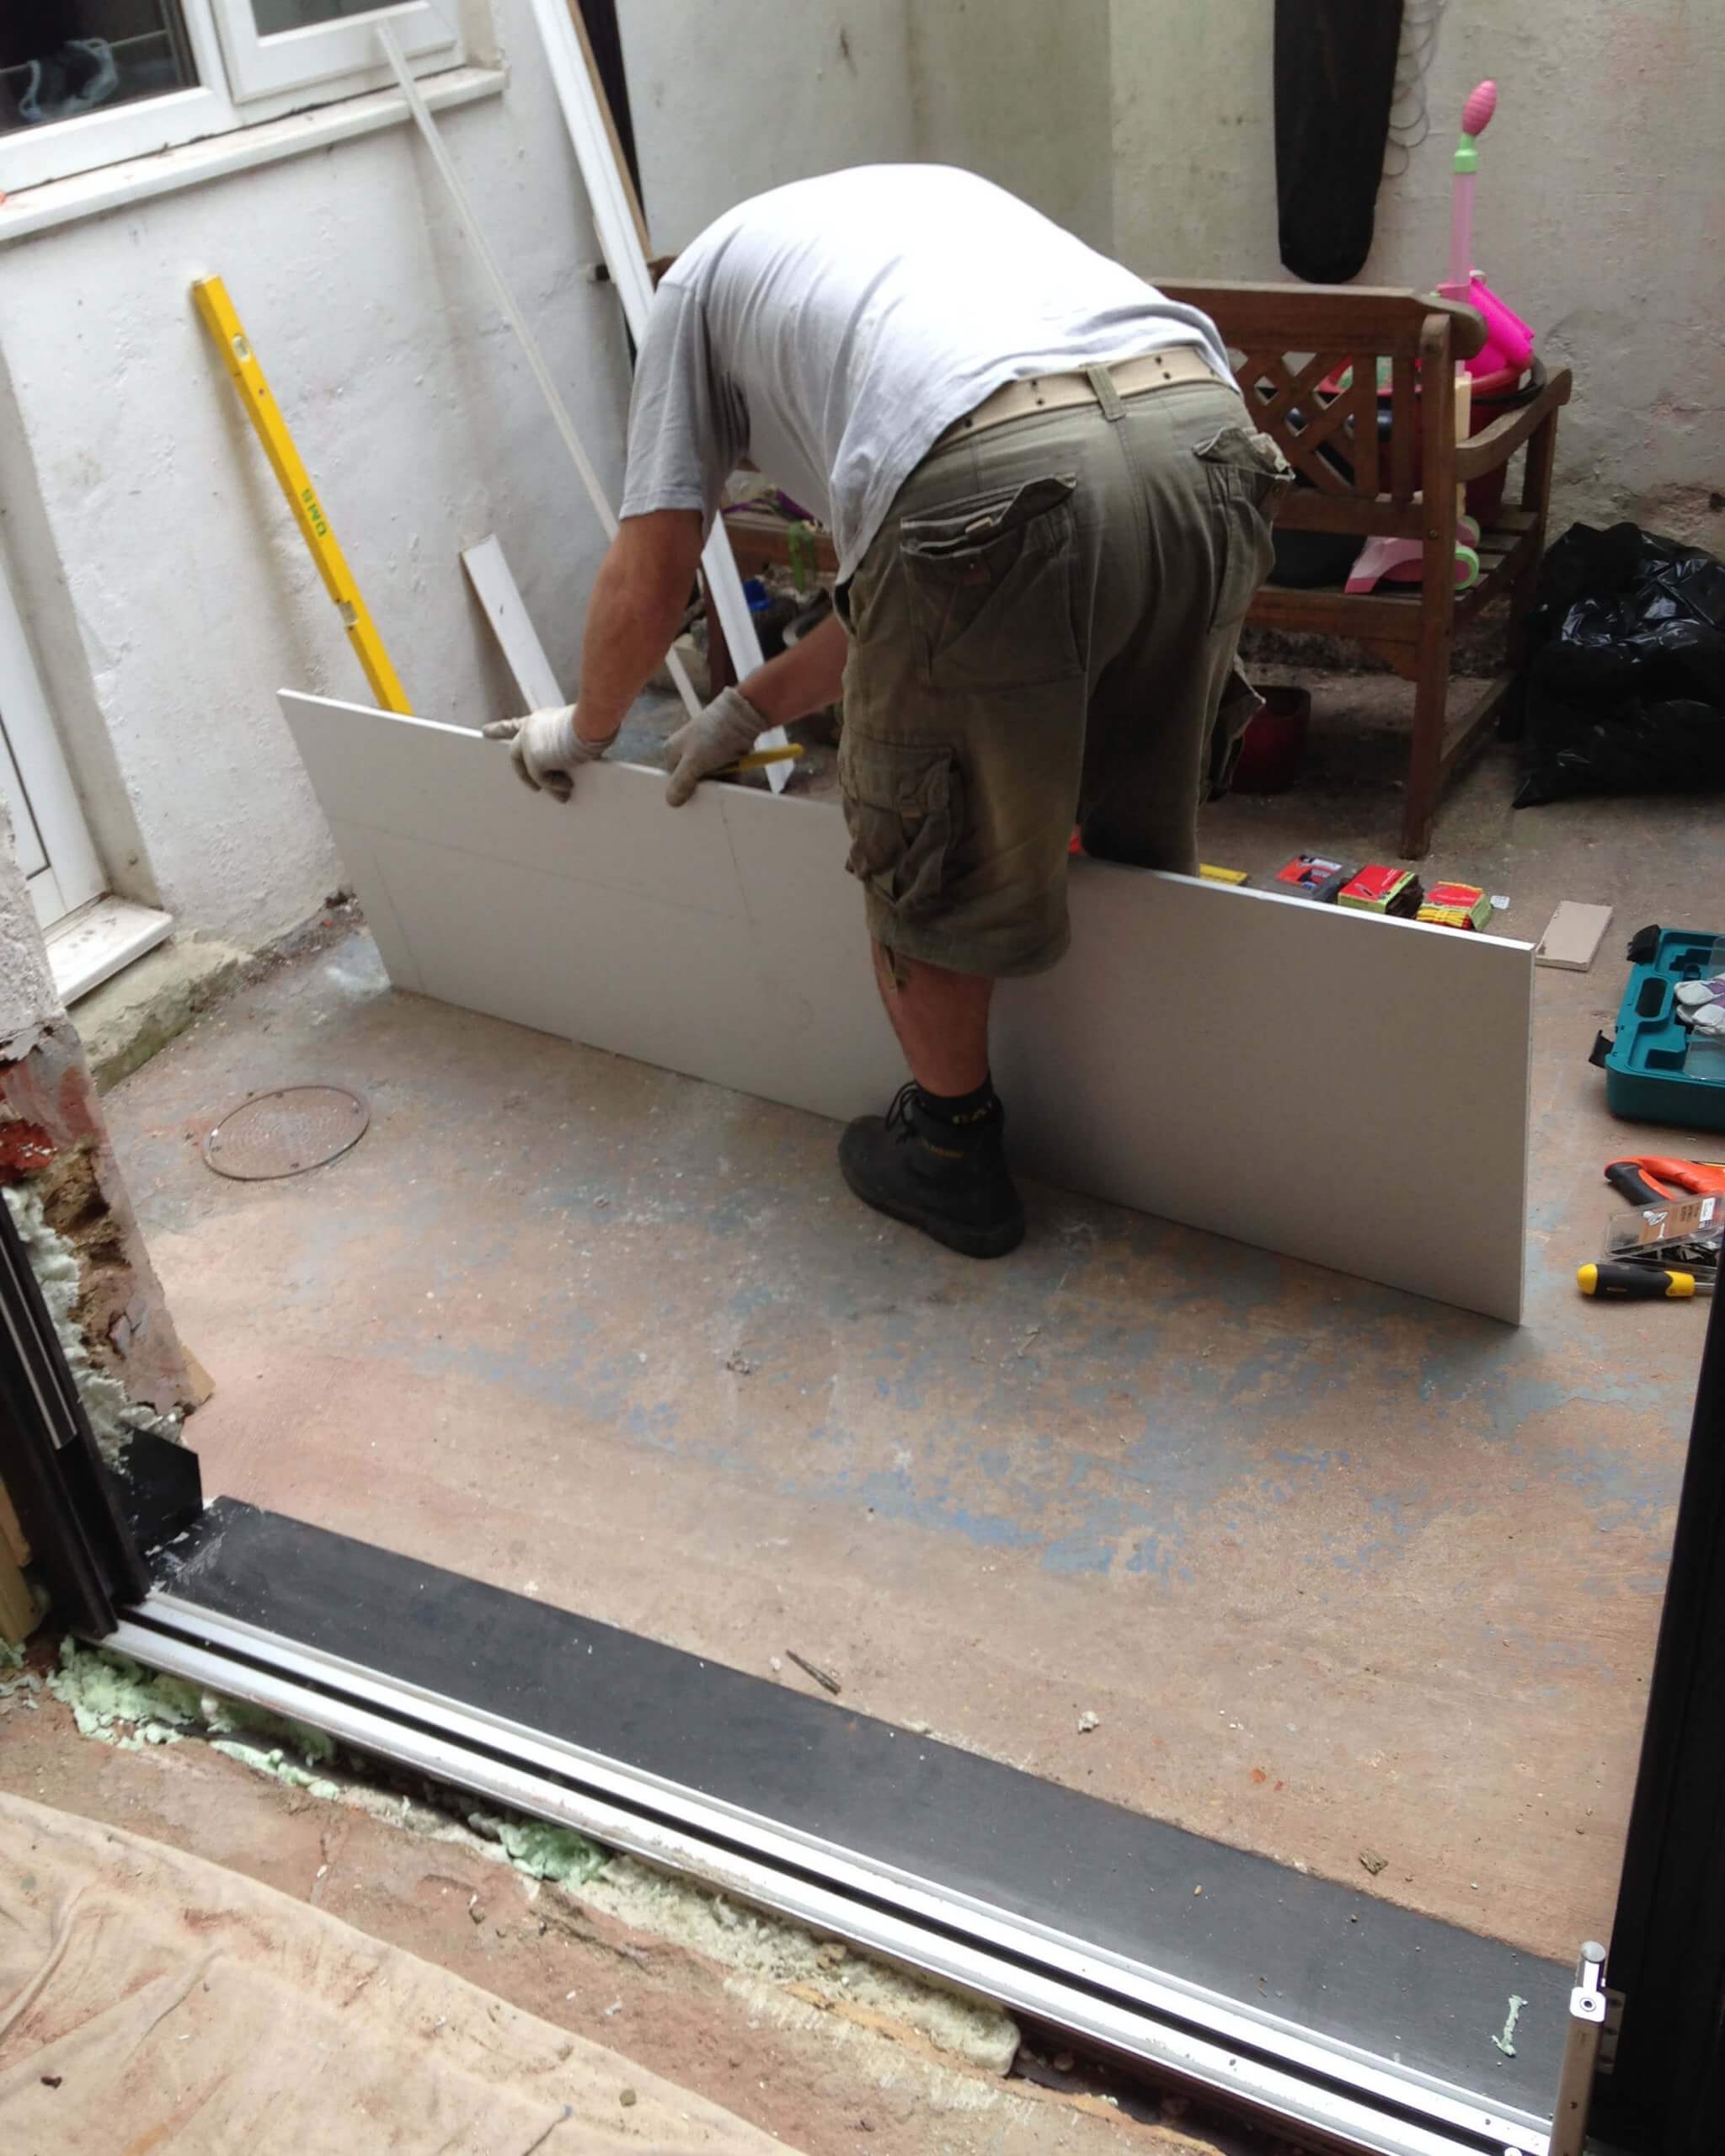
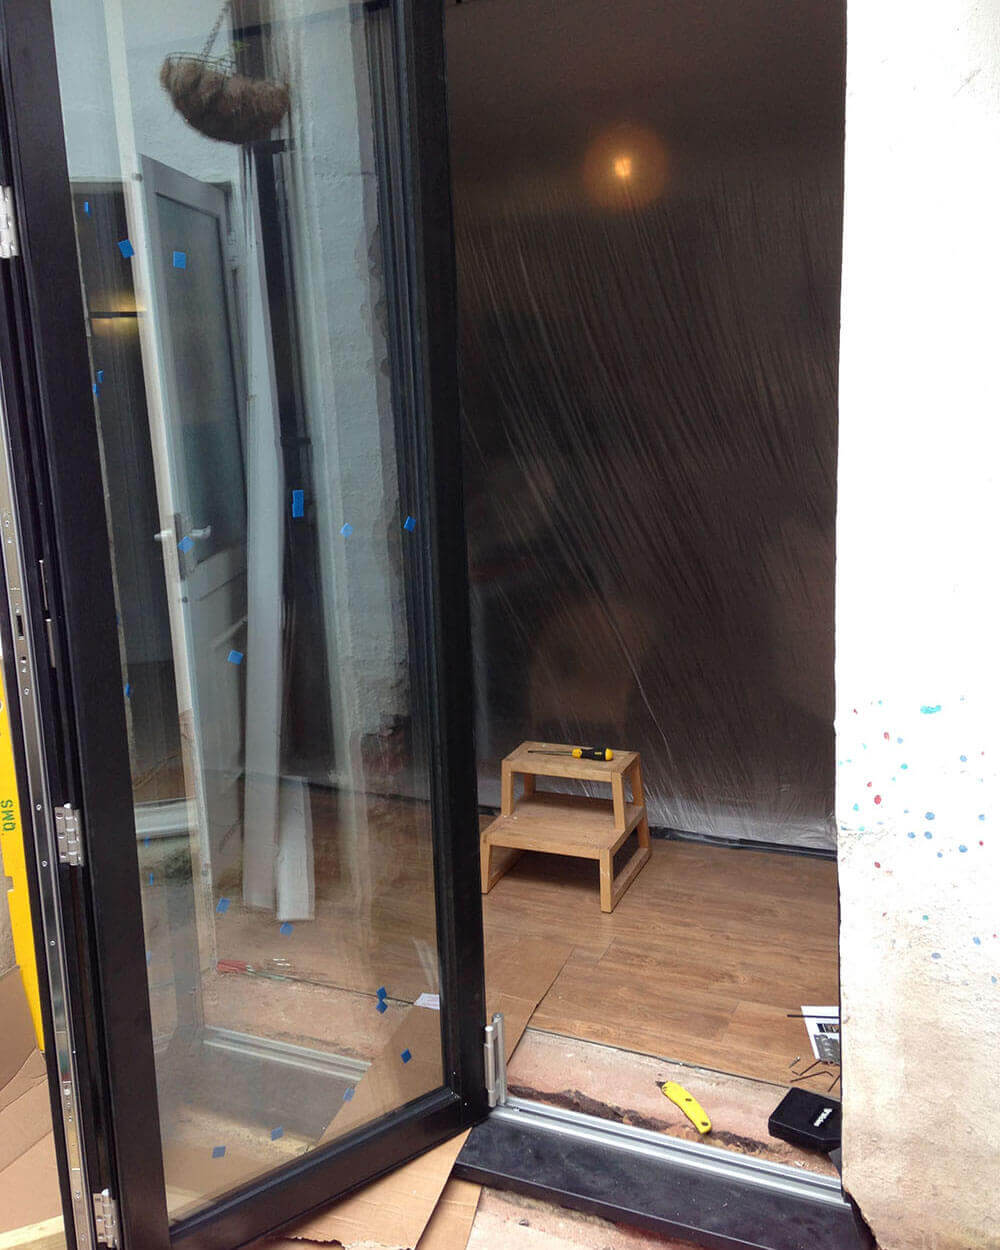
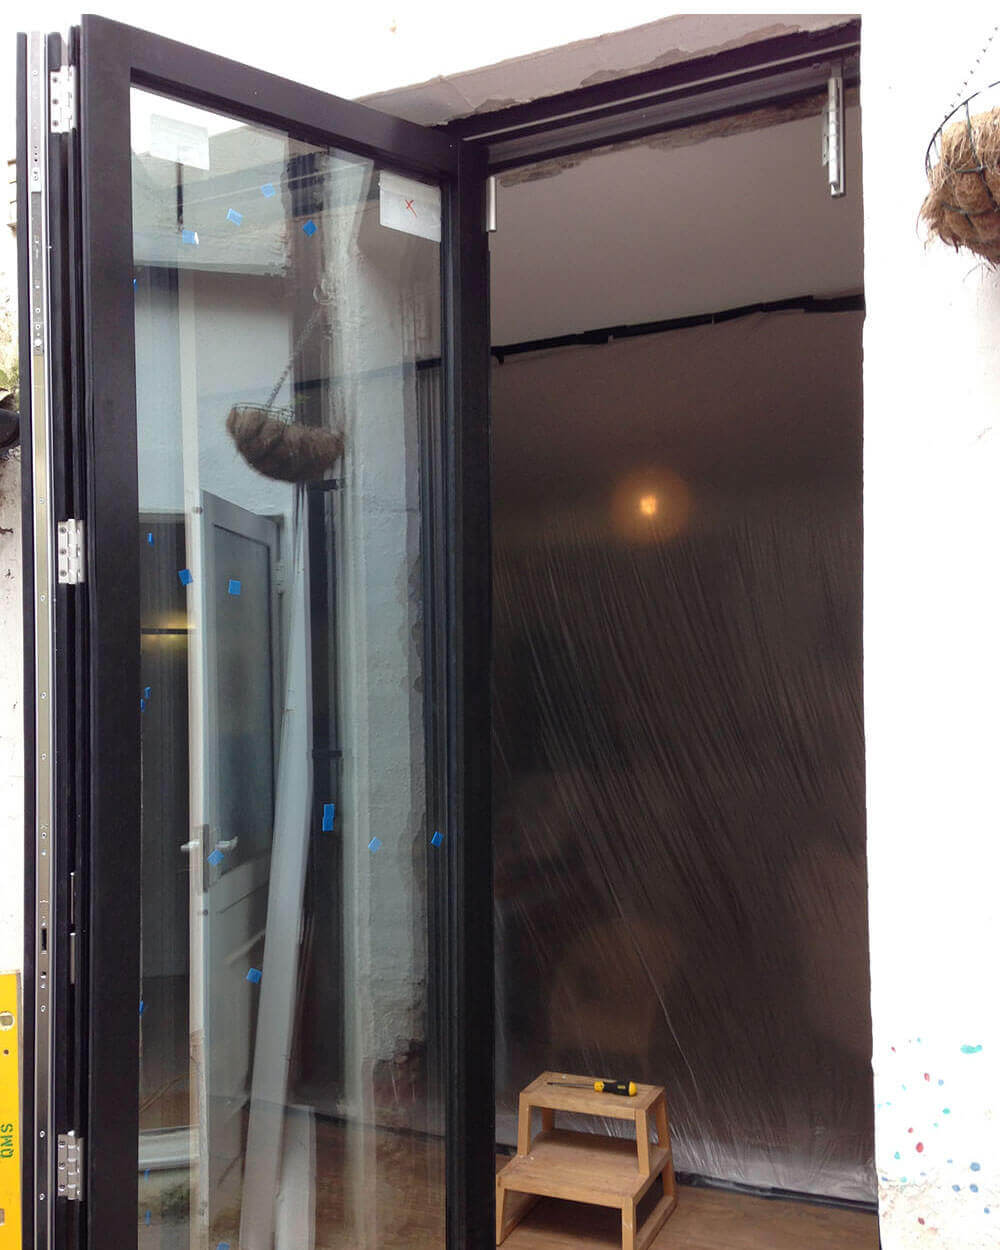
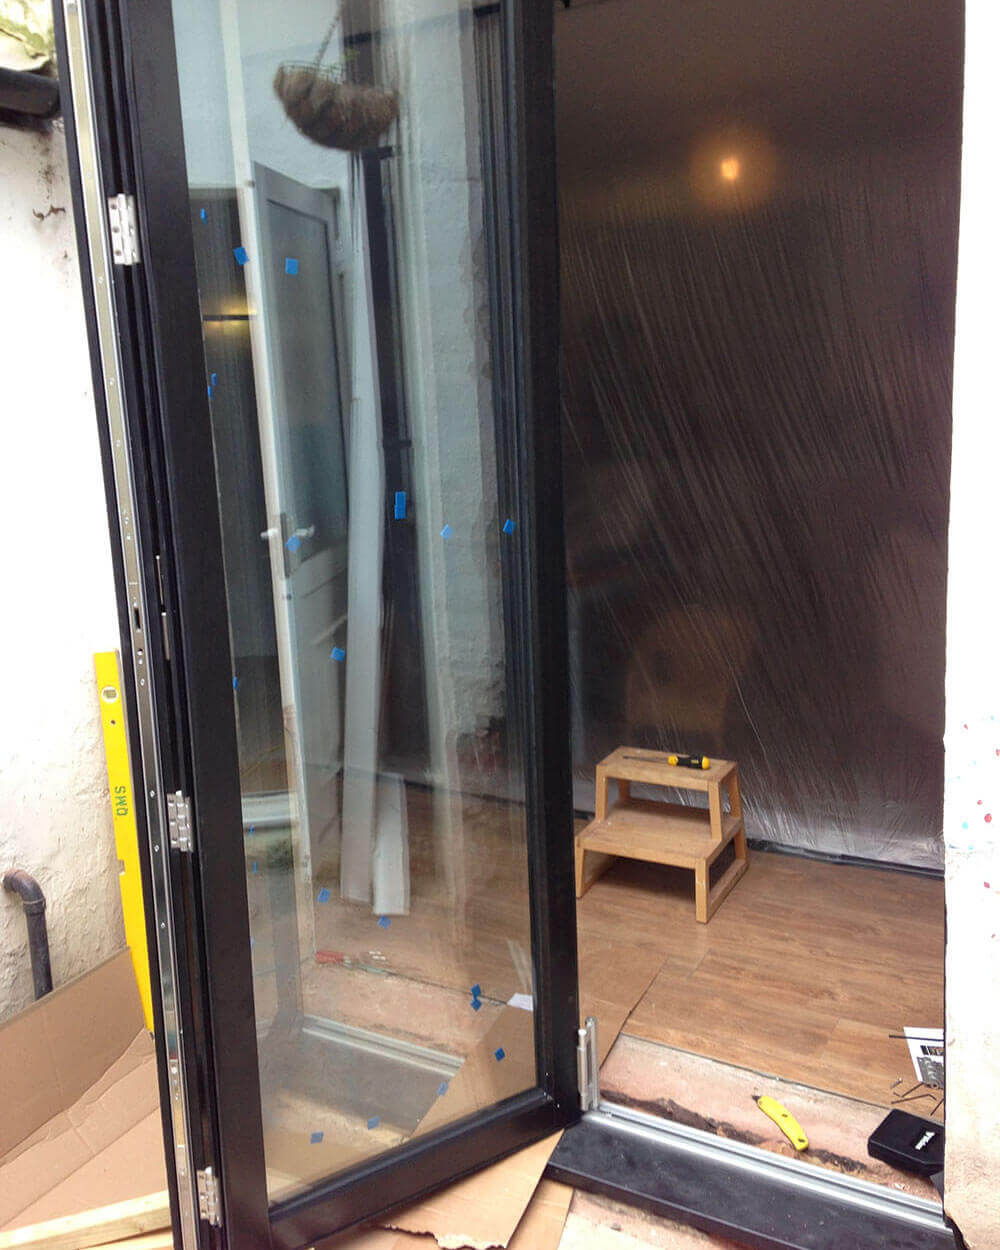
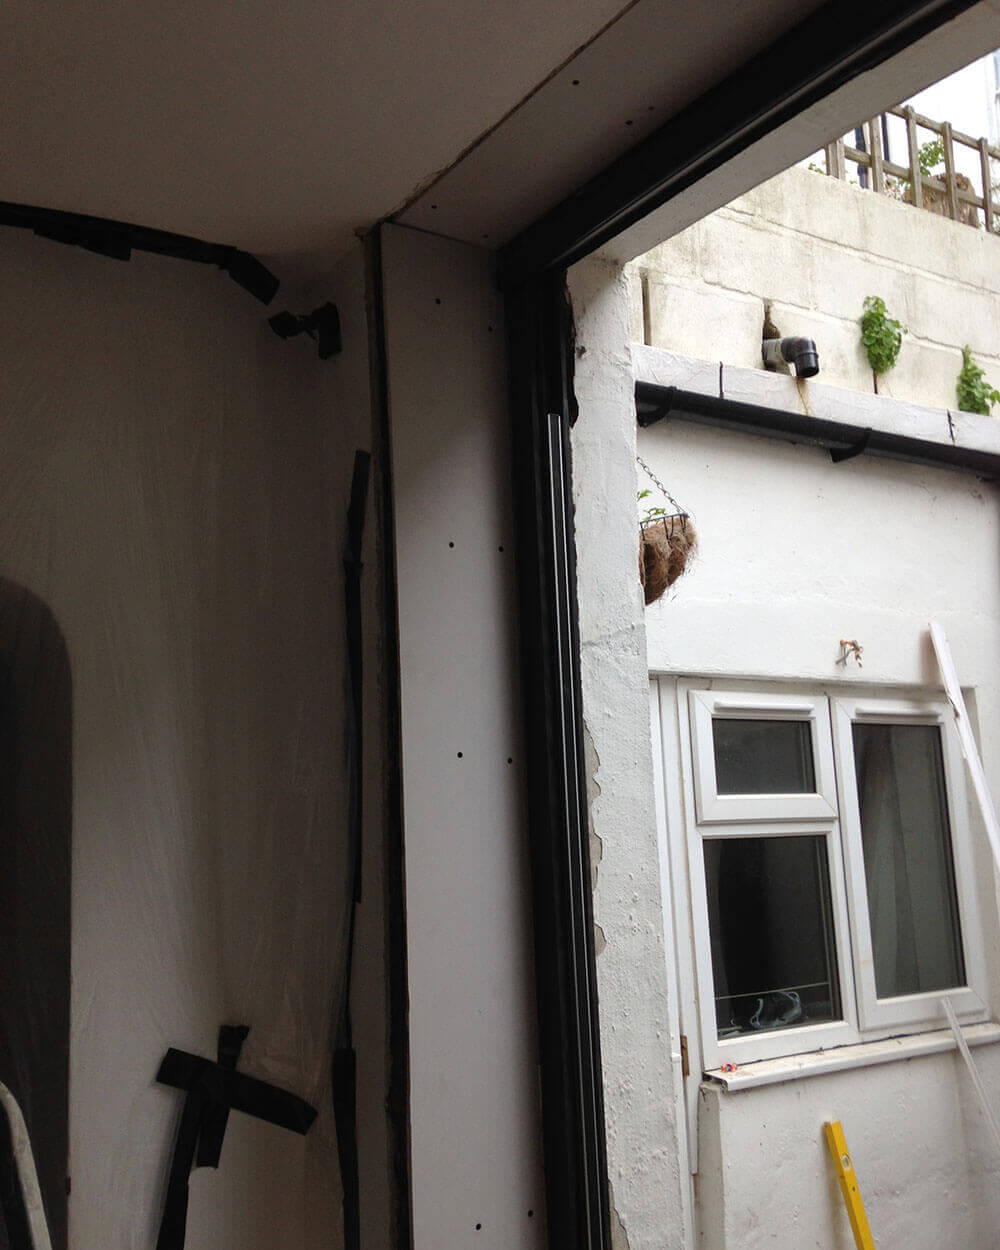
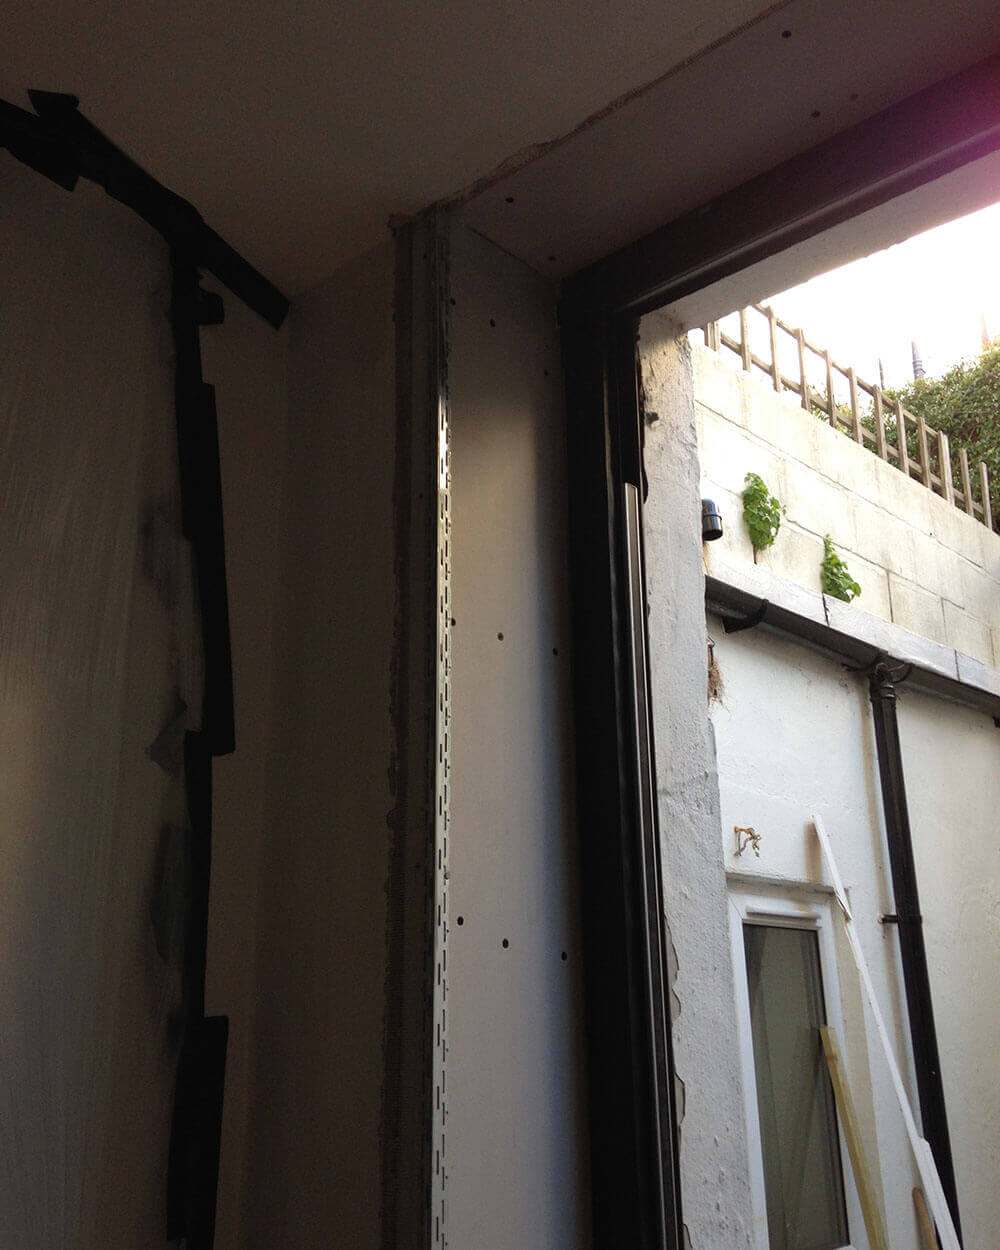
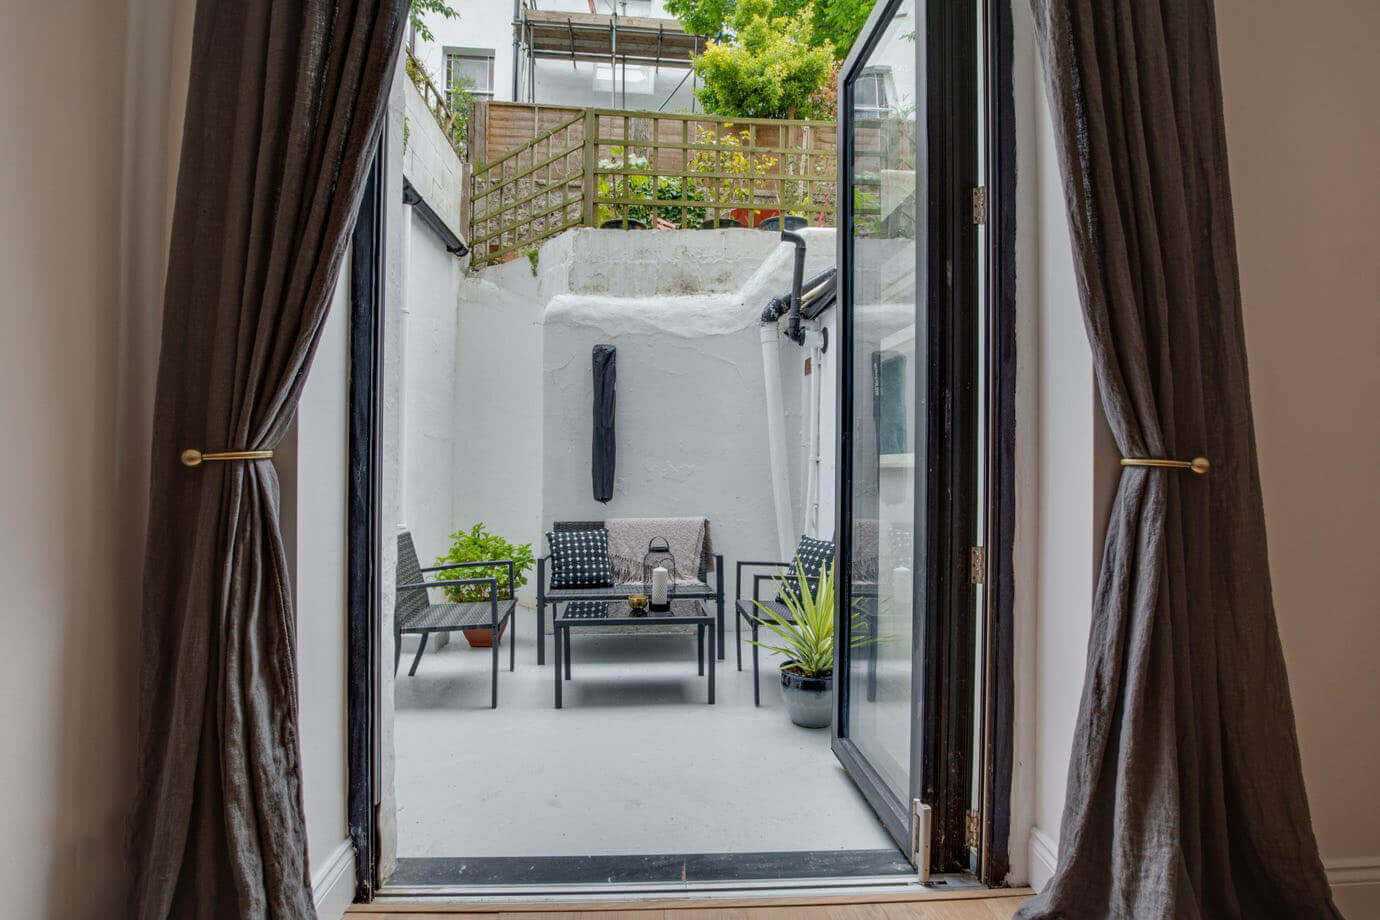
Phase 5 - fitting the doors and finishing
We continued to follow the instructions and can vouch that these doors are really well built.
We managed to get the doors in and siding perfectly within a few hours. A result of the frame being fitted so well the previous day.
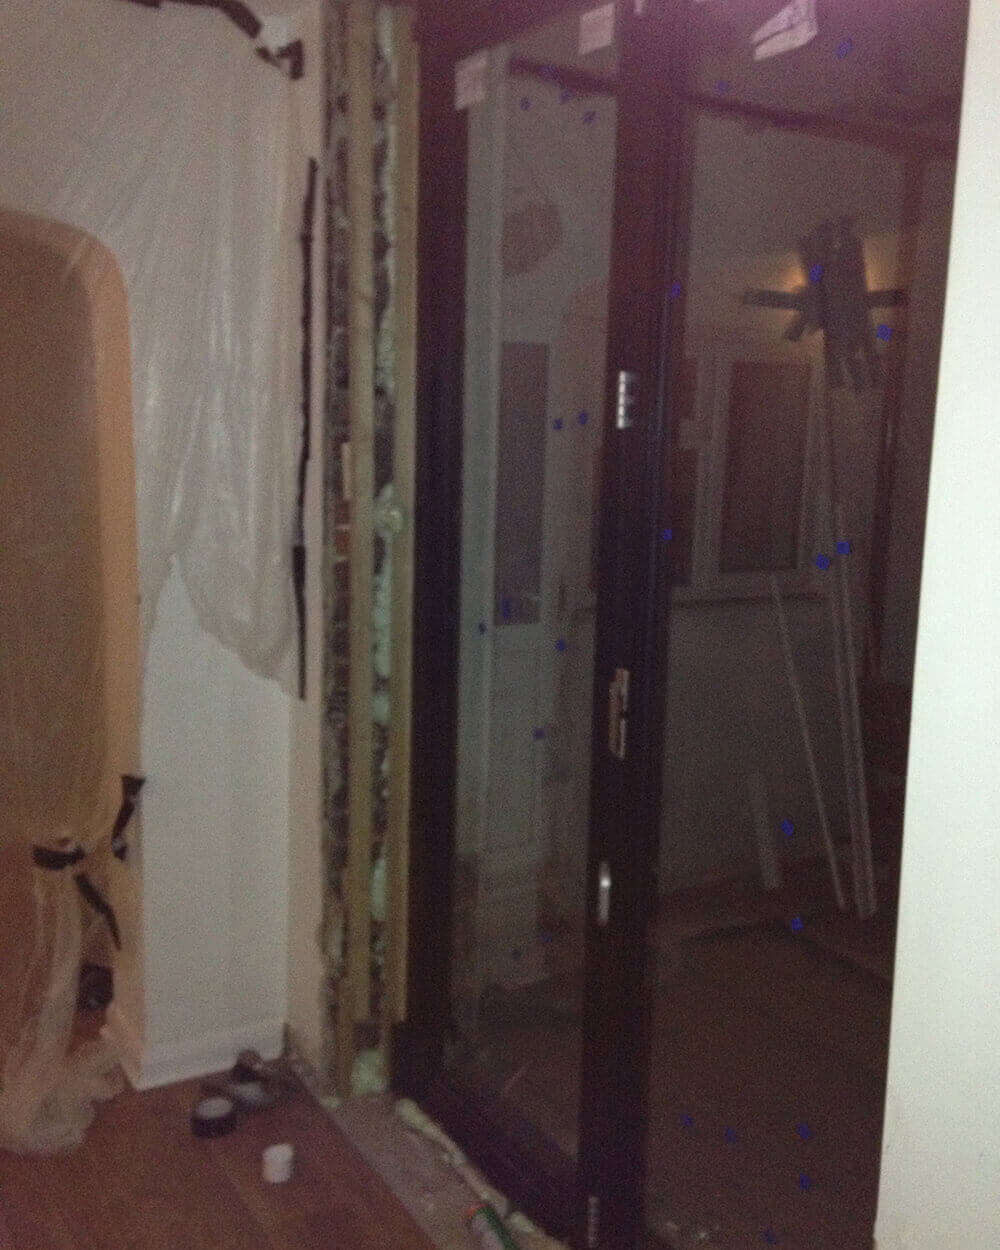
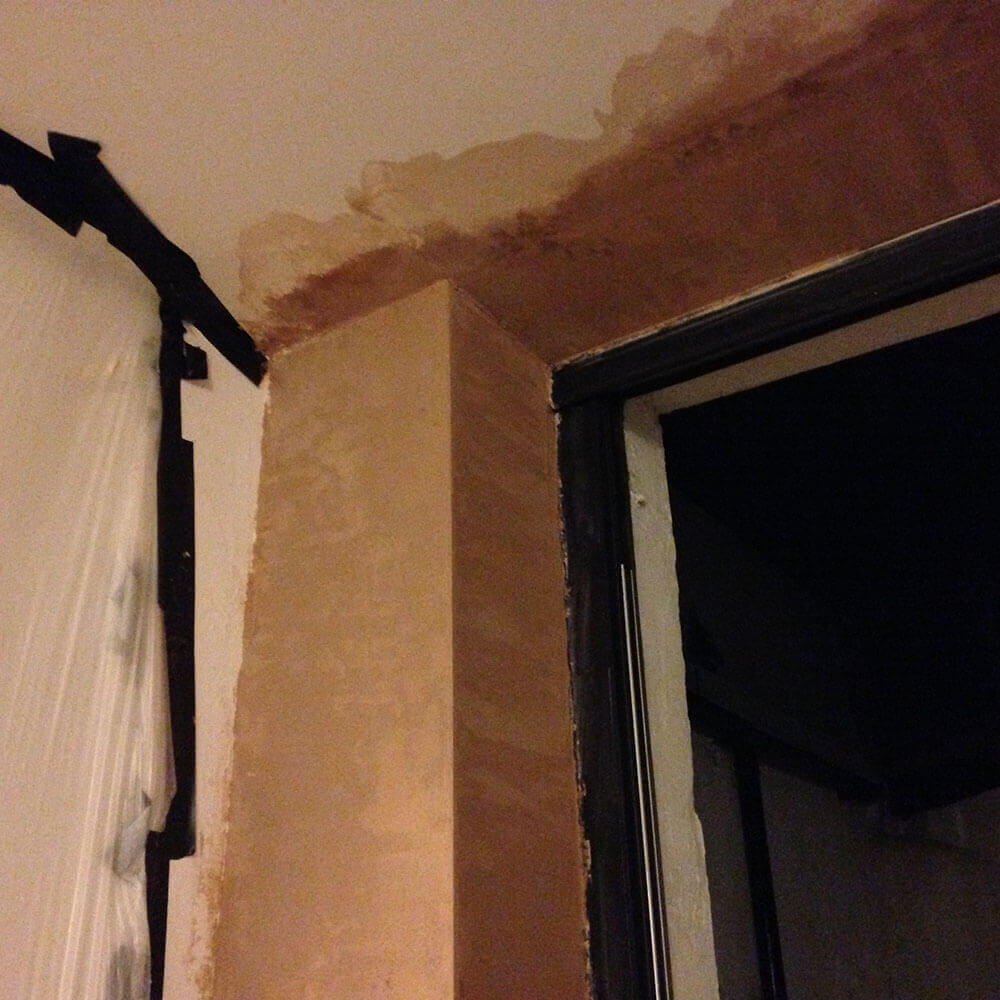
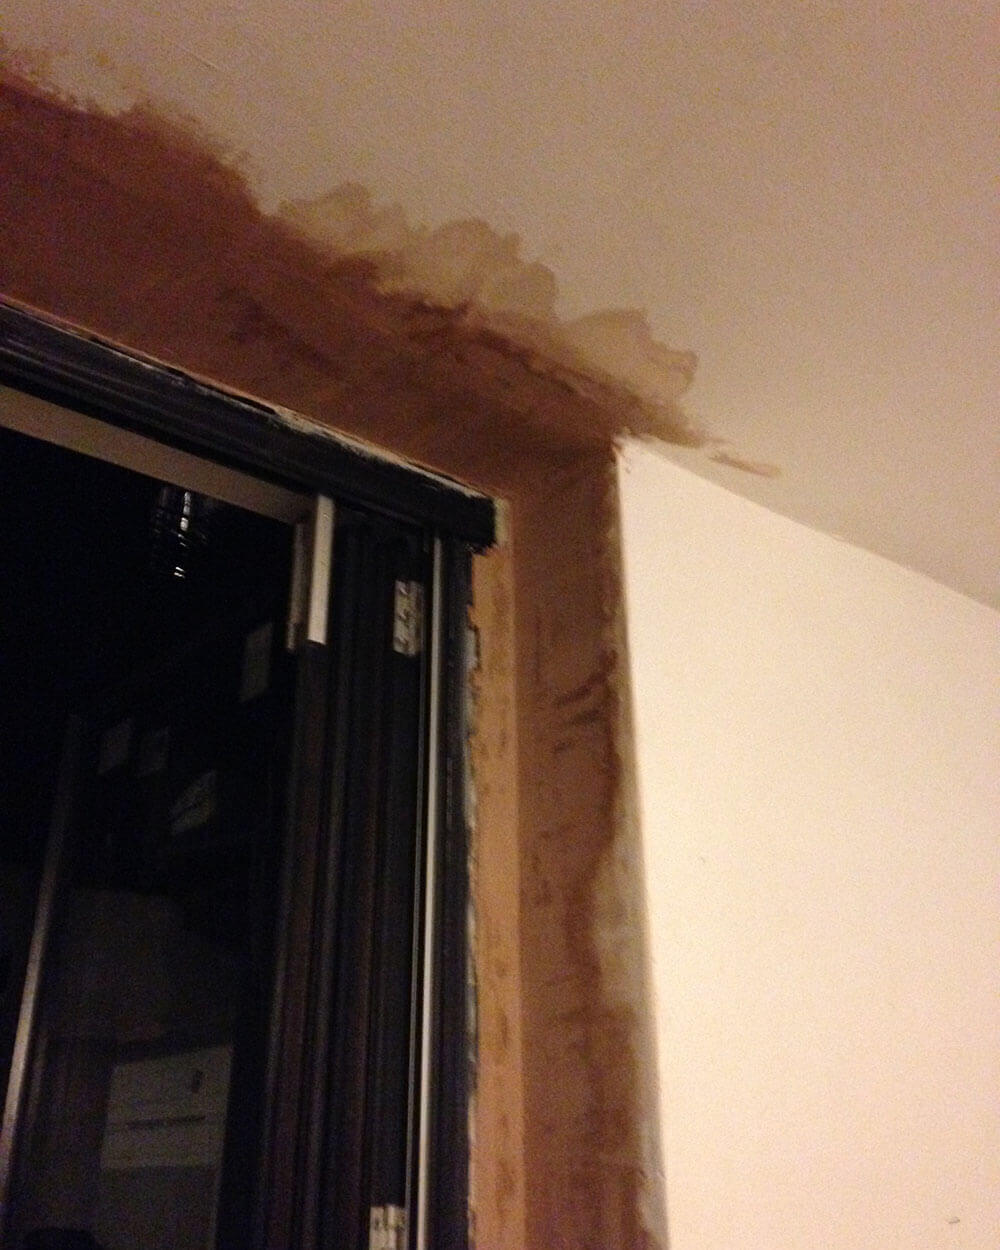
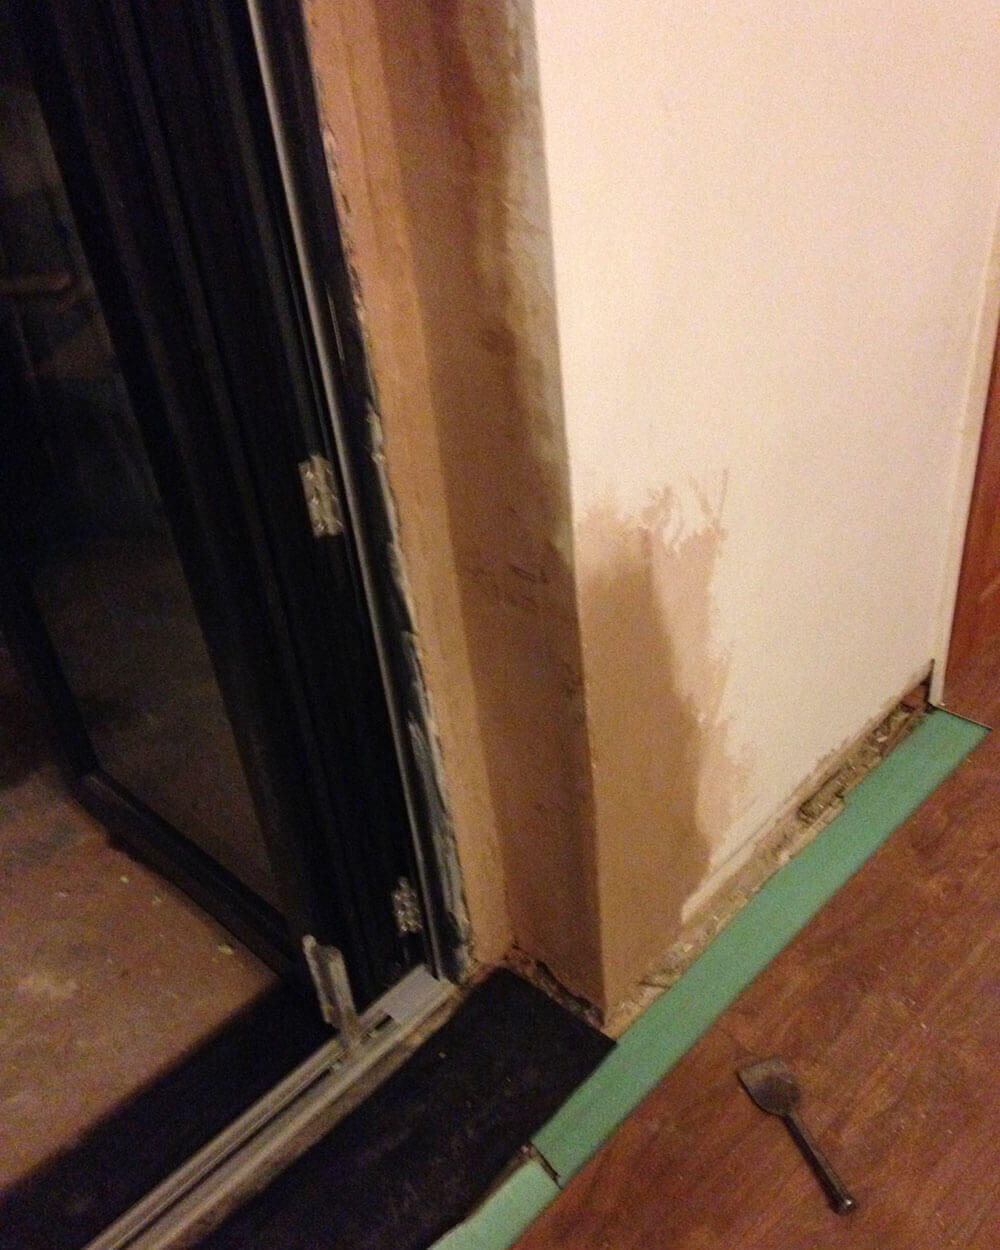
We then had to board up the inside reveals and and learn a bit of plastering to finish it off.
So within 2.5 days we had managed to remove a window and wall, create a new door reveal, fit sliding bi-fold doors, and then make good the inside.
The only job left was a bit of painting once the plaster had dried and organising the rubbish removal.
Progress pictures
money spent
The costs associated with installing folding sliding bi-fold doors included:
Planning application fee (made own application) £206


