You may have wondered what you can do about those obtrusive breasts in your house that dictate the layouts of the room. Well look no further as removing chimney breasts is always an option.
This article explains how we did it over 4 floors, with some photos before, during and after.
The process for this includes:
Asking yourself if you can live without a chimney stack
Reviewing of the top of the stack
Understanding the impact that the removal will have in each room
The removal process
The making good process
Enjoying the result
Phase 1 - Can you remove it?
Chimney stack exists in older houses as they were used for open fires to heat the house and for cooking.
Fast forward to today and we all have more sophisticated heating systems and cooking appliances.
If you have no use for your chimney, so no open fire or wood burning stove plans, then you can probably do without it.
In our case, we had 2 stacks, one at the front and one at the rear of the house.
We chose to remove the rear stack to free up space in the rooms which were generally smaller as a result of the staircase at the rear of the house.
We also planned to fit a wood burner in the lounge at the front of the house which would need the front stack to remain intact.
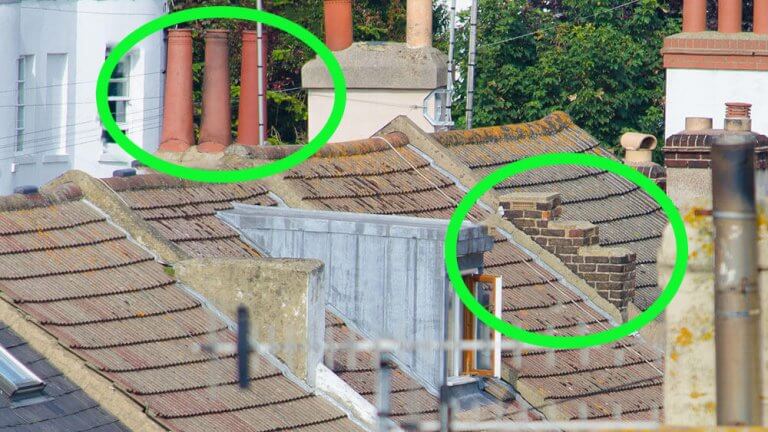
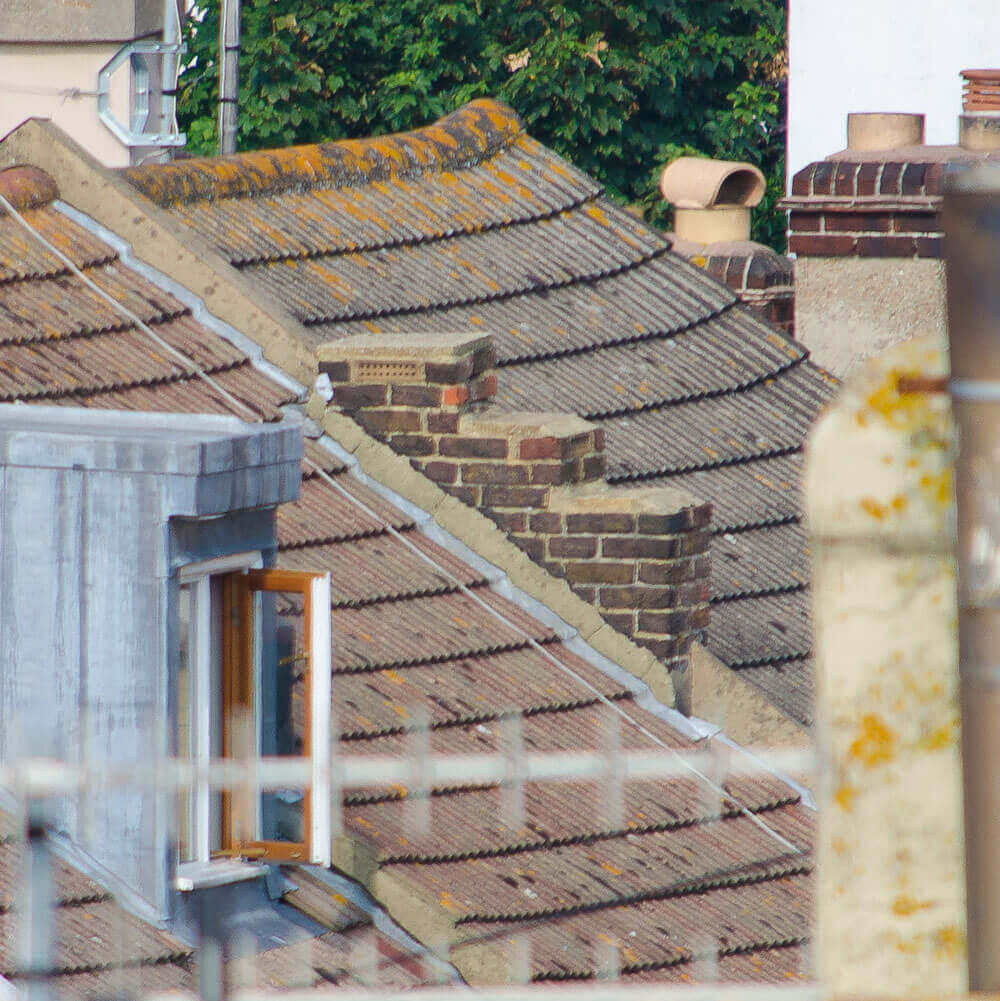
Phase 2 - review the top
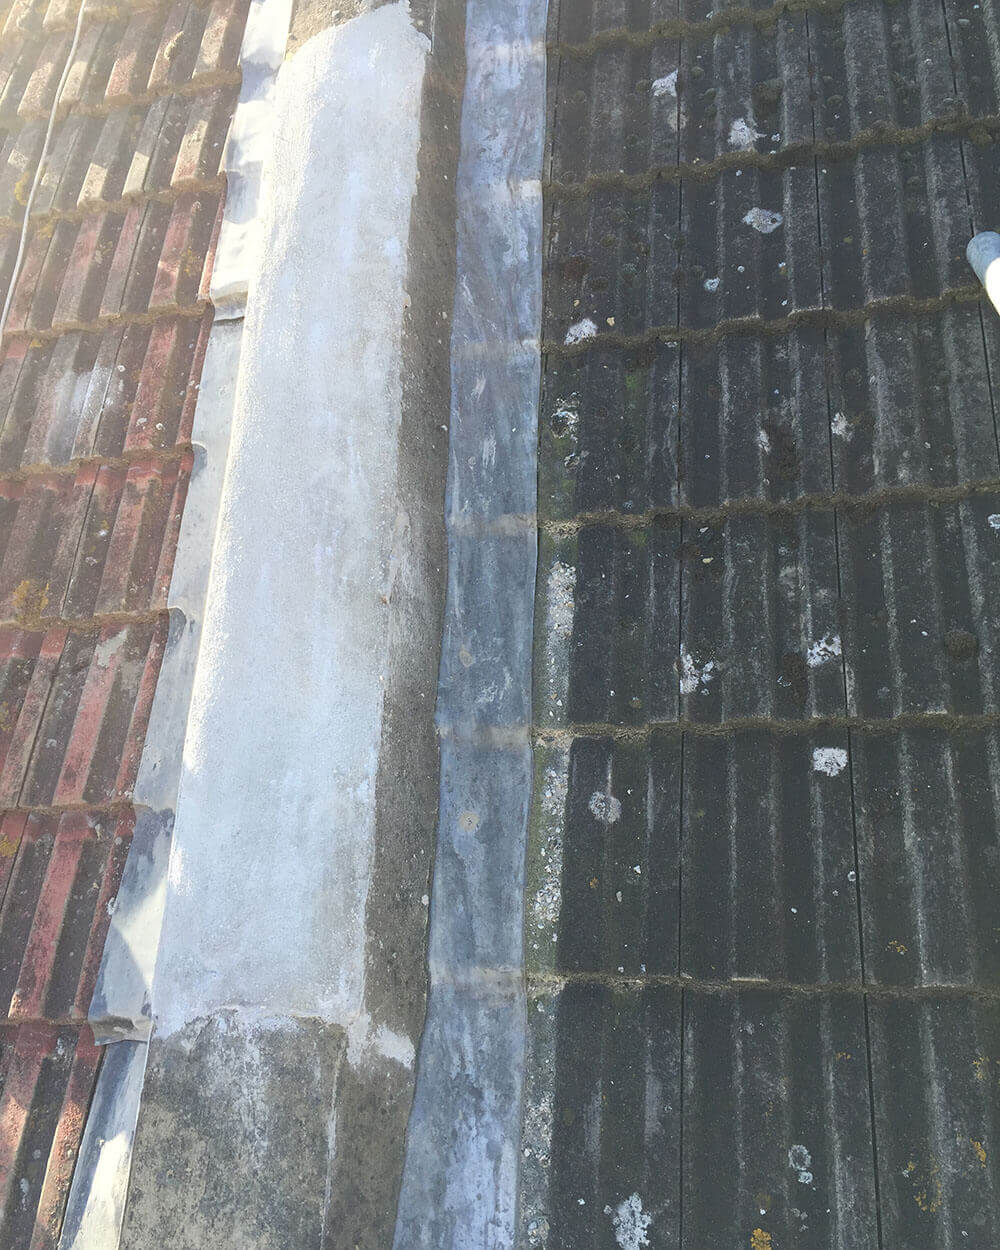
This image shows the chimney stack at the front of the house, highlighted on the left side with the tall pots. We would later use one these pots for our wood burner.
The stack highlighted on the right is the rear stack. The pots at the rear had already been removed and the stack capped.
We chose to remove the whole of the rear stack to free up space in all 4 effected rooms.
You may notice our neighbours have a mixture of removed and capped rear stacks.
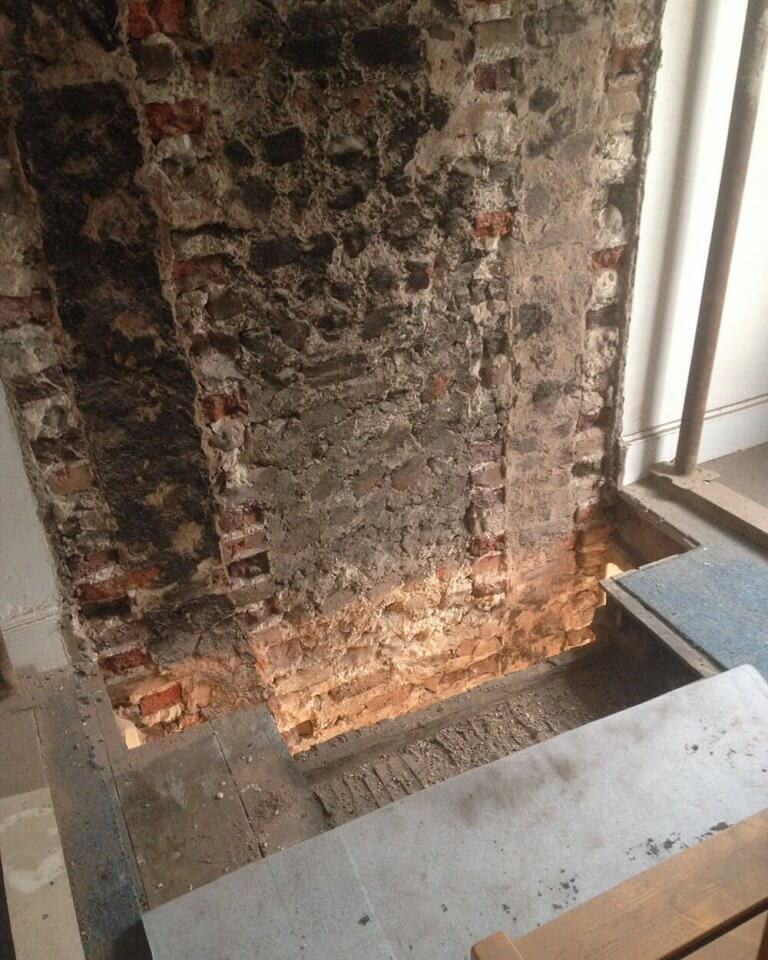
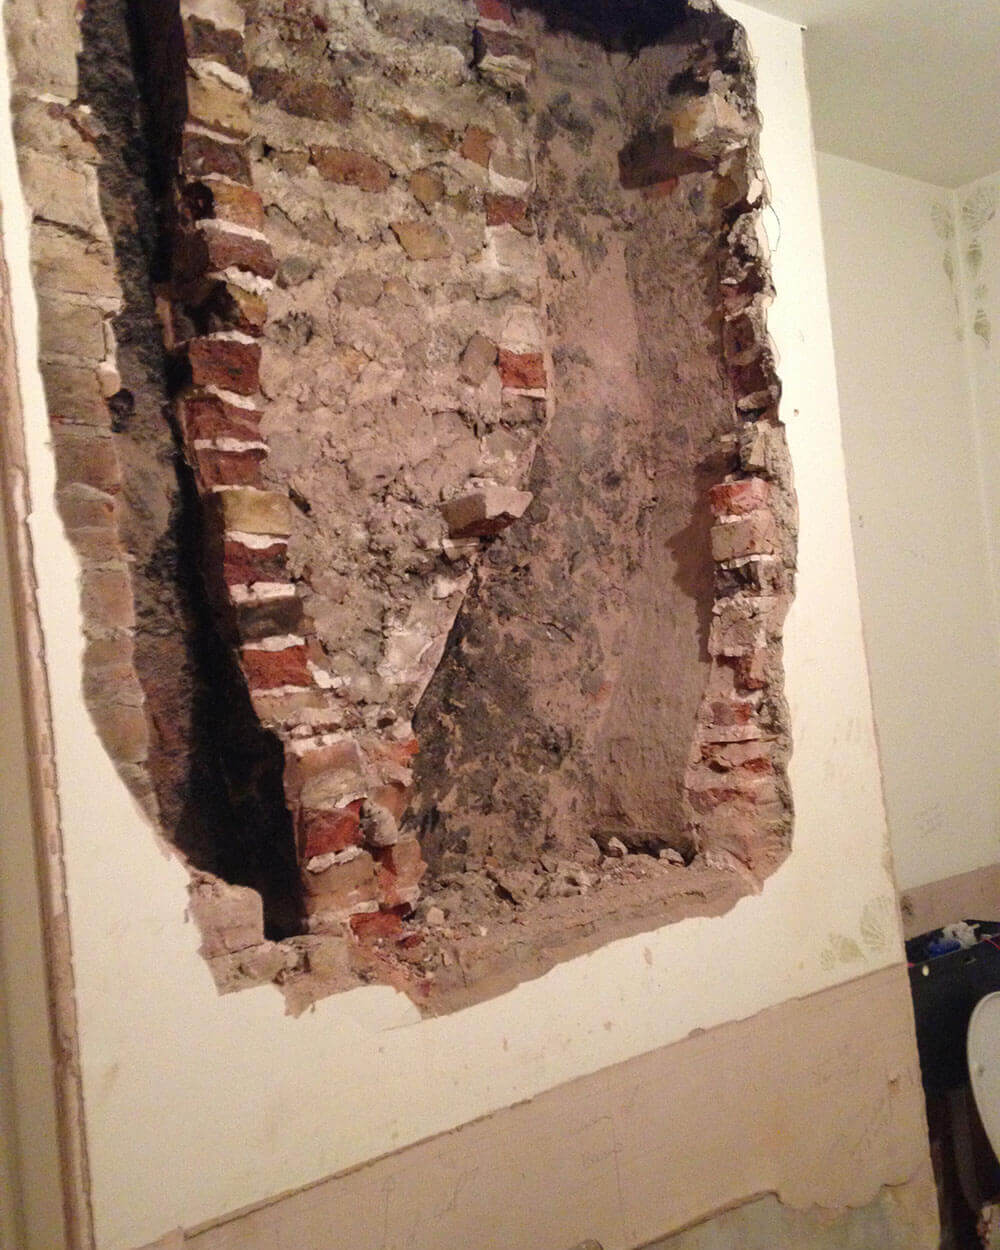
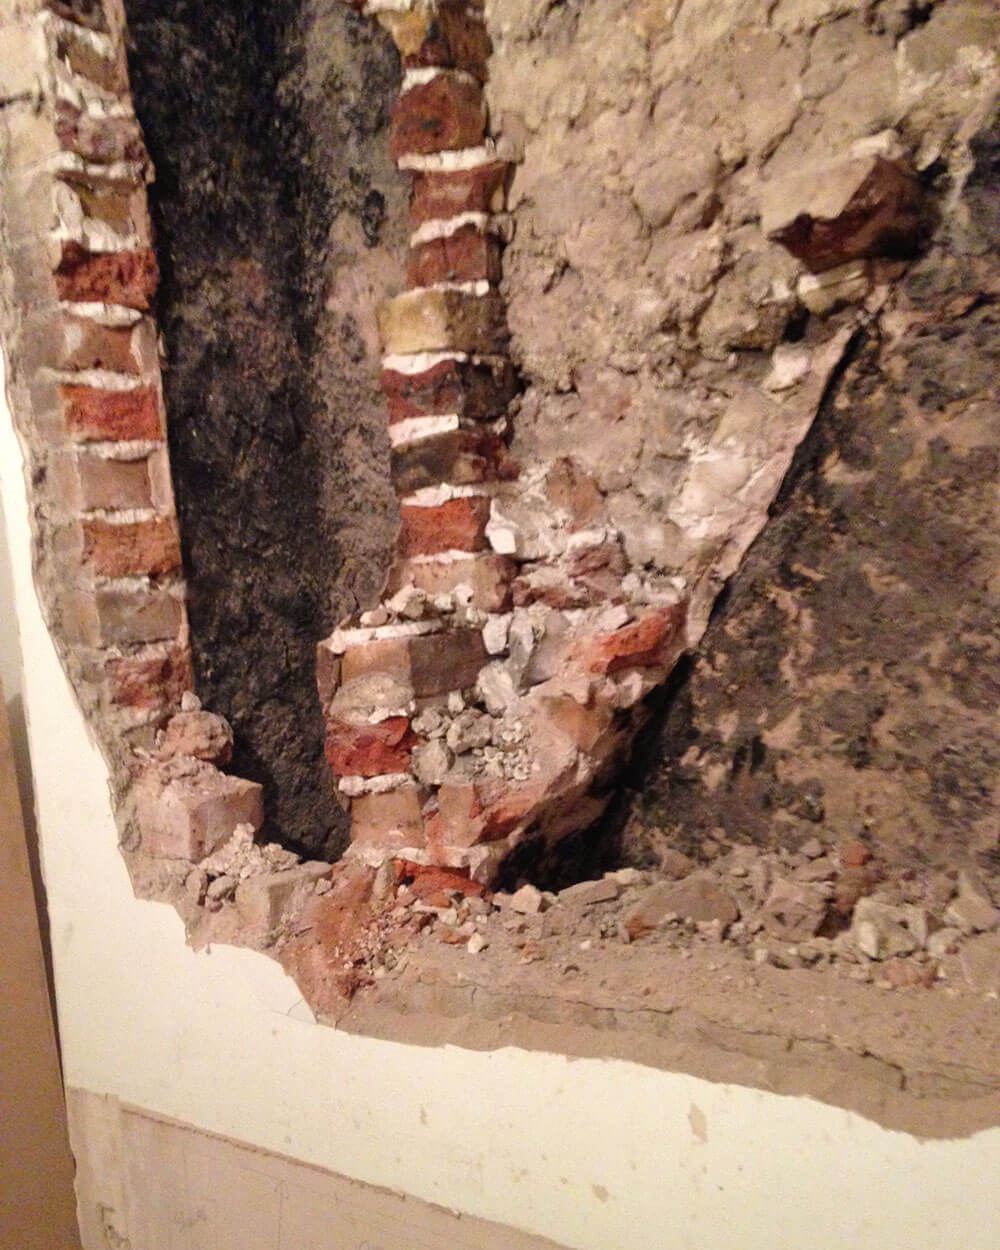
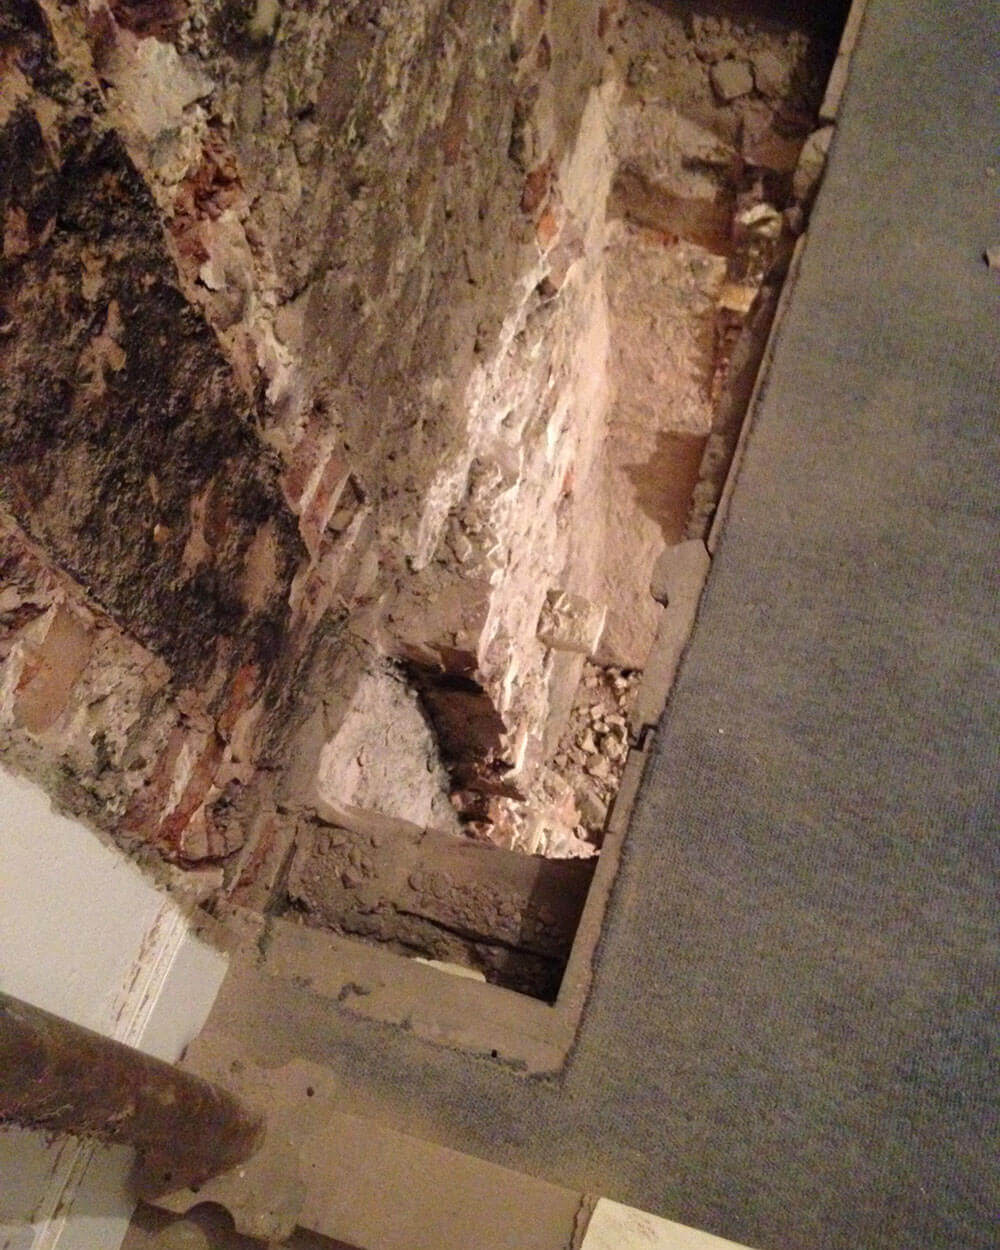
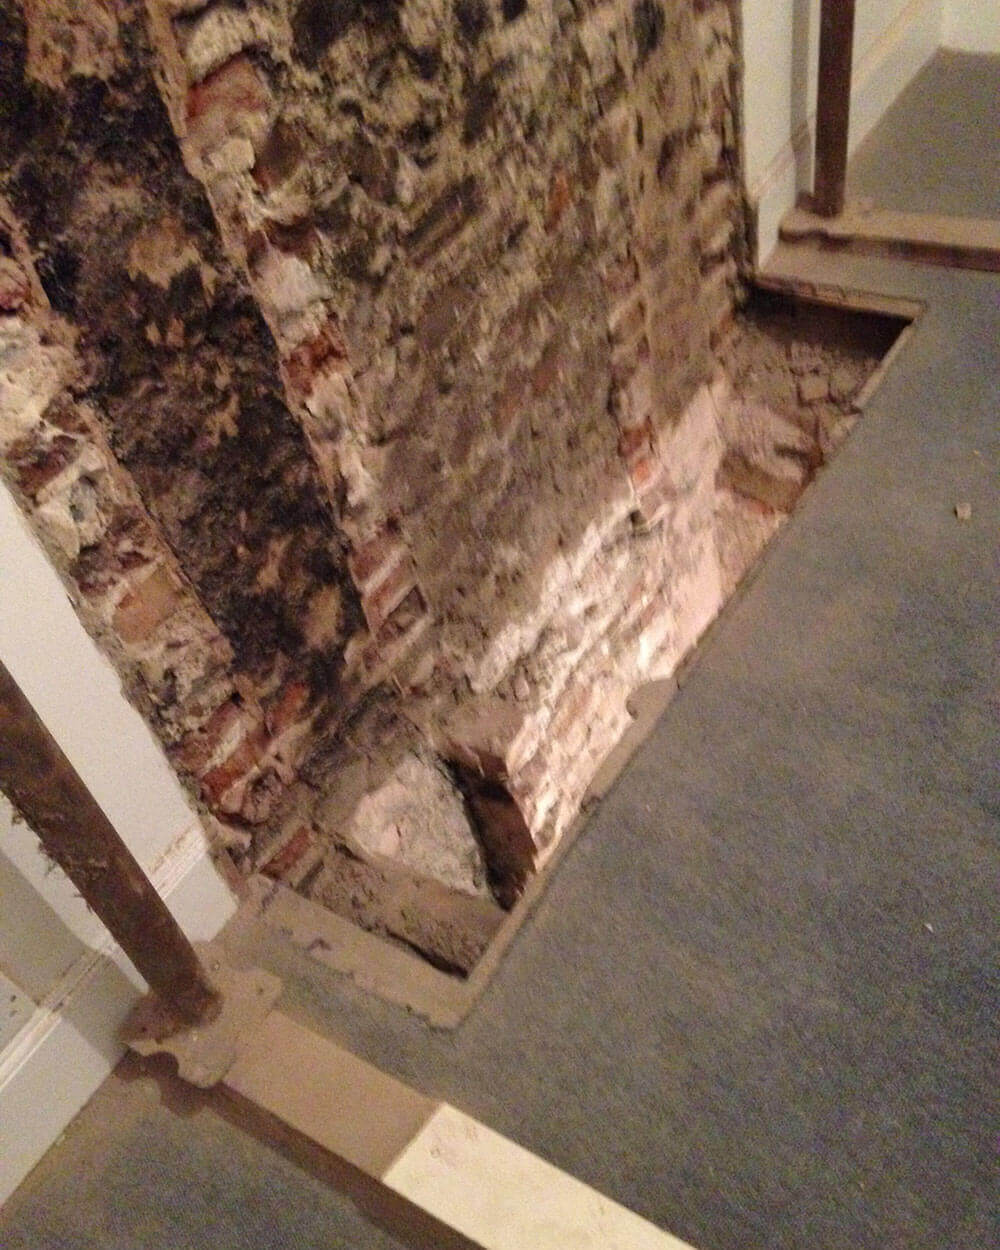
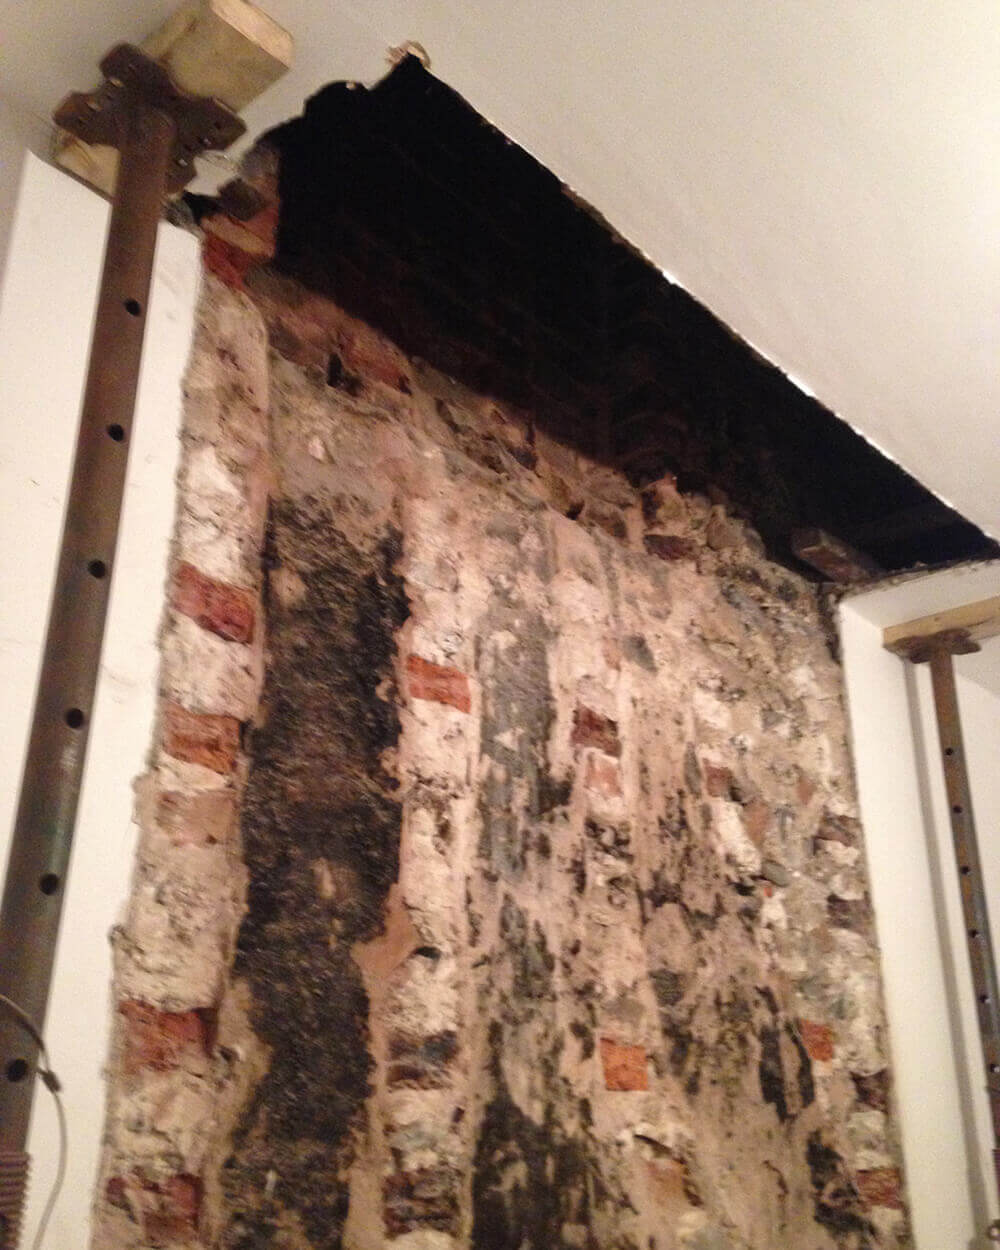
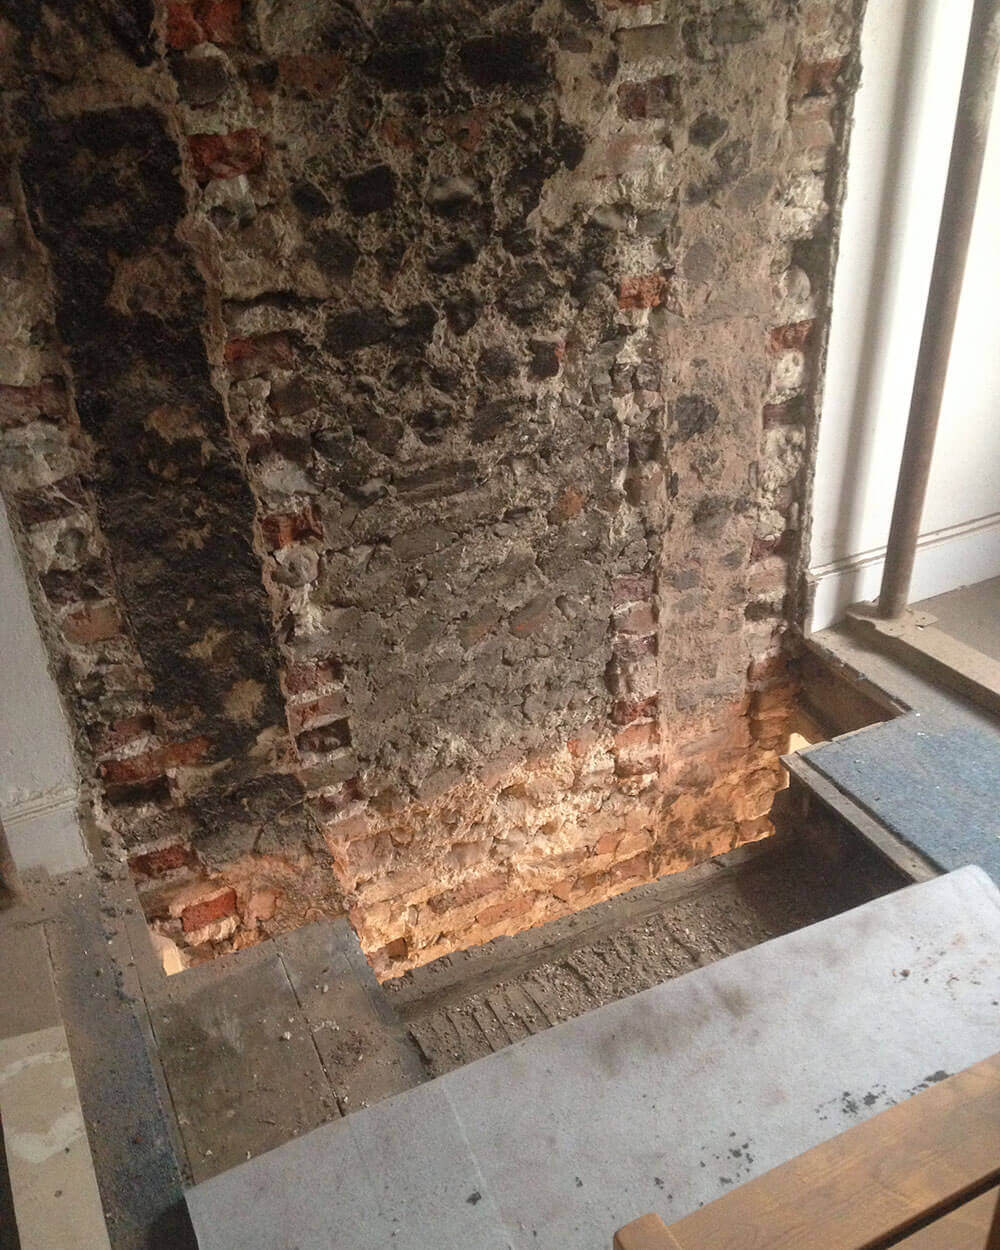
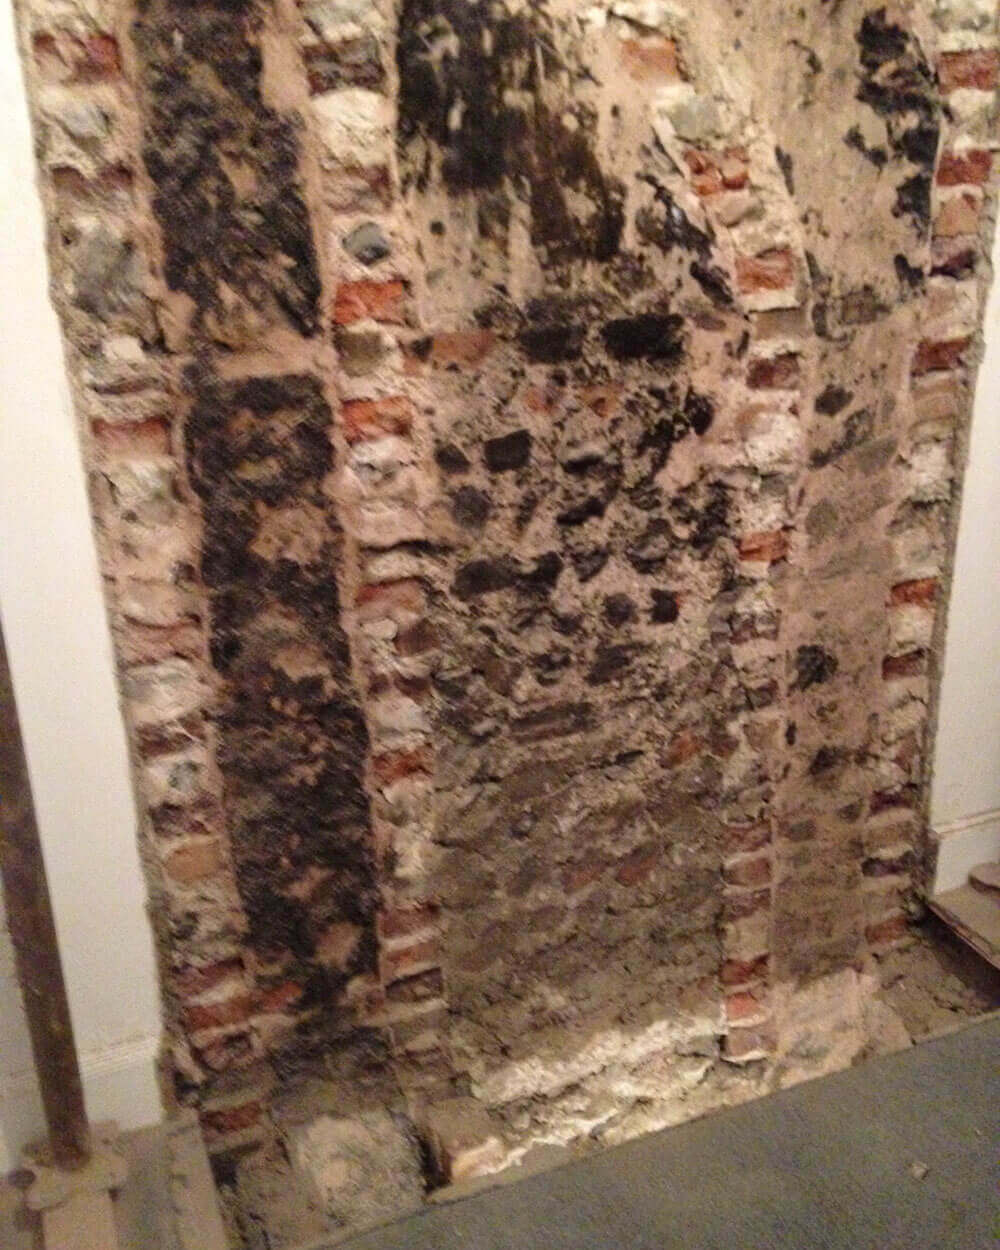
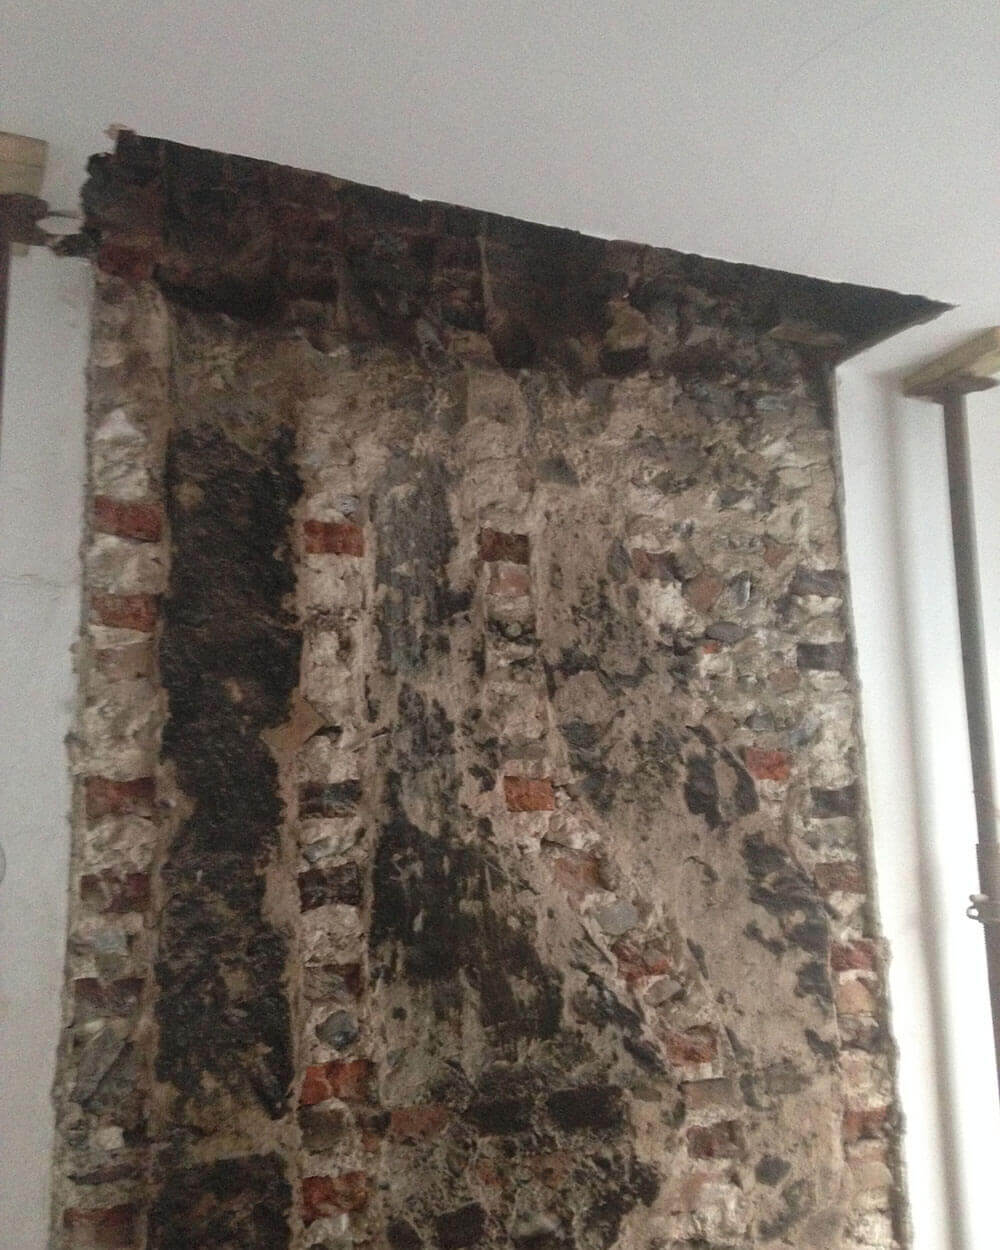
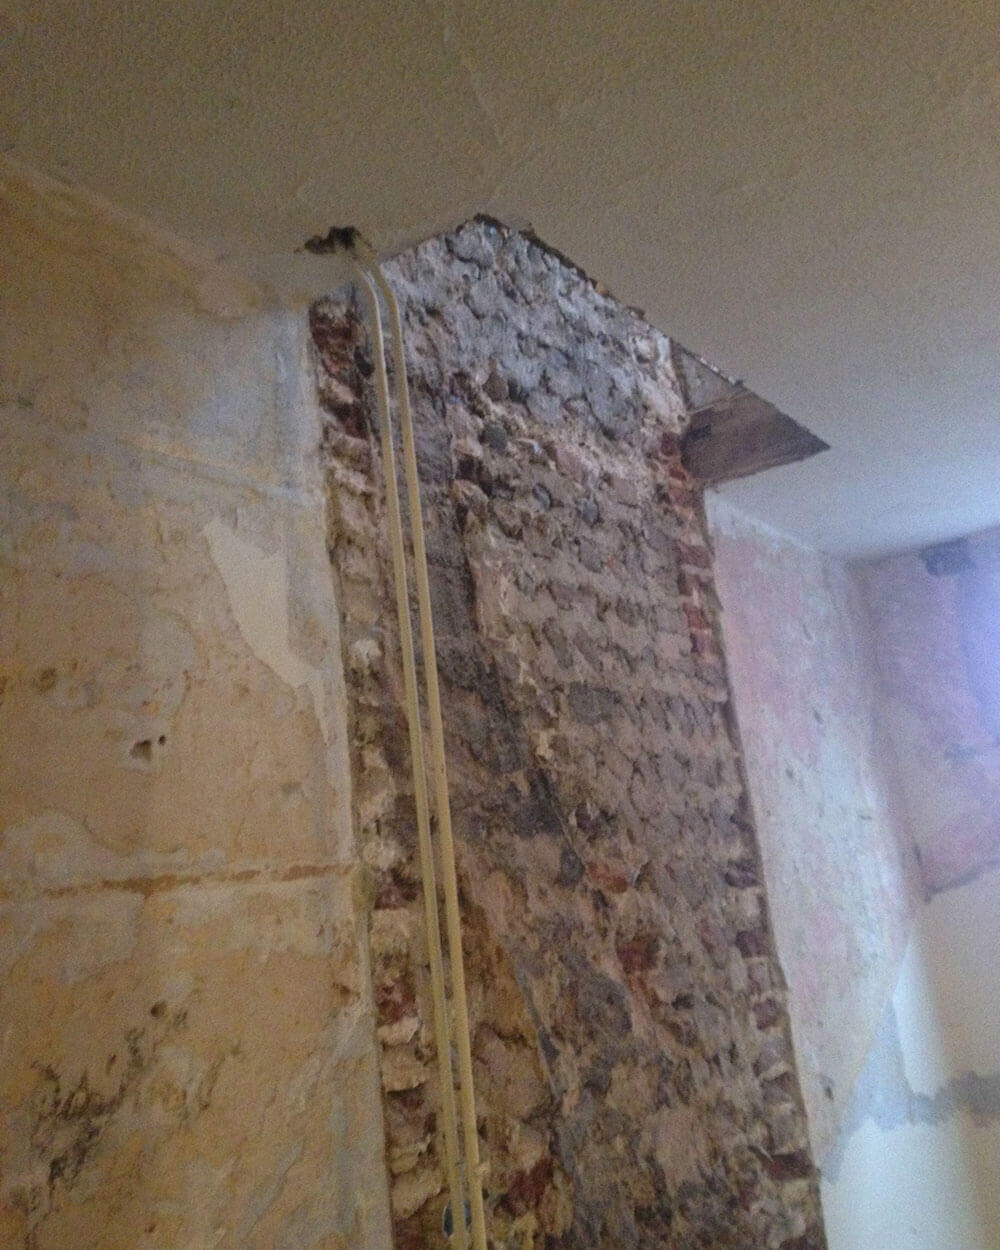
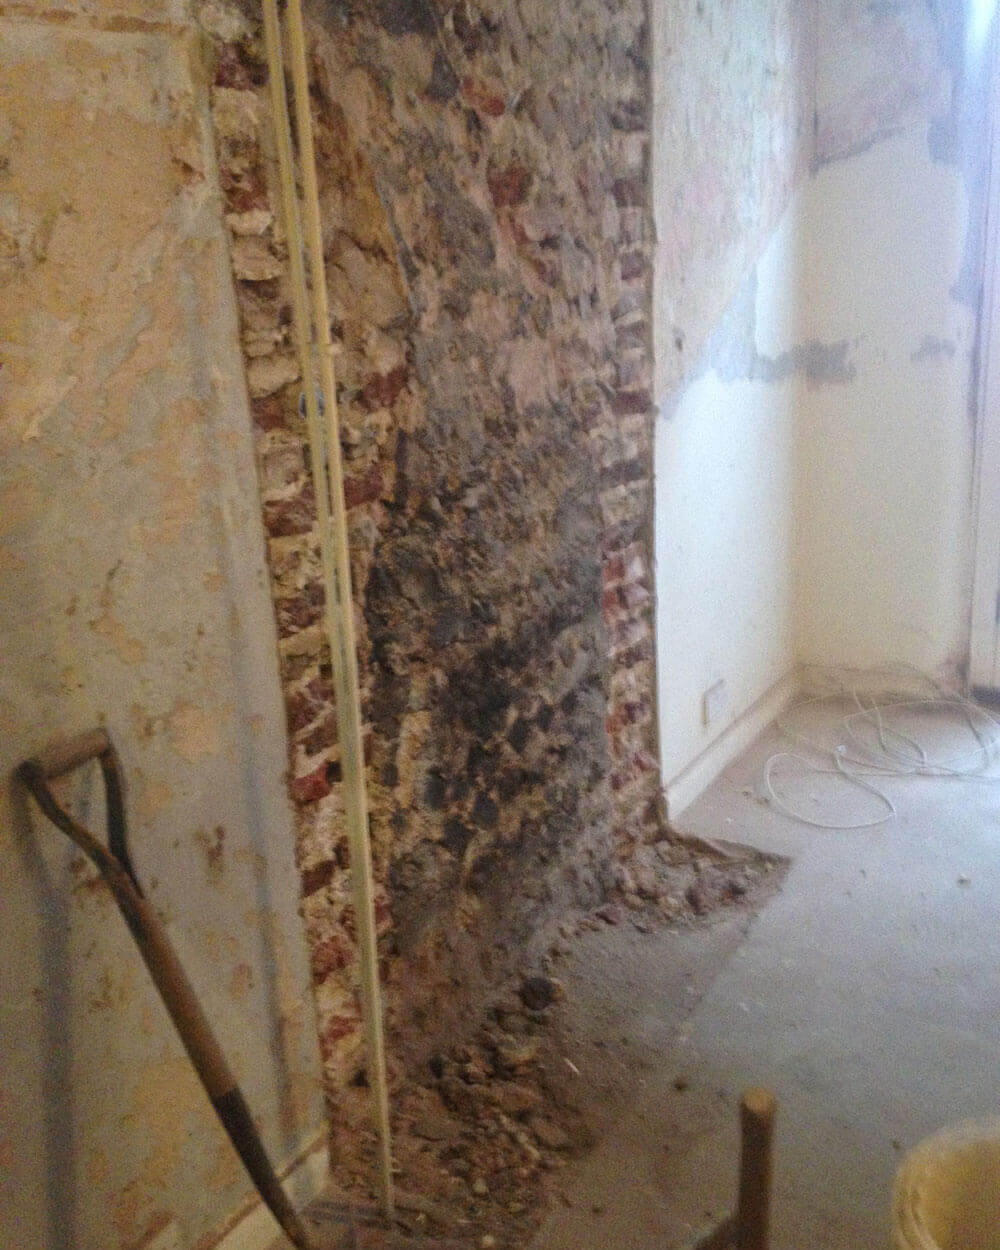
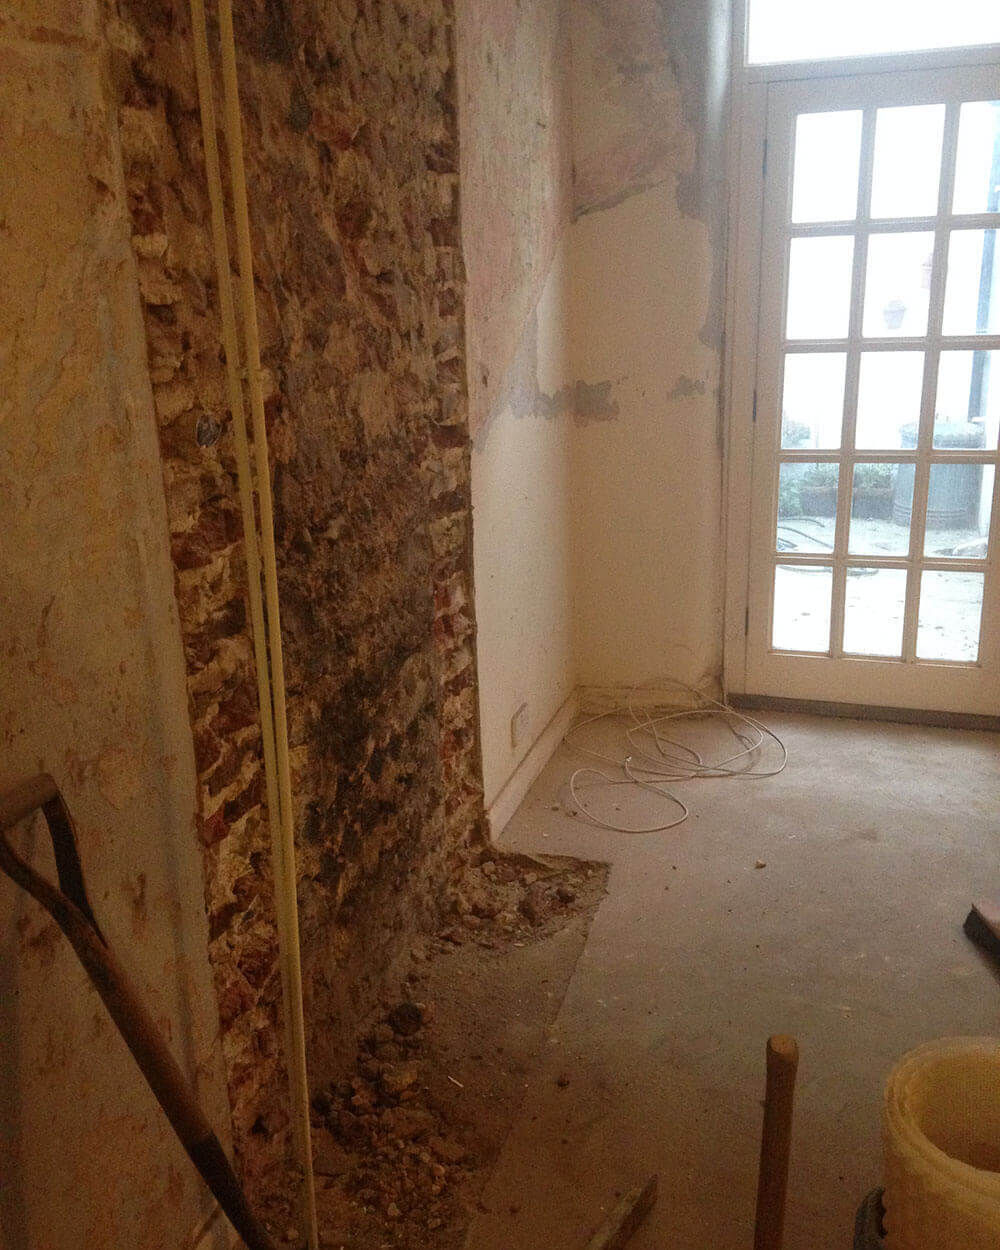
Phase 3 - removing chimney breasts
This is much easier than you would imagine.
You first need to place props between the floor and ceiling. This supports the ceiling as you break up the brickwork with a heavy duty breaker and until you secure the floor.
You need to chisel the bricks clean off to create a smooth and flat surface for finishing.
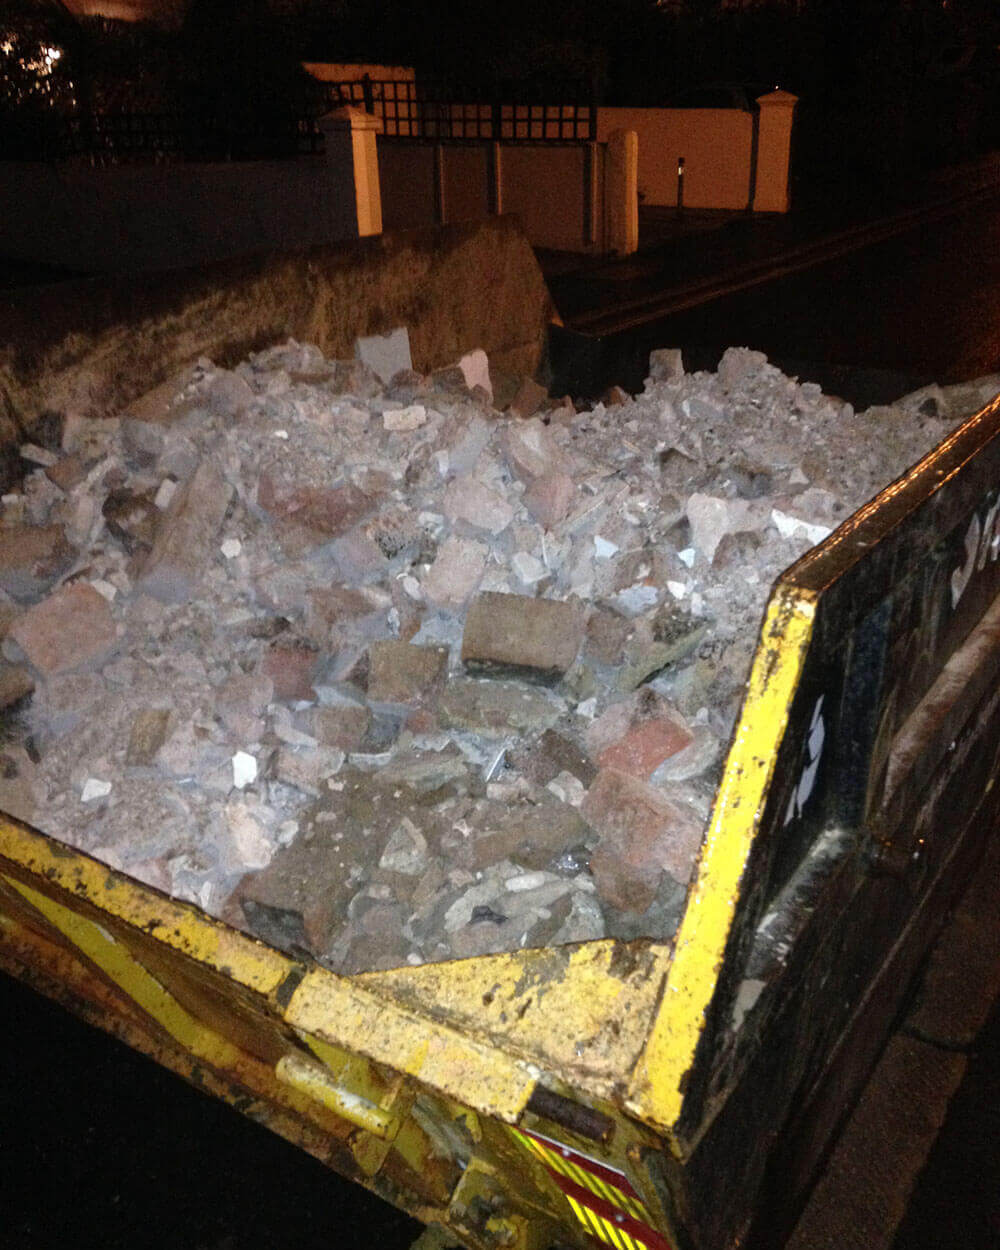
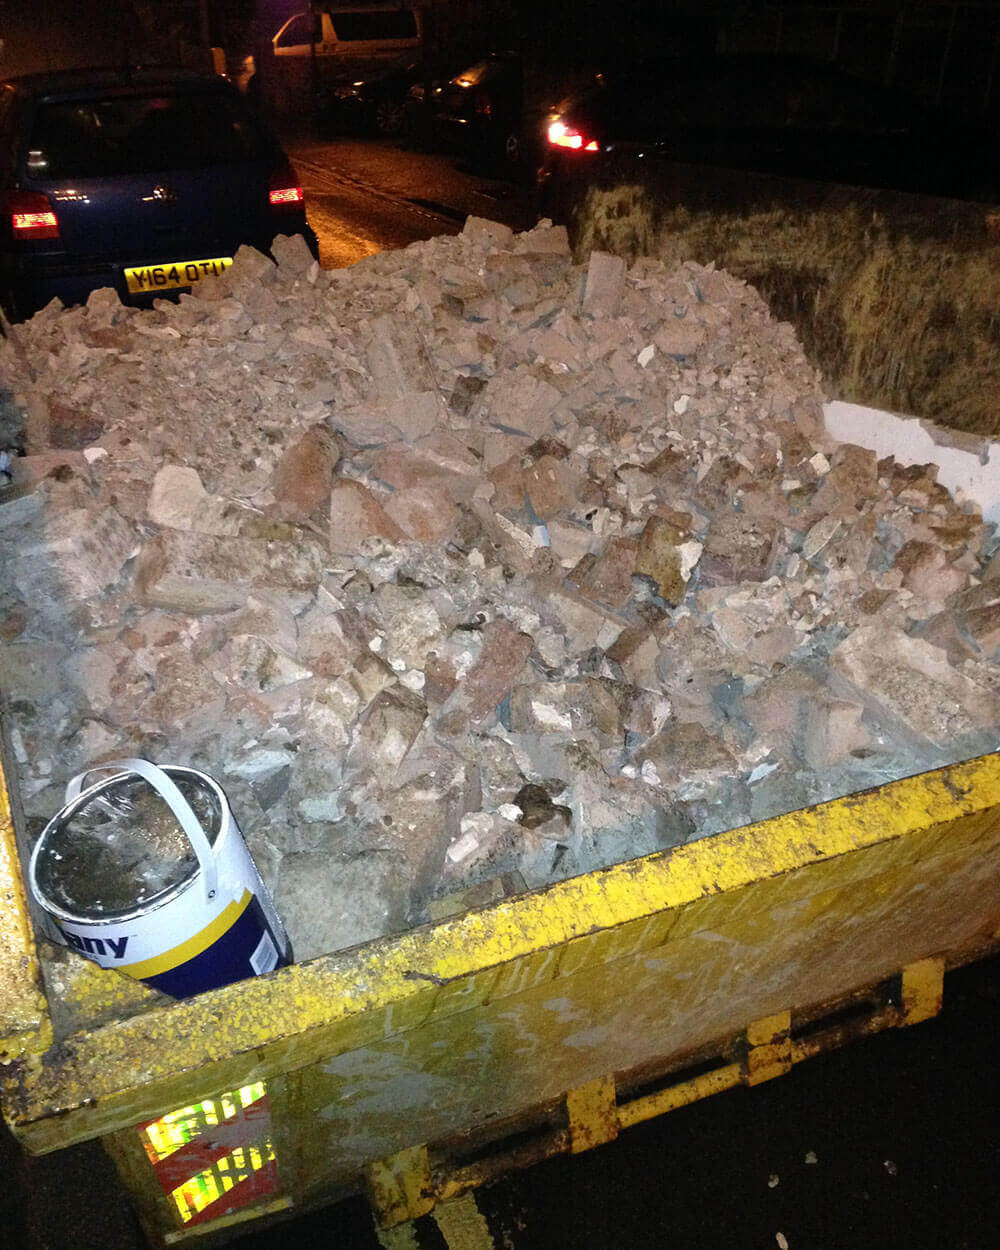
You will most likely need a big skip to take the bricks and rubble. In our case, we had a skip dedicated to rubble that was emptied by a grab lorry so we could re-use the skip later on.
It took 2 builders 2 days to remove the stack in 3 rooms and the loft. Well, they started as builders and finished looking like coal miners!
Phase 4 - making good
There were a number of items to make good:
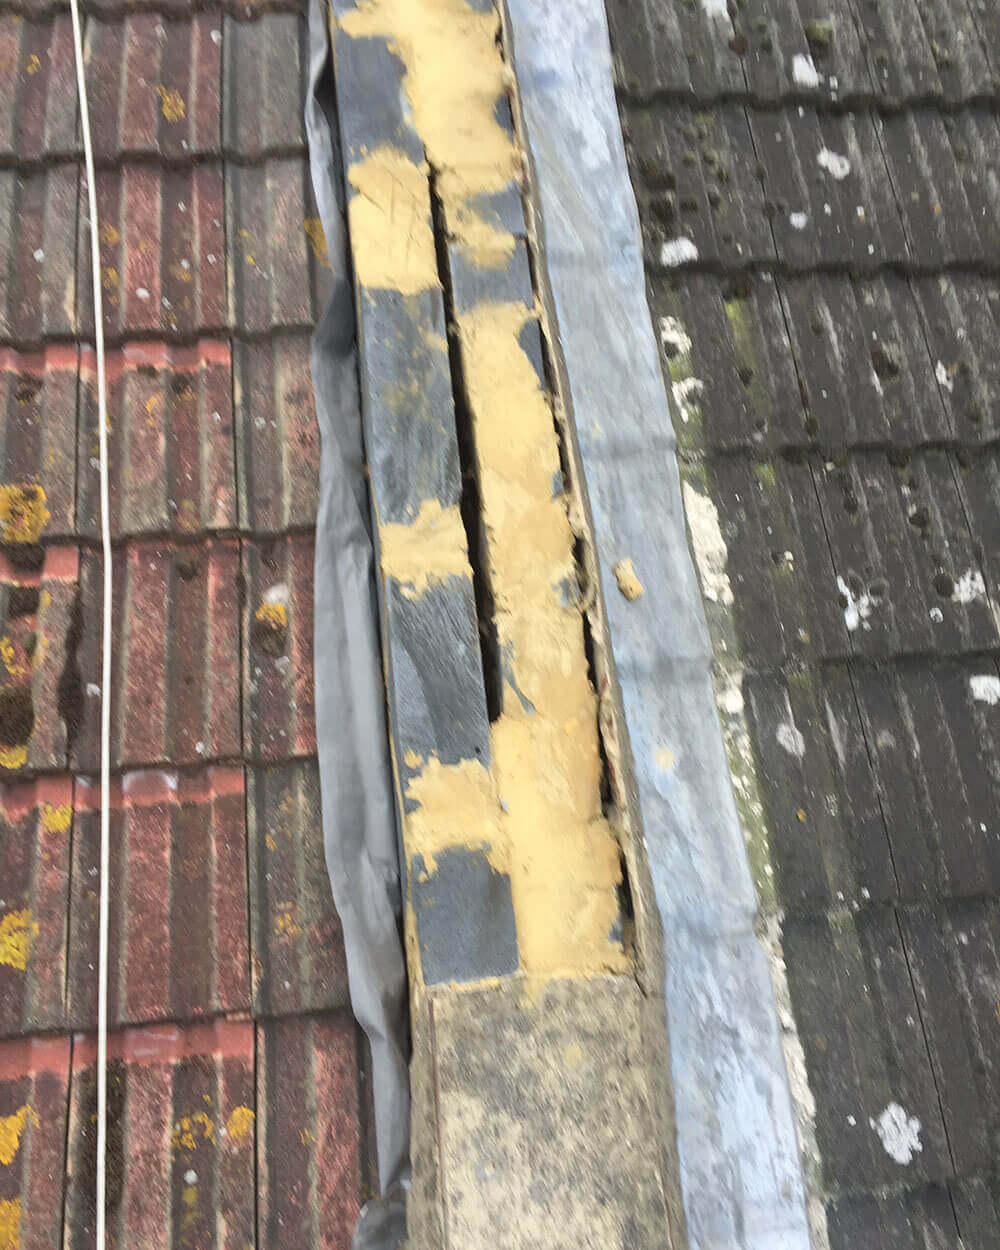
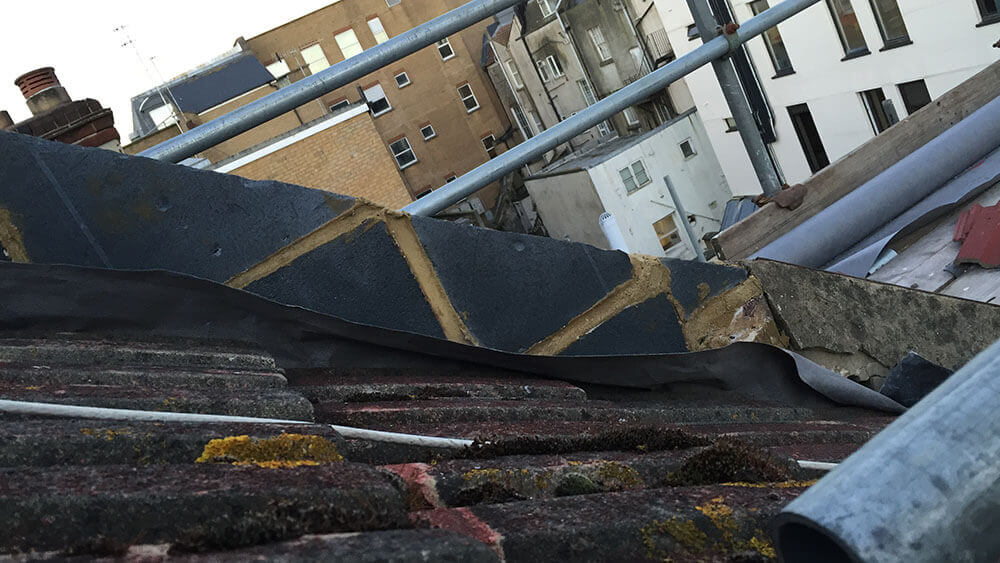
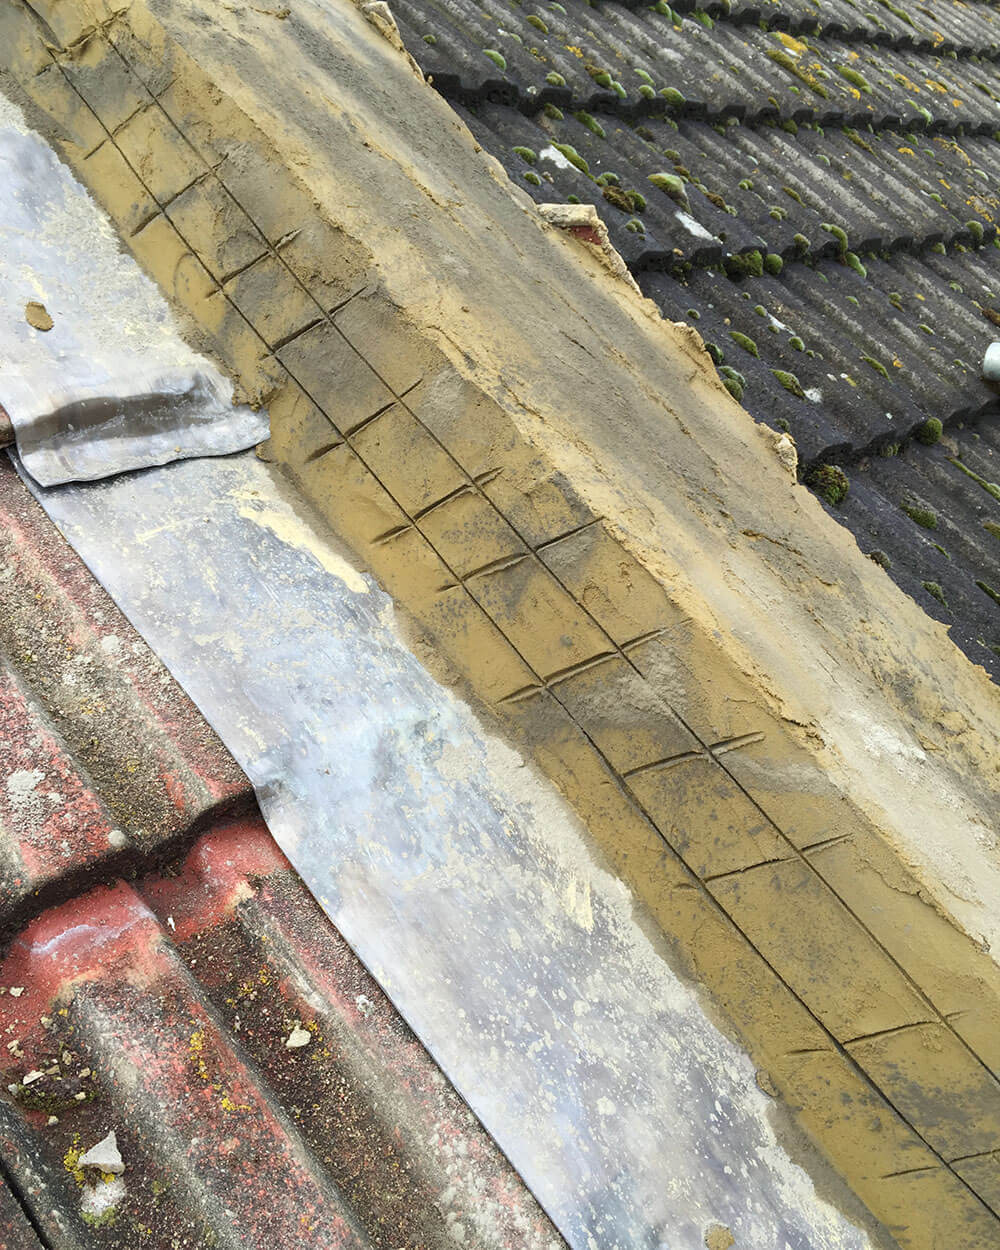
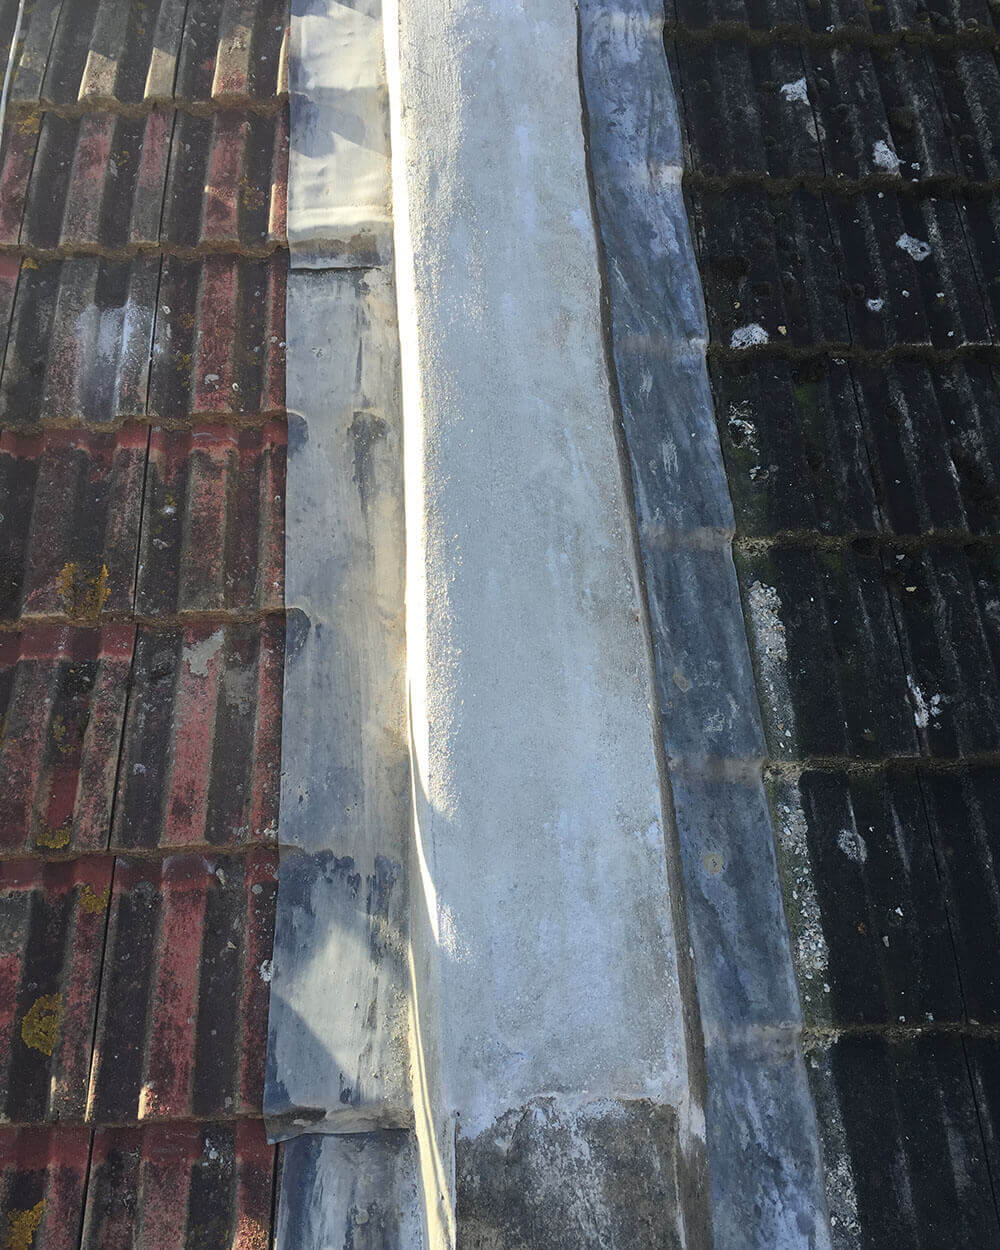
The firewall on the roof
This needed block work to rebuild it, and then rendering with some lead fitted over the tiles to make it water tight. Scaffold was needed here. Luckily our neighbour already had scaffold up for rear decoration so we we able to build a small extension from that.
The walls
Some walls had a scratch coat over the old bricks followed by the a plaster skim to the whole wall.
Another wall was damp proofed with a plastic membrane and then had dot and dab plasterboard fixed over with a plaster skim on top.
The floors
Timber was used to trim the floor to secure it all so it could then have floorboards fixed on top.
Ceilings
These were patched with plasterboard fixed to similar trimming as the floors. They were then skimmed to finish.
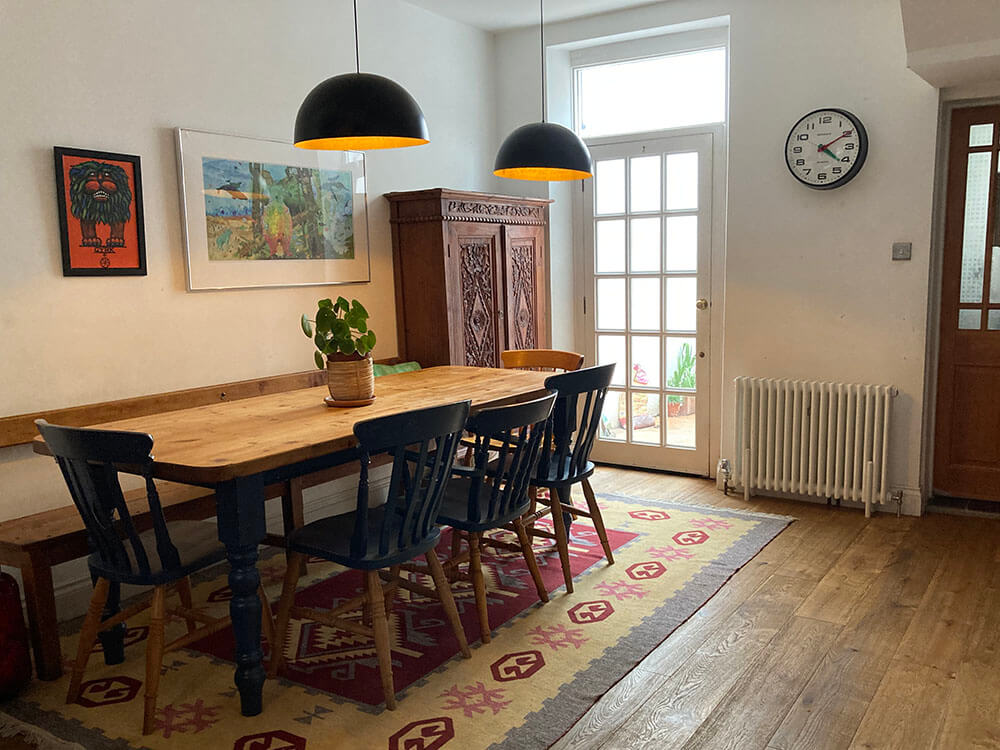
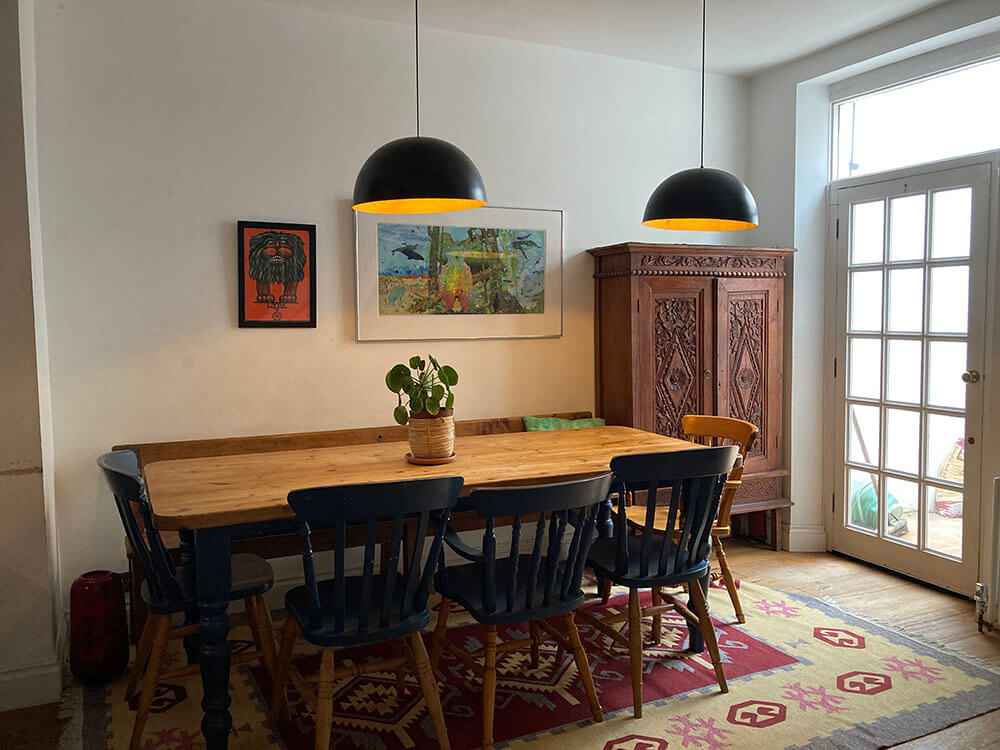
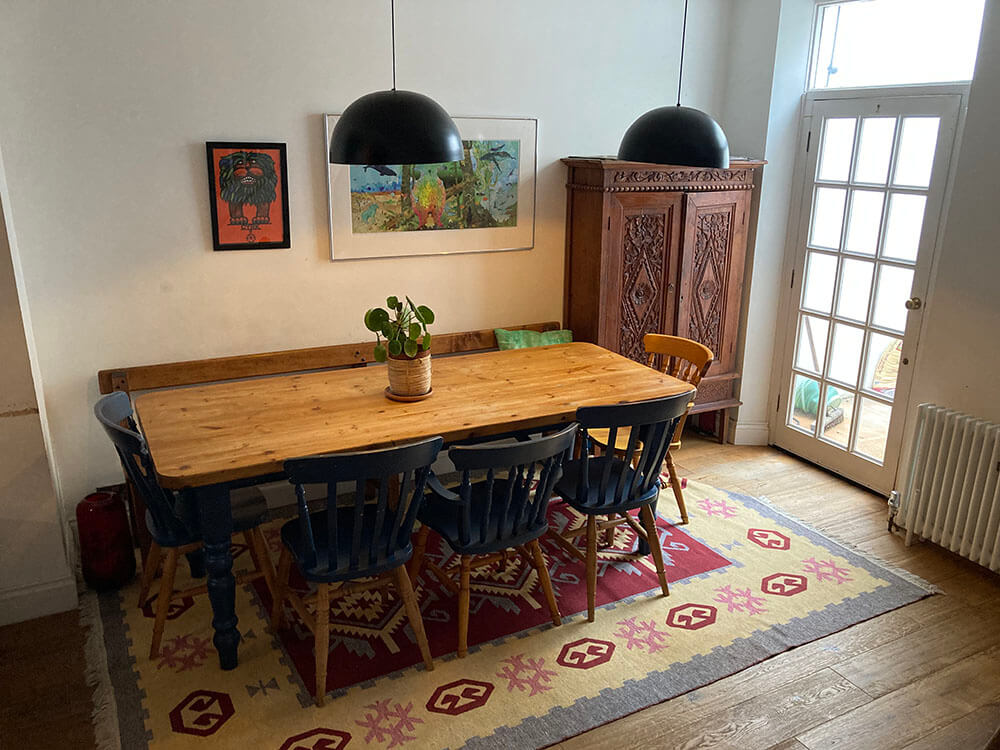
The result
The change to the rooms was fantastic!
The benefits were:
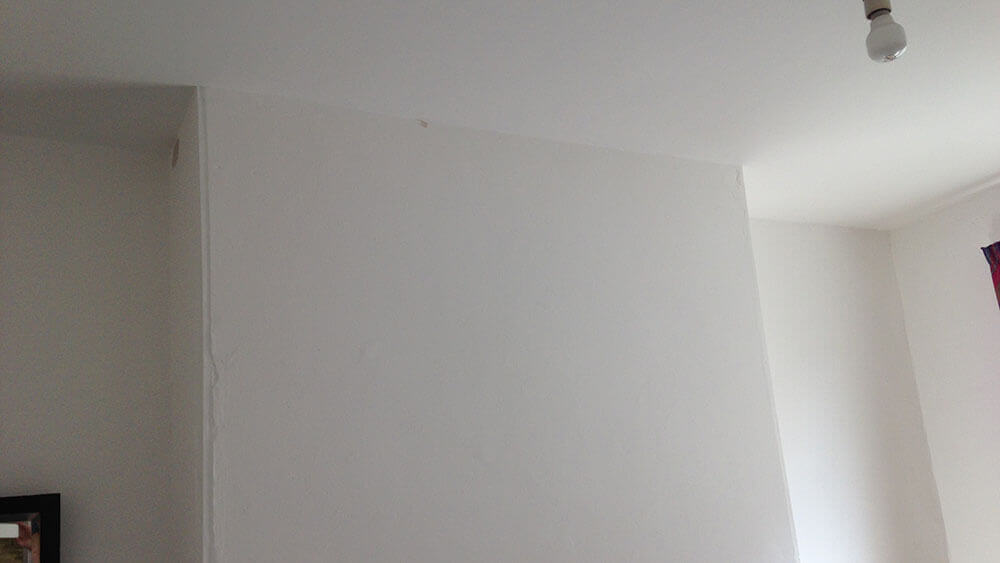
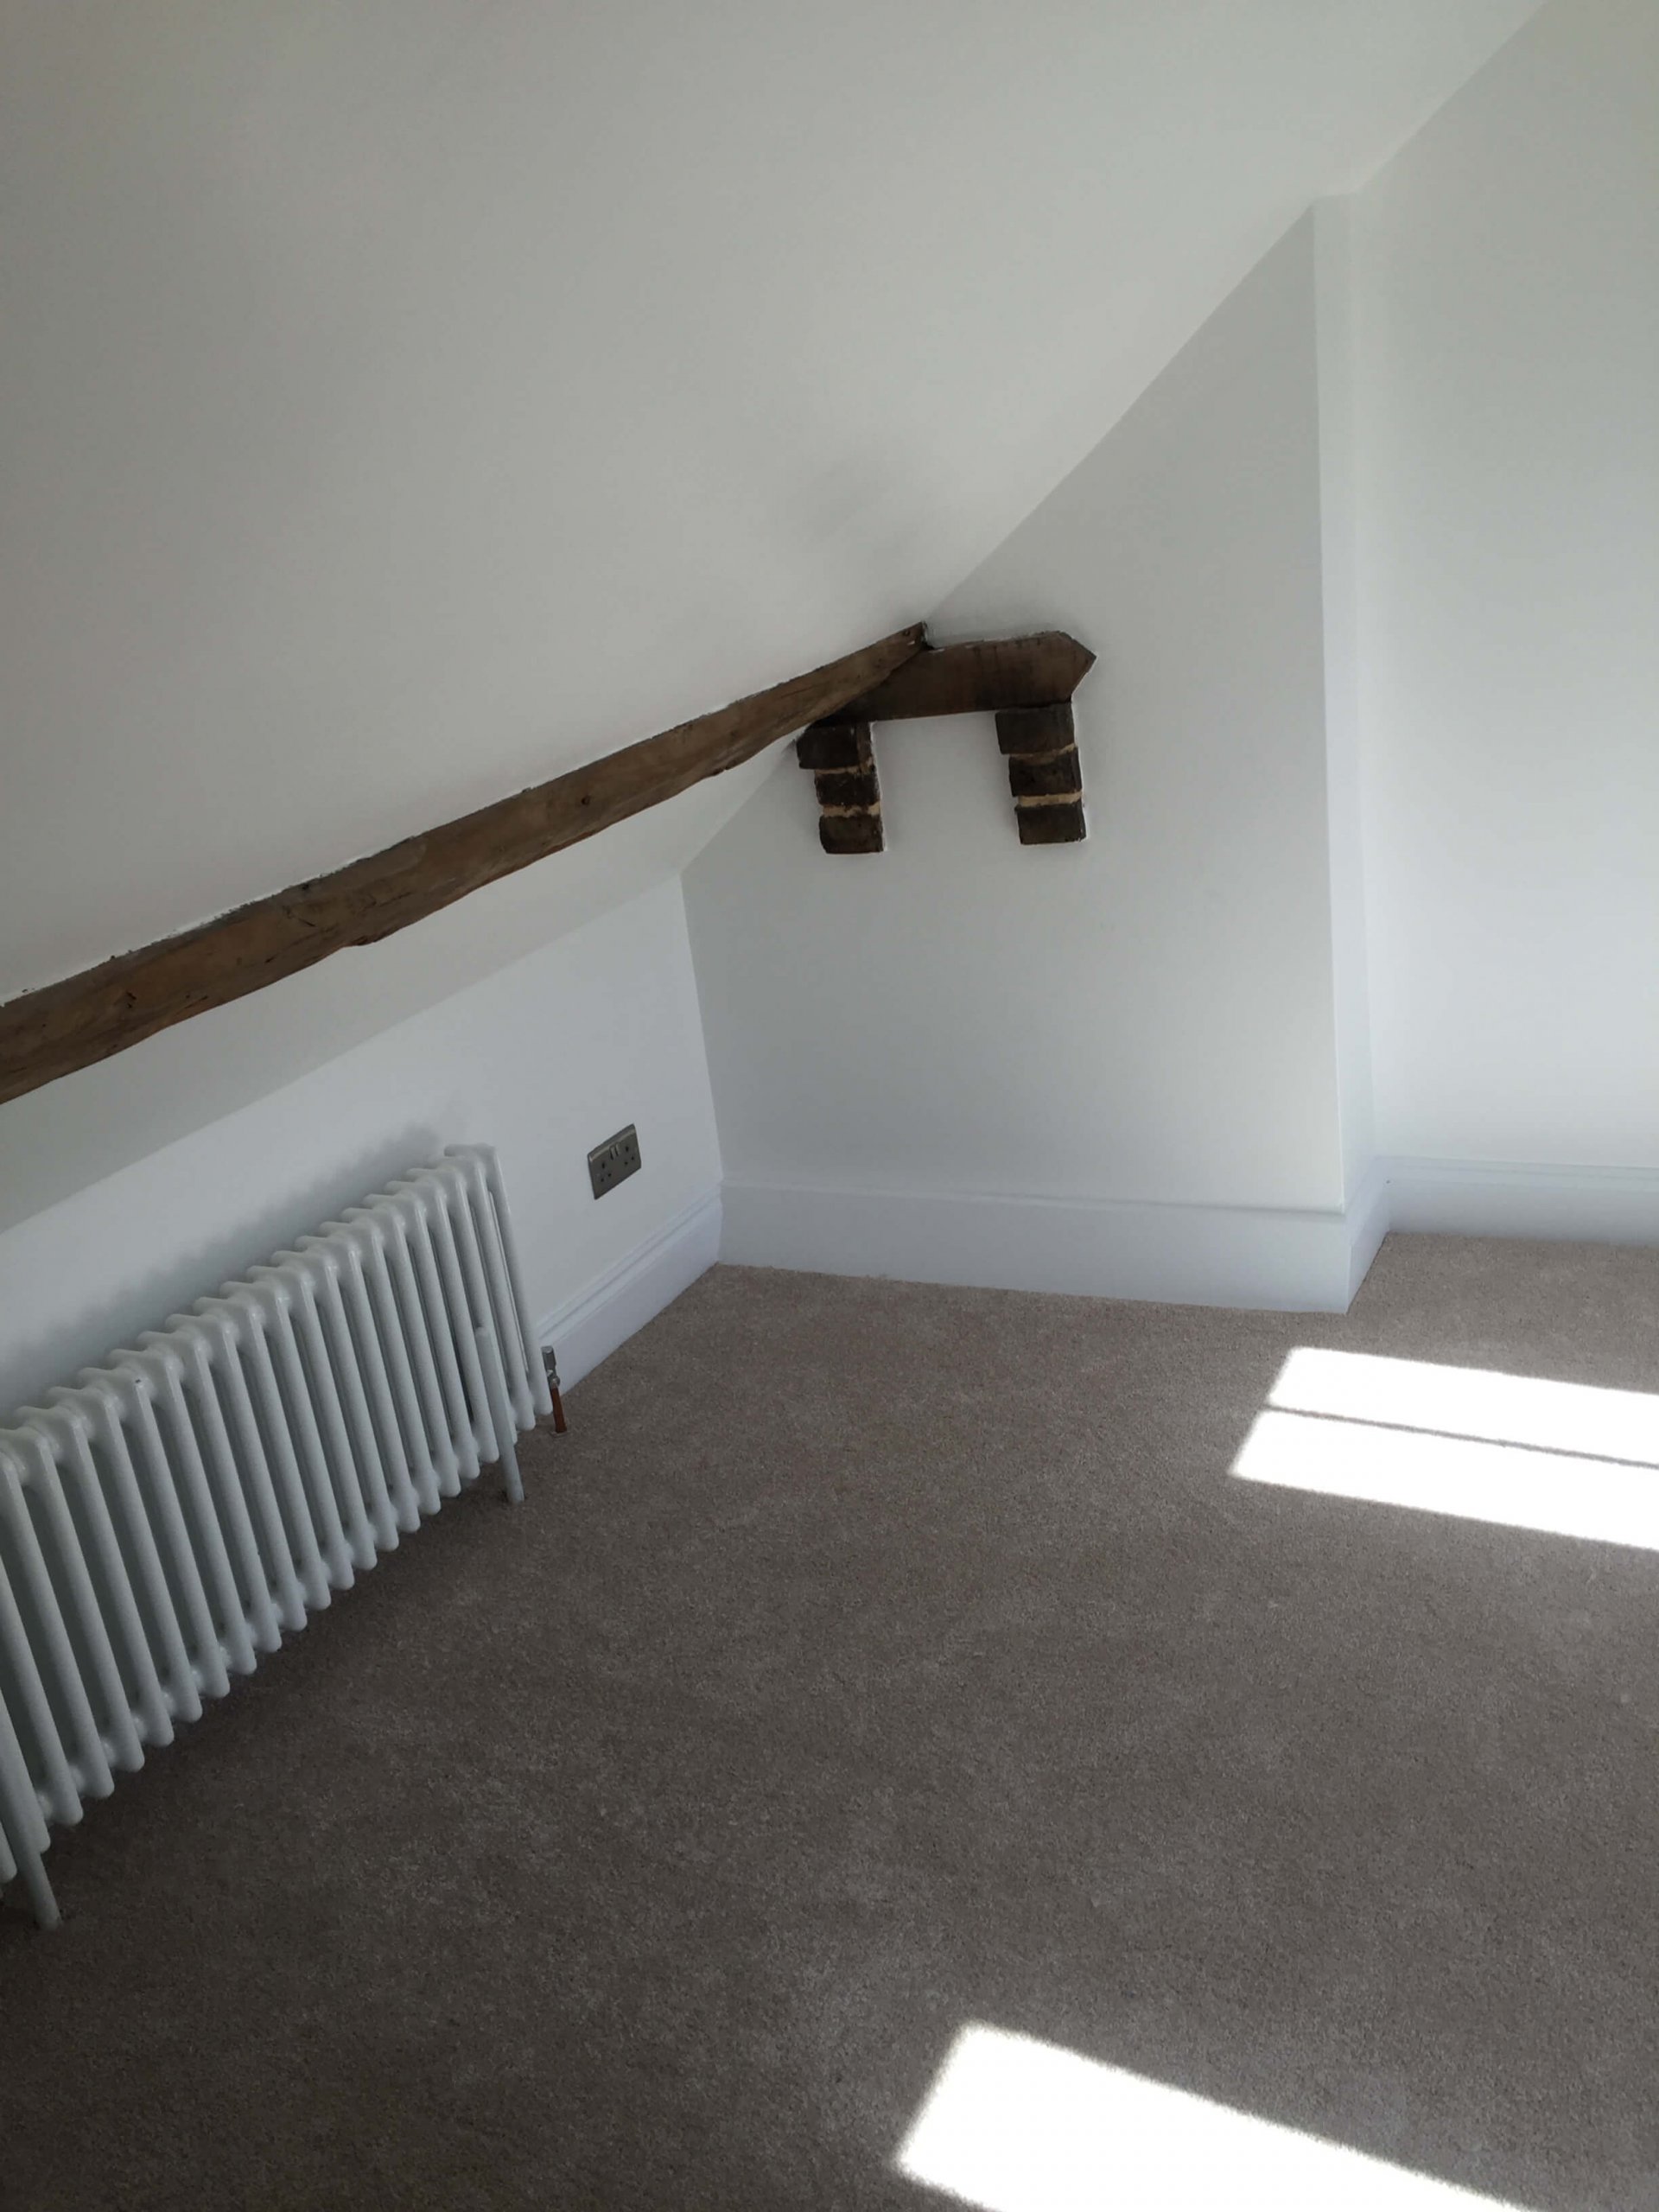
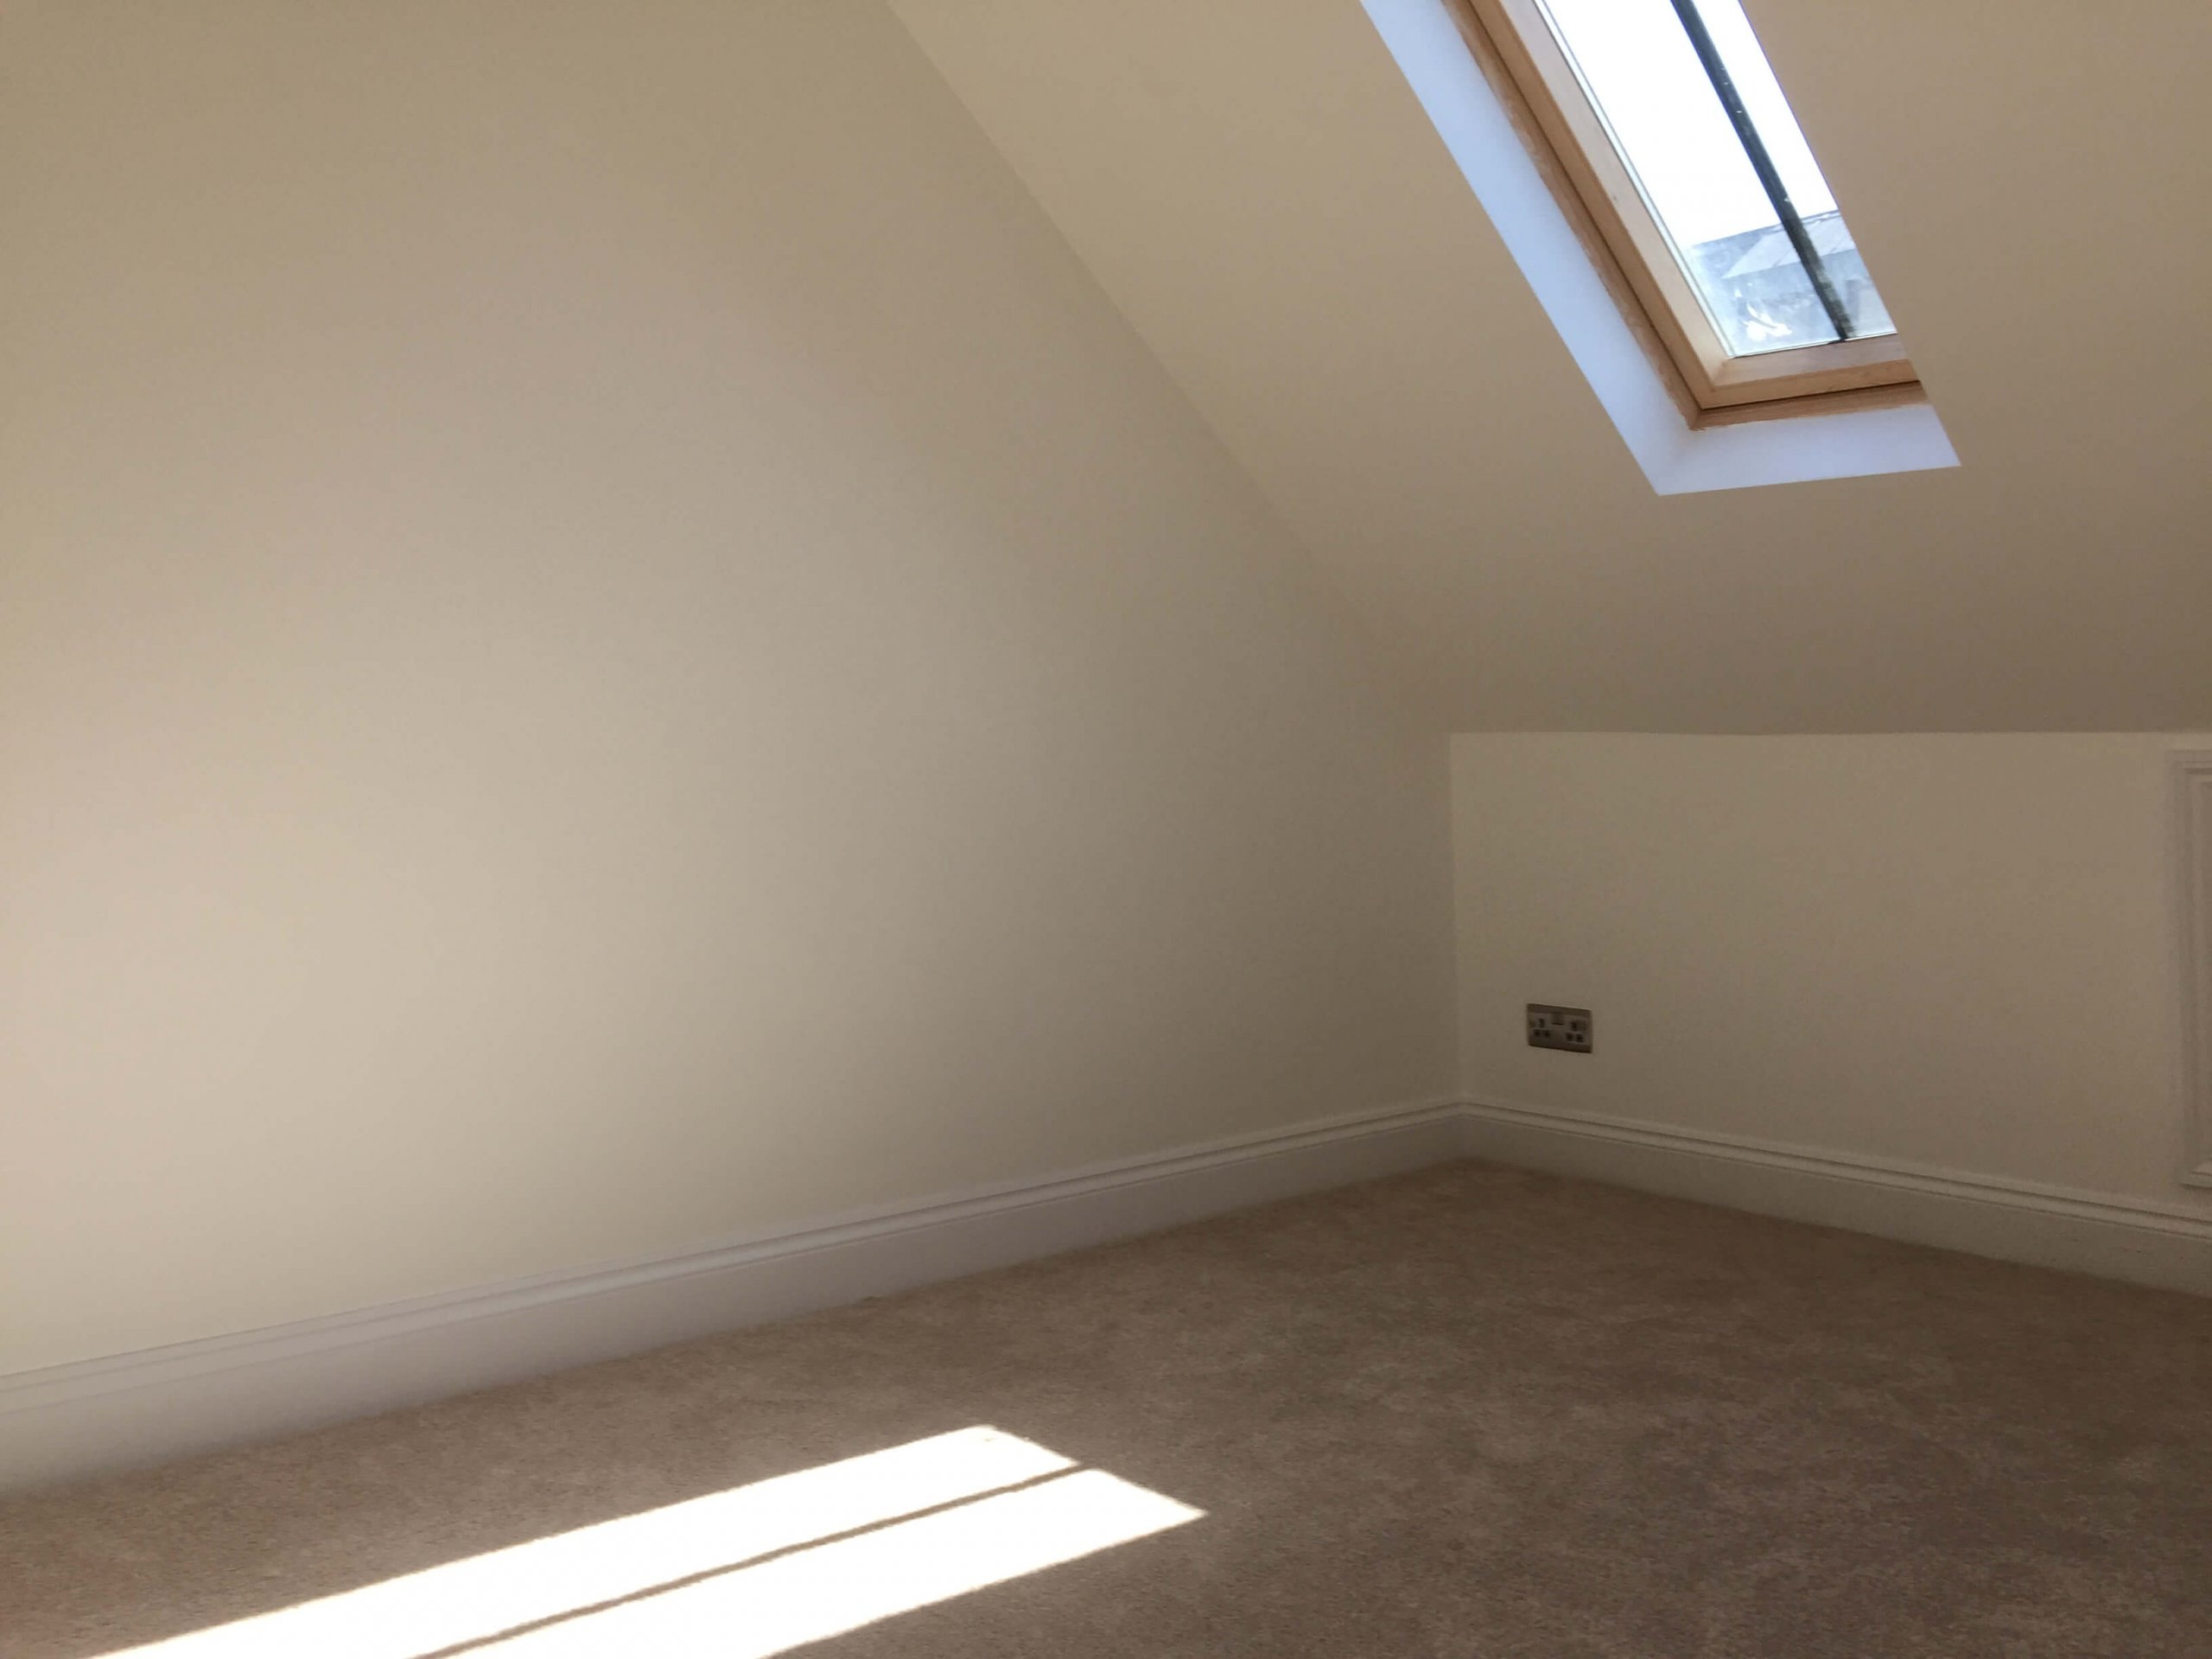
Loft room
This allowed us to have a nicer corner in the room. It extended the length of the gable wall, which is also the highest wall in the room.
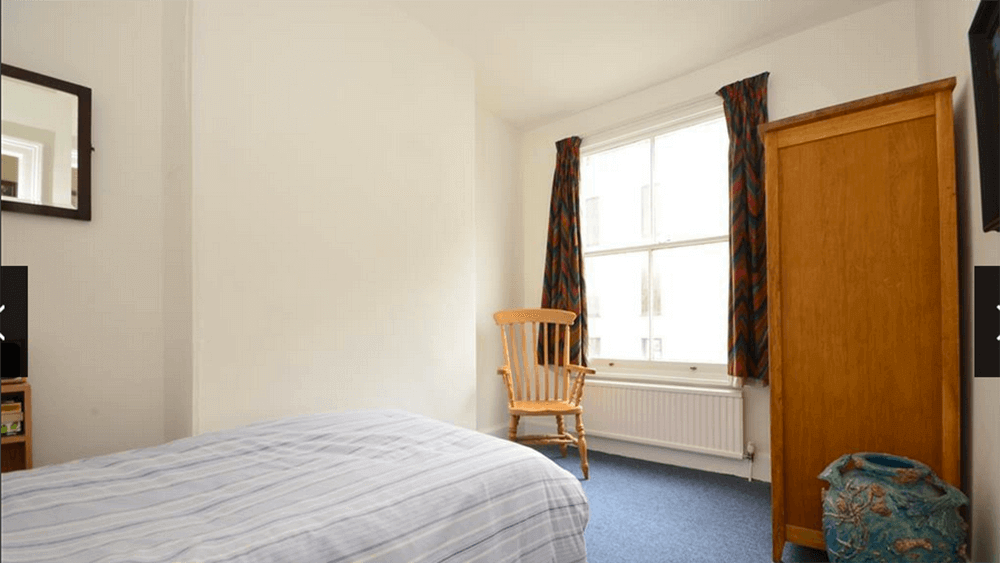
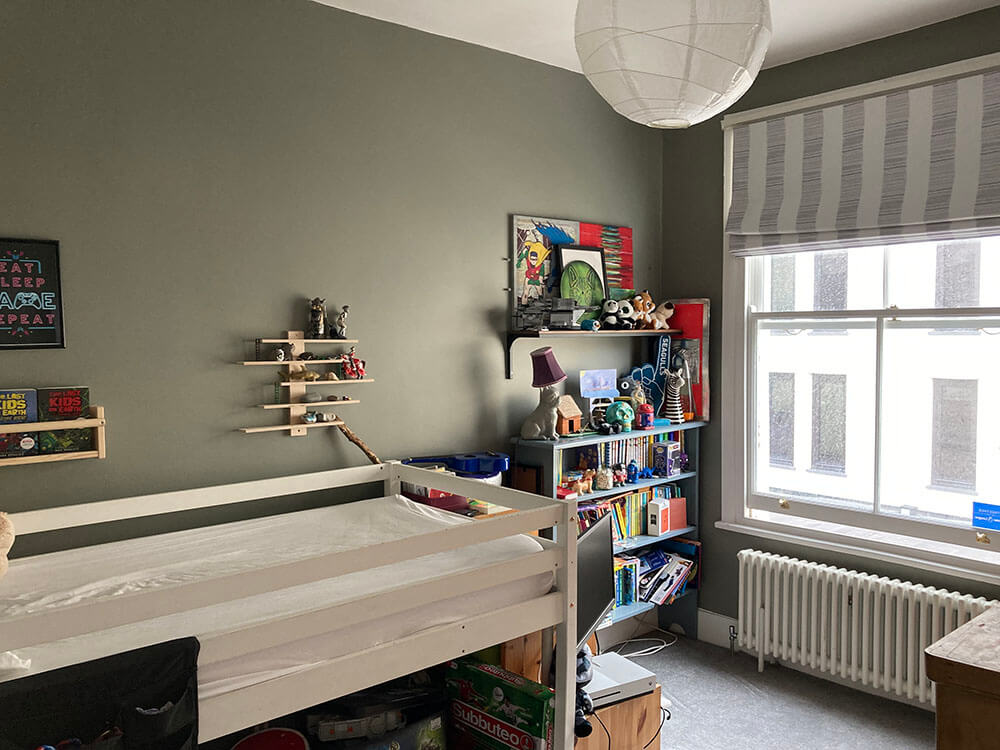
Bedroom
We can now put a bed against the longest wall in the room making the layout far more usable with plenty more usable space.
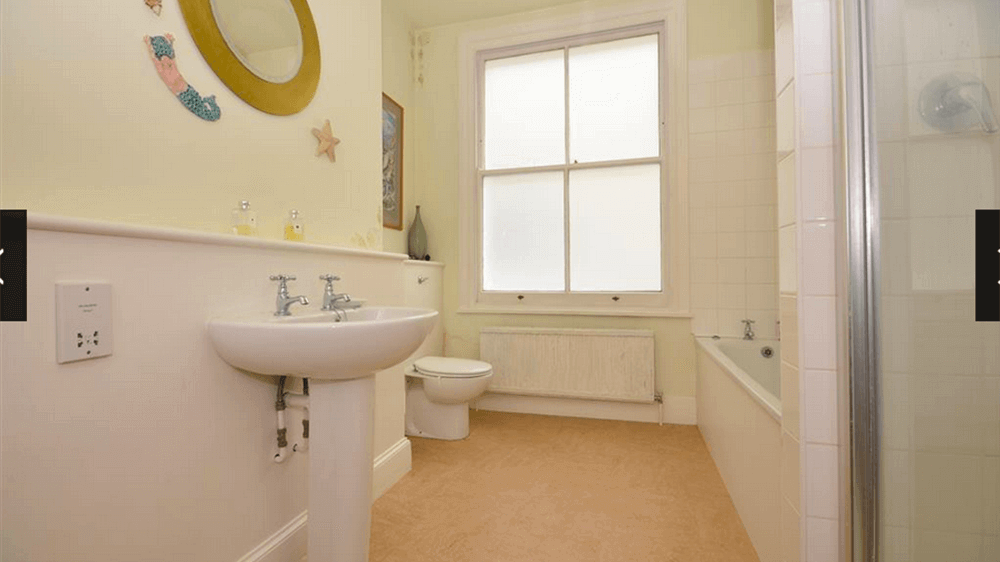
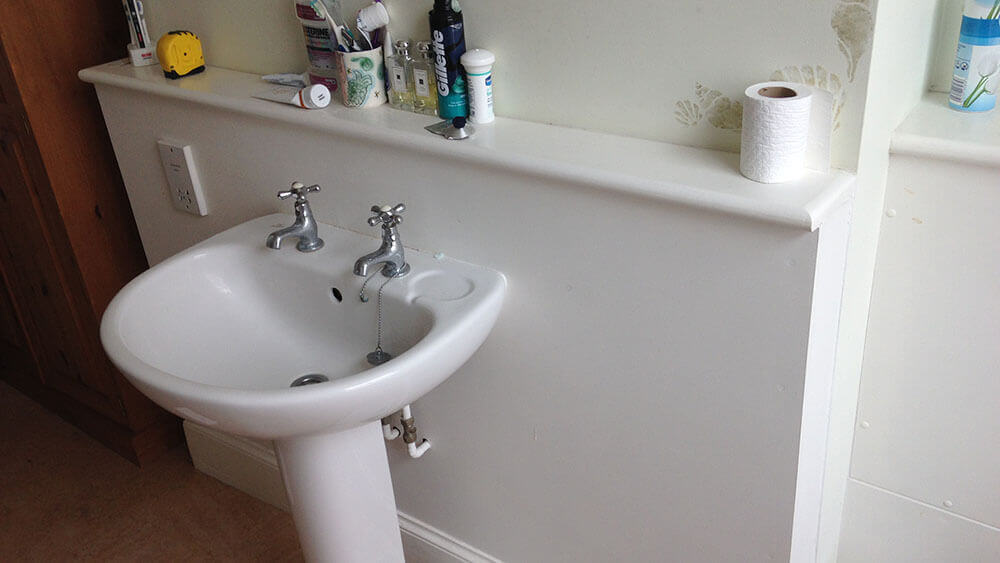
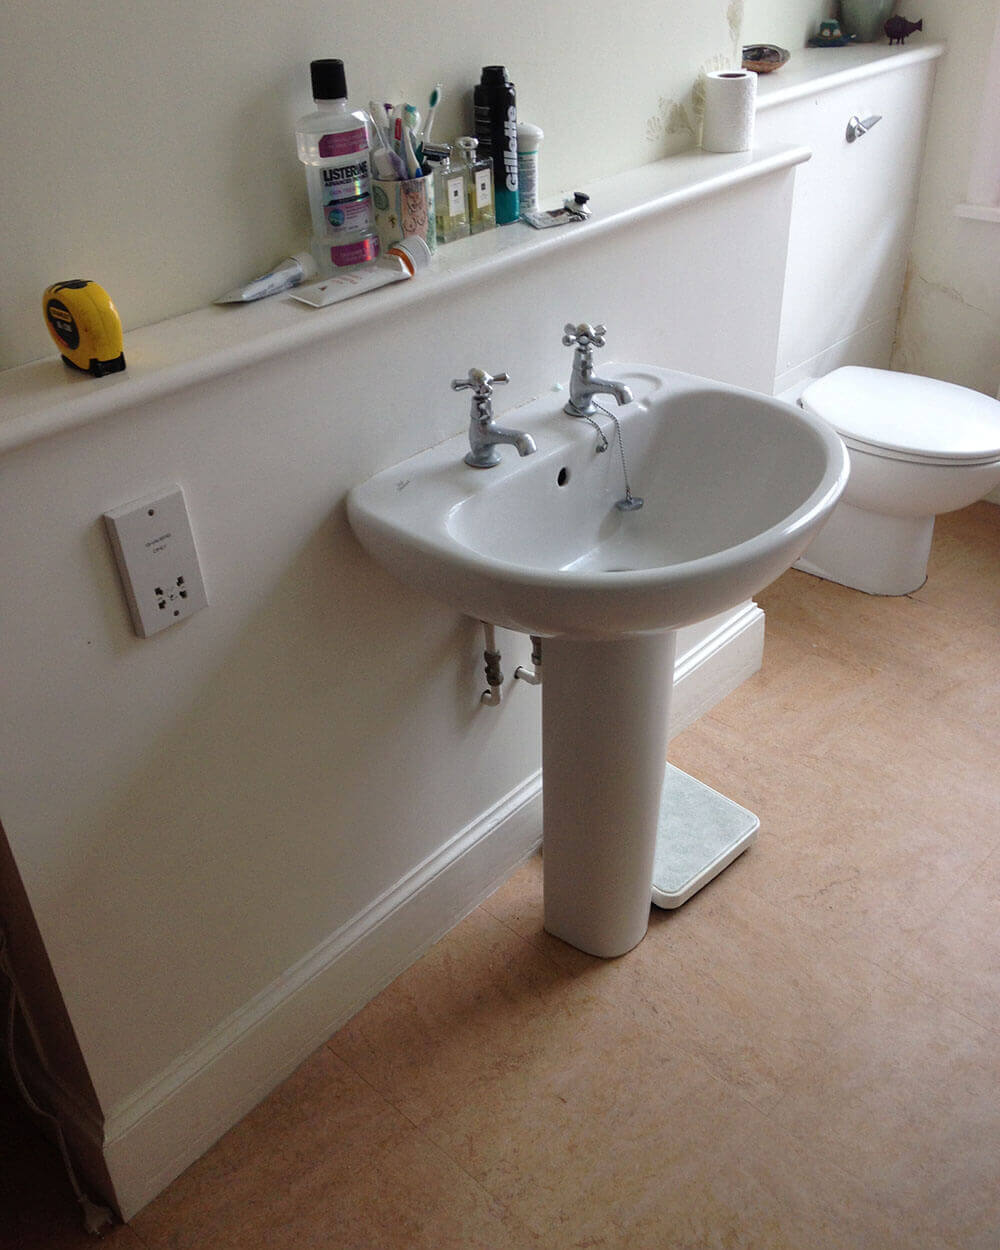
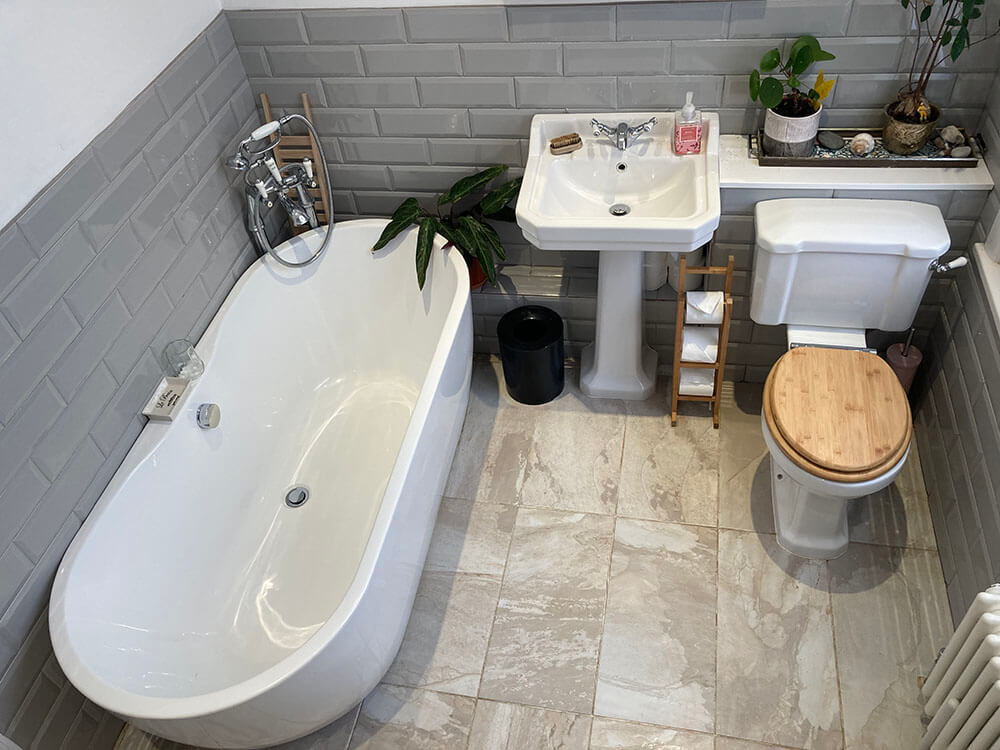
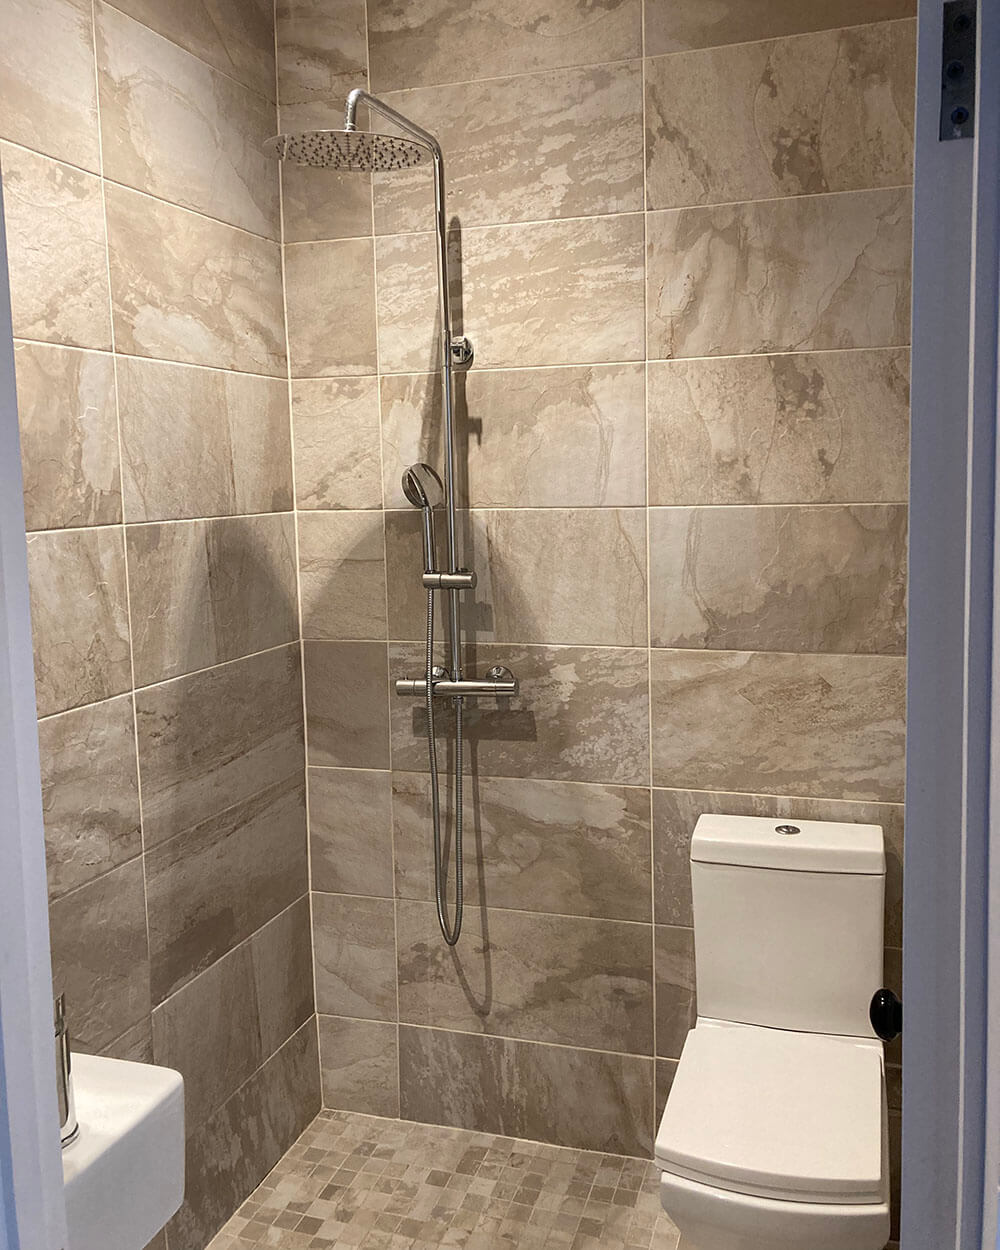
Bathroom
We were able to divide the bathroom, to have a bathroom with a bath, sink and toilet, and create a new wet room with a shower, toilet and sink.
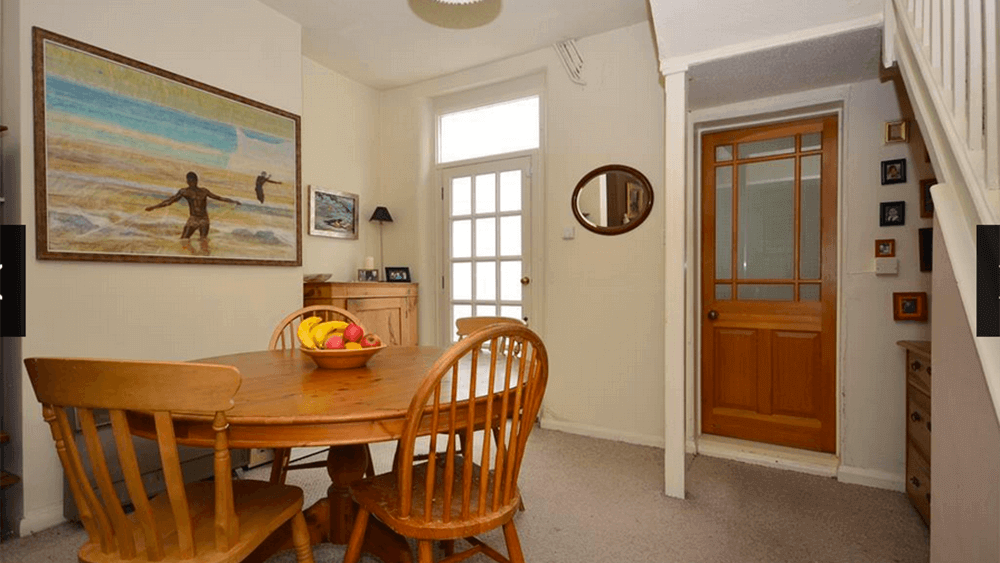
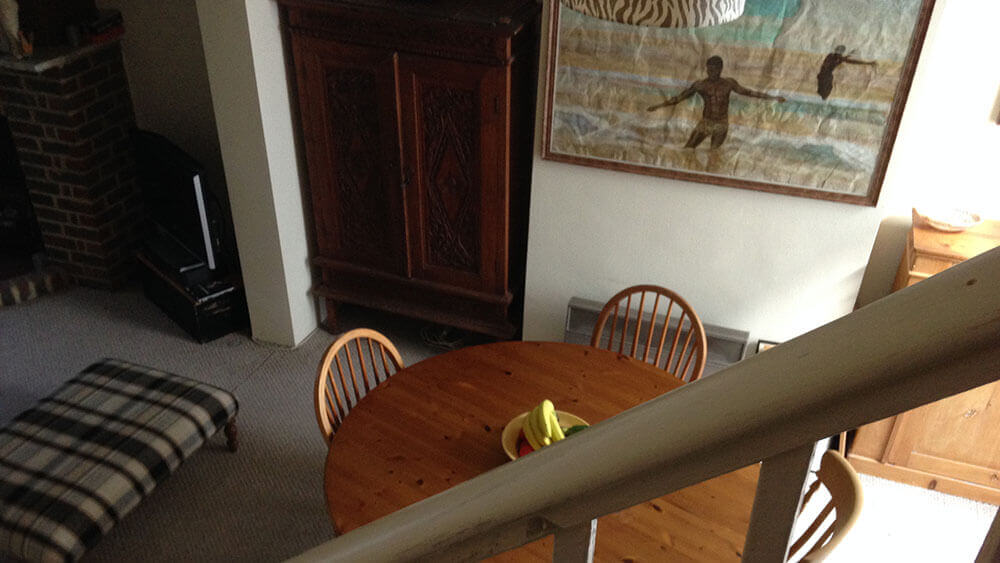
Dining room
We created more space for the dining table with seating all along the flat wall.
Progress pictures
money spent
Rough costs including materials:
Building control notice £215
Labour for chimney stack removal £600
Waste removal £200
Scaffold Bridge £150
Re-build firewall £200
Roof work £150
Carpentry to make good floors and ceilings £400
Plastering walls and ceilings
£800
Total – excluding decoration and floor coverings £2,715
notes
We’d like to make a few things clear here to avoid any confusion
Planning consent was not required for removing chimney breasts, and the whole stack
A party wall agreement was not needed, but we consulted our neighbour
The house was undergoing a refurbishment so was the right time to make a dusty mess
Building control inspected the ‘making good’ of the floors and roof before the coverings went on
We planned and project managed the project so avoided those costs from a builder in addition to the costs referenced


