We always wanted a wood burning stove in our house but never got round to it. After a long year of lockdowns and more time at home likely over the winter period we thought that now was the right time to do it, so time to learn about wood burning stove installation.
In late September we contacted various local installers and found them all to be either non-responsive or booked up until the new year. The quotes received were in the range or £2-5k from a simple ‘stick-in’ a cheap burner in an existing position, to a more complex job .
If you plan to fit a stove, then don’t leave it too late or you’ll end up missing out or paying too much.
Now we were in a bit of a pickle as we’d promised the family that we’d have a wood burner for Christmas.
We did some research and discovered the following:
In the UK you should require a HETAS qualified installer to fit a wood burner
However, in the UK you CAN fit one yourself but need a HETAS installer to provide a completion certificate or get local building control to sign it off
In Scotland you can fit one yourself, no certificate or sign off needed
So we reached out to some HETAS approved installers again to ask if they could sign it off, if we fit it… no response. So we paid our £215 fee to building control instead, and started to get absorbed with wood burning stove installation information.
We could now start, so began to get familiar with Building Regs Part J that covers what we need to know to get this right.
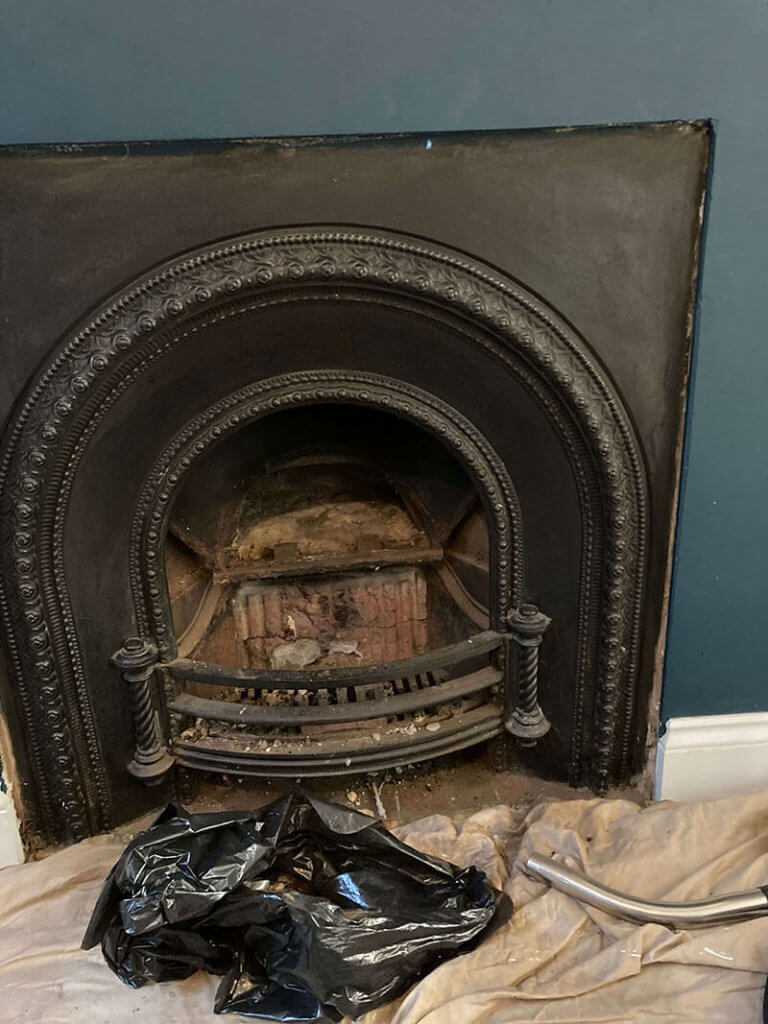
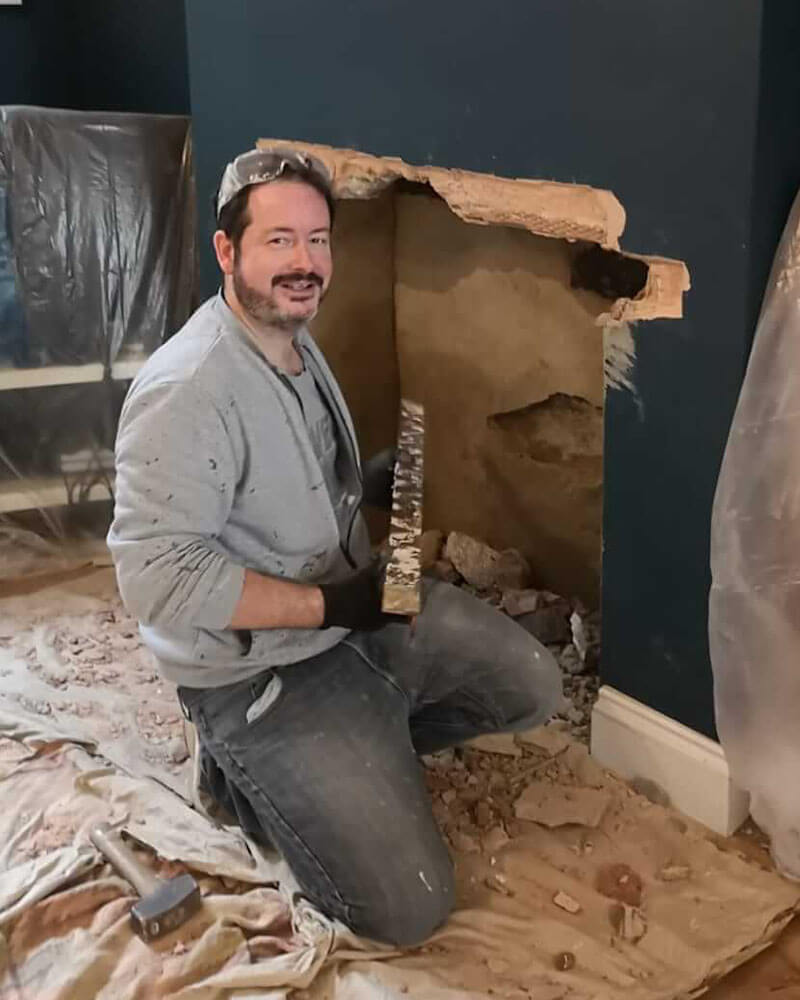
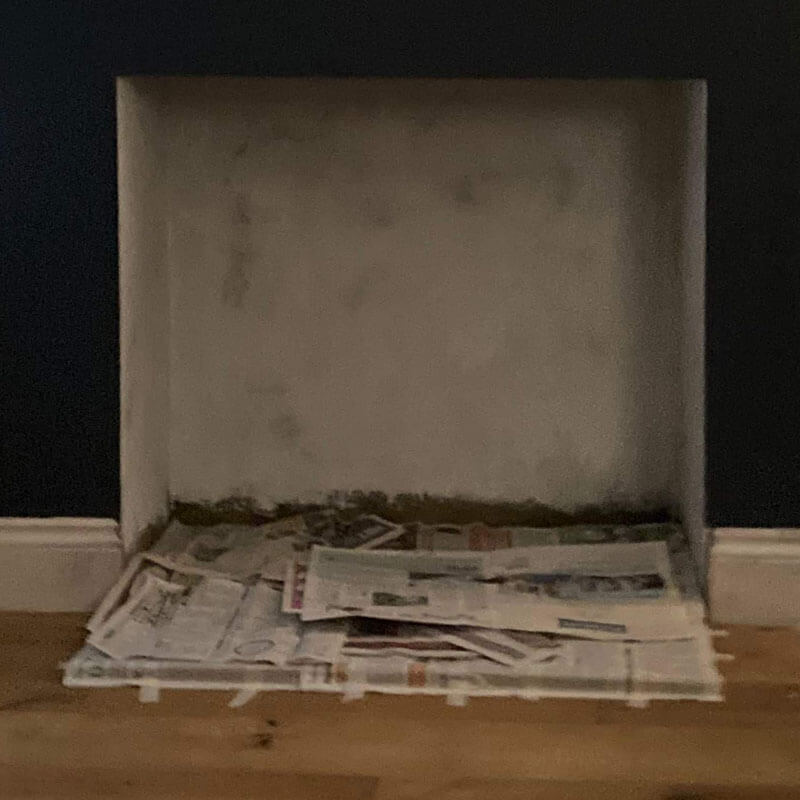
Phase 1 - removing the old fireplace
When we bought the property there was an existing fireplace that we removed the brick surround from that extended into the living room, so that was left like this.
We had laid new engineered flooring and finished the wall around so it could be taken out at a later date, however no more thought at that time was given. To remove this with as little damage as possible was not going to be easy.
Now we had to:
Remove the vent in the centre where a chimney sweep would access for sweeping
Put an SDS drill through this gap to break apart the ’21 rubble sacks’ of bricks and mortar that it was stuck to
Break apart the concrete floor it was stuck in
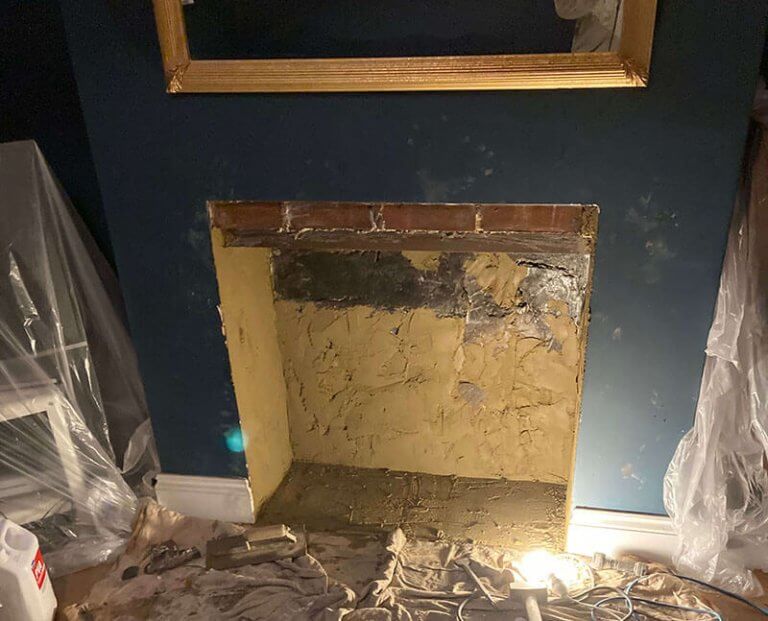
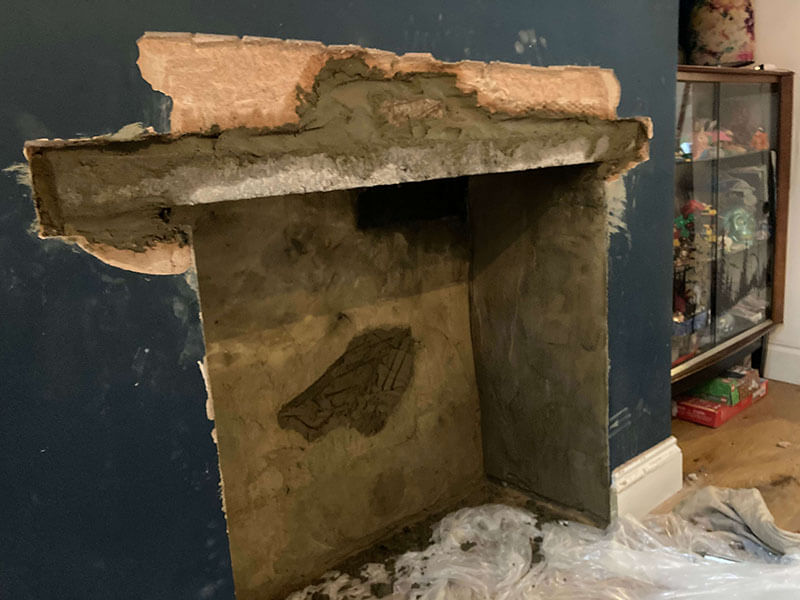
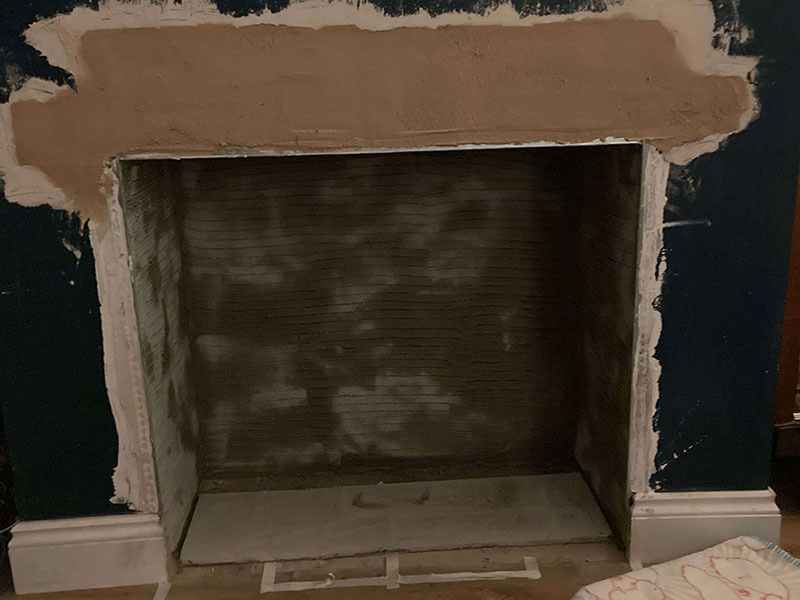
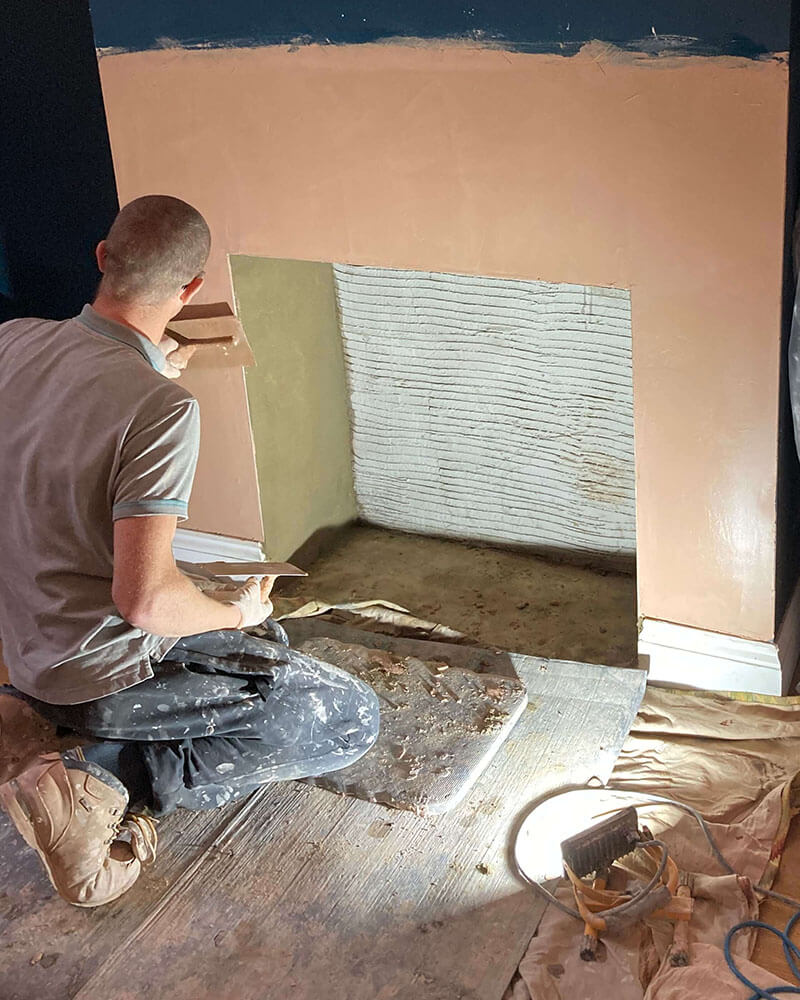
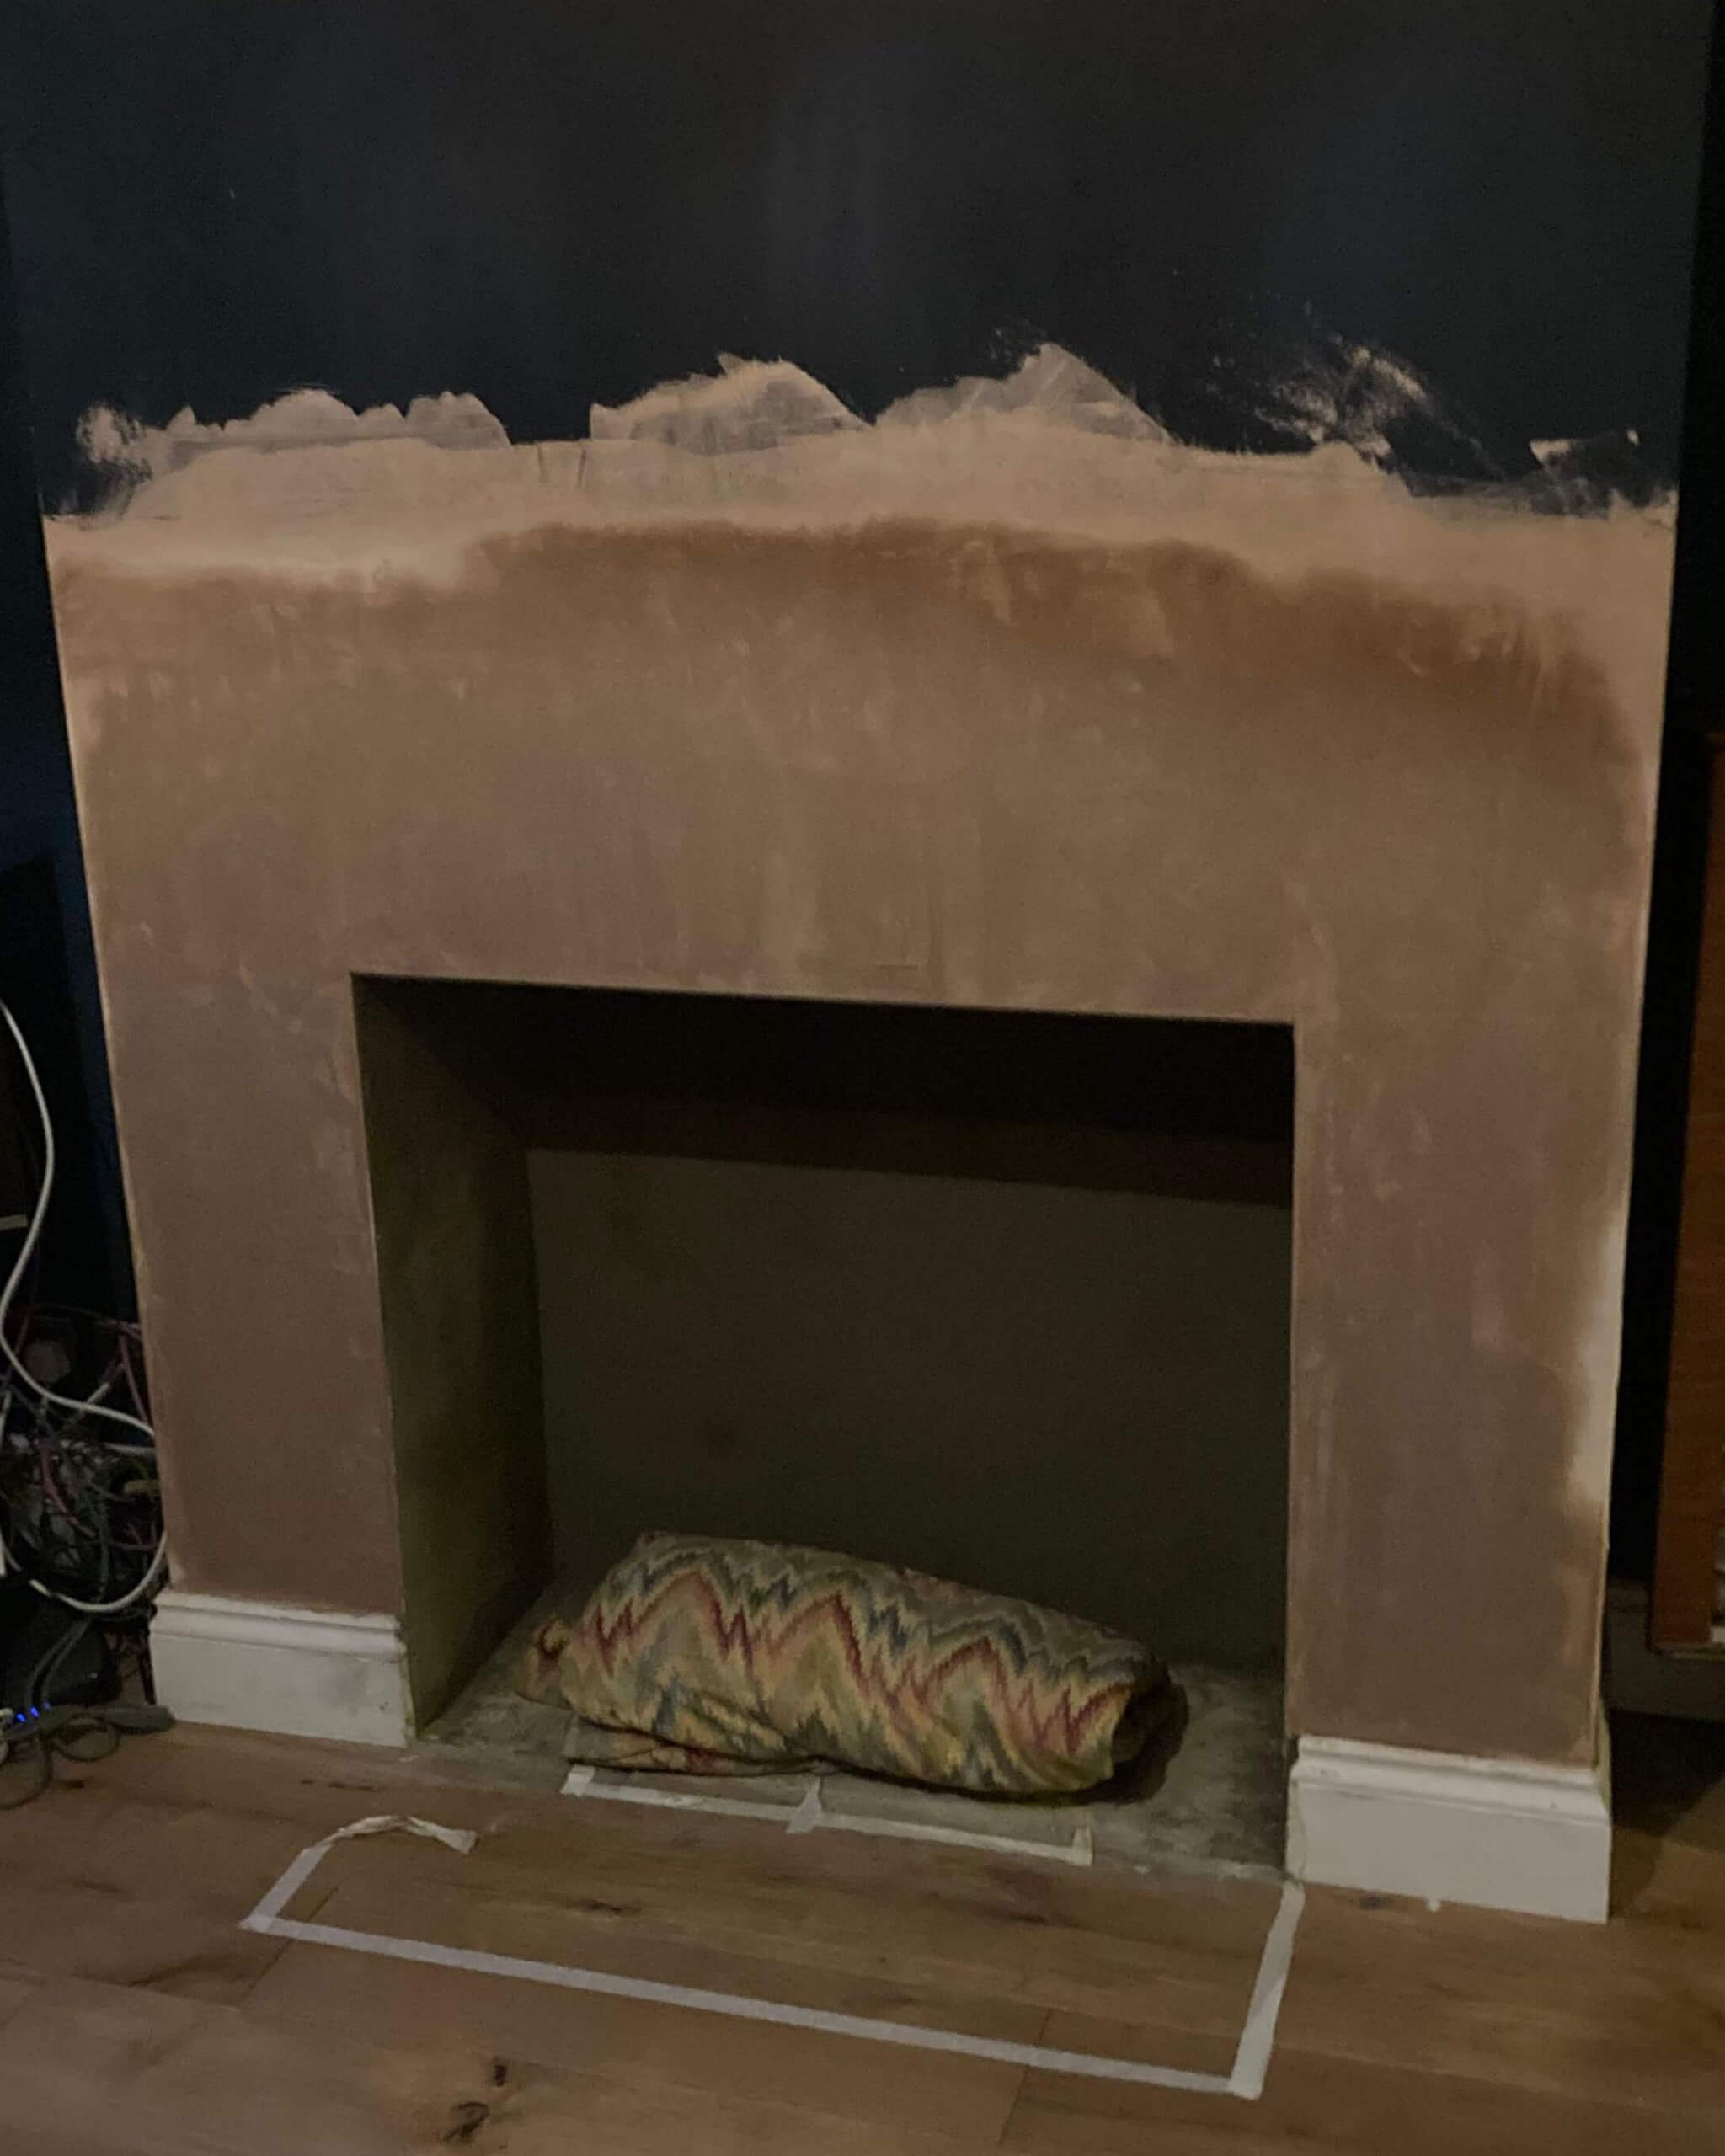
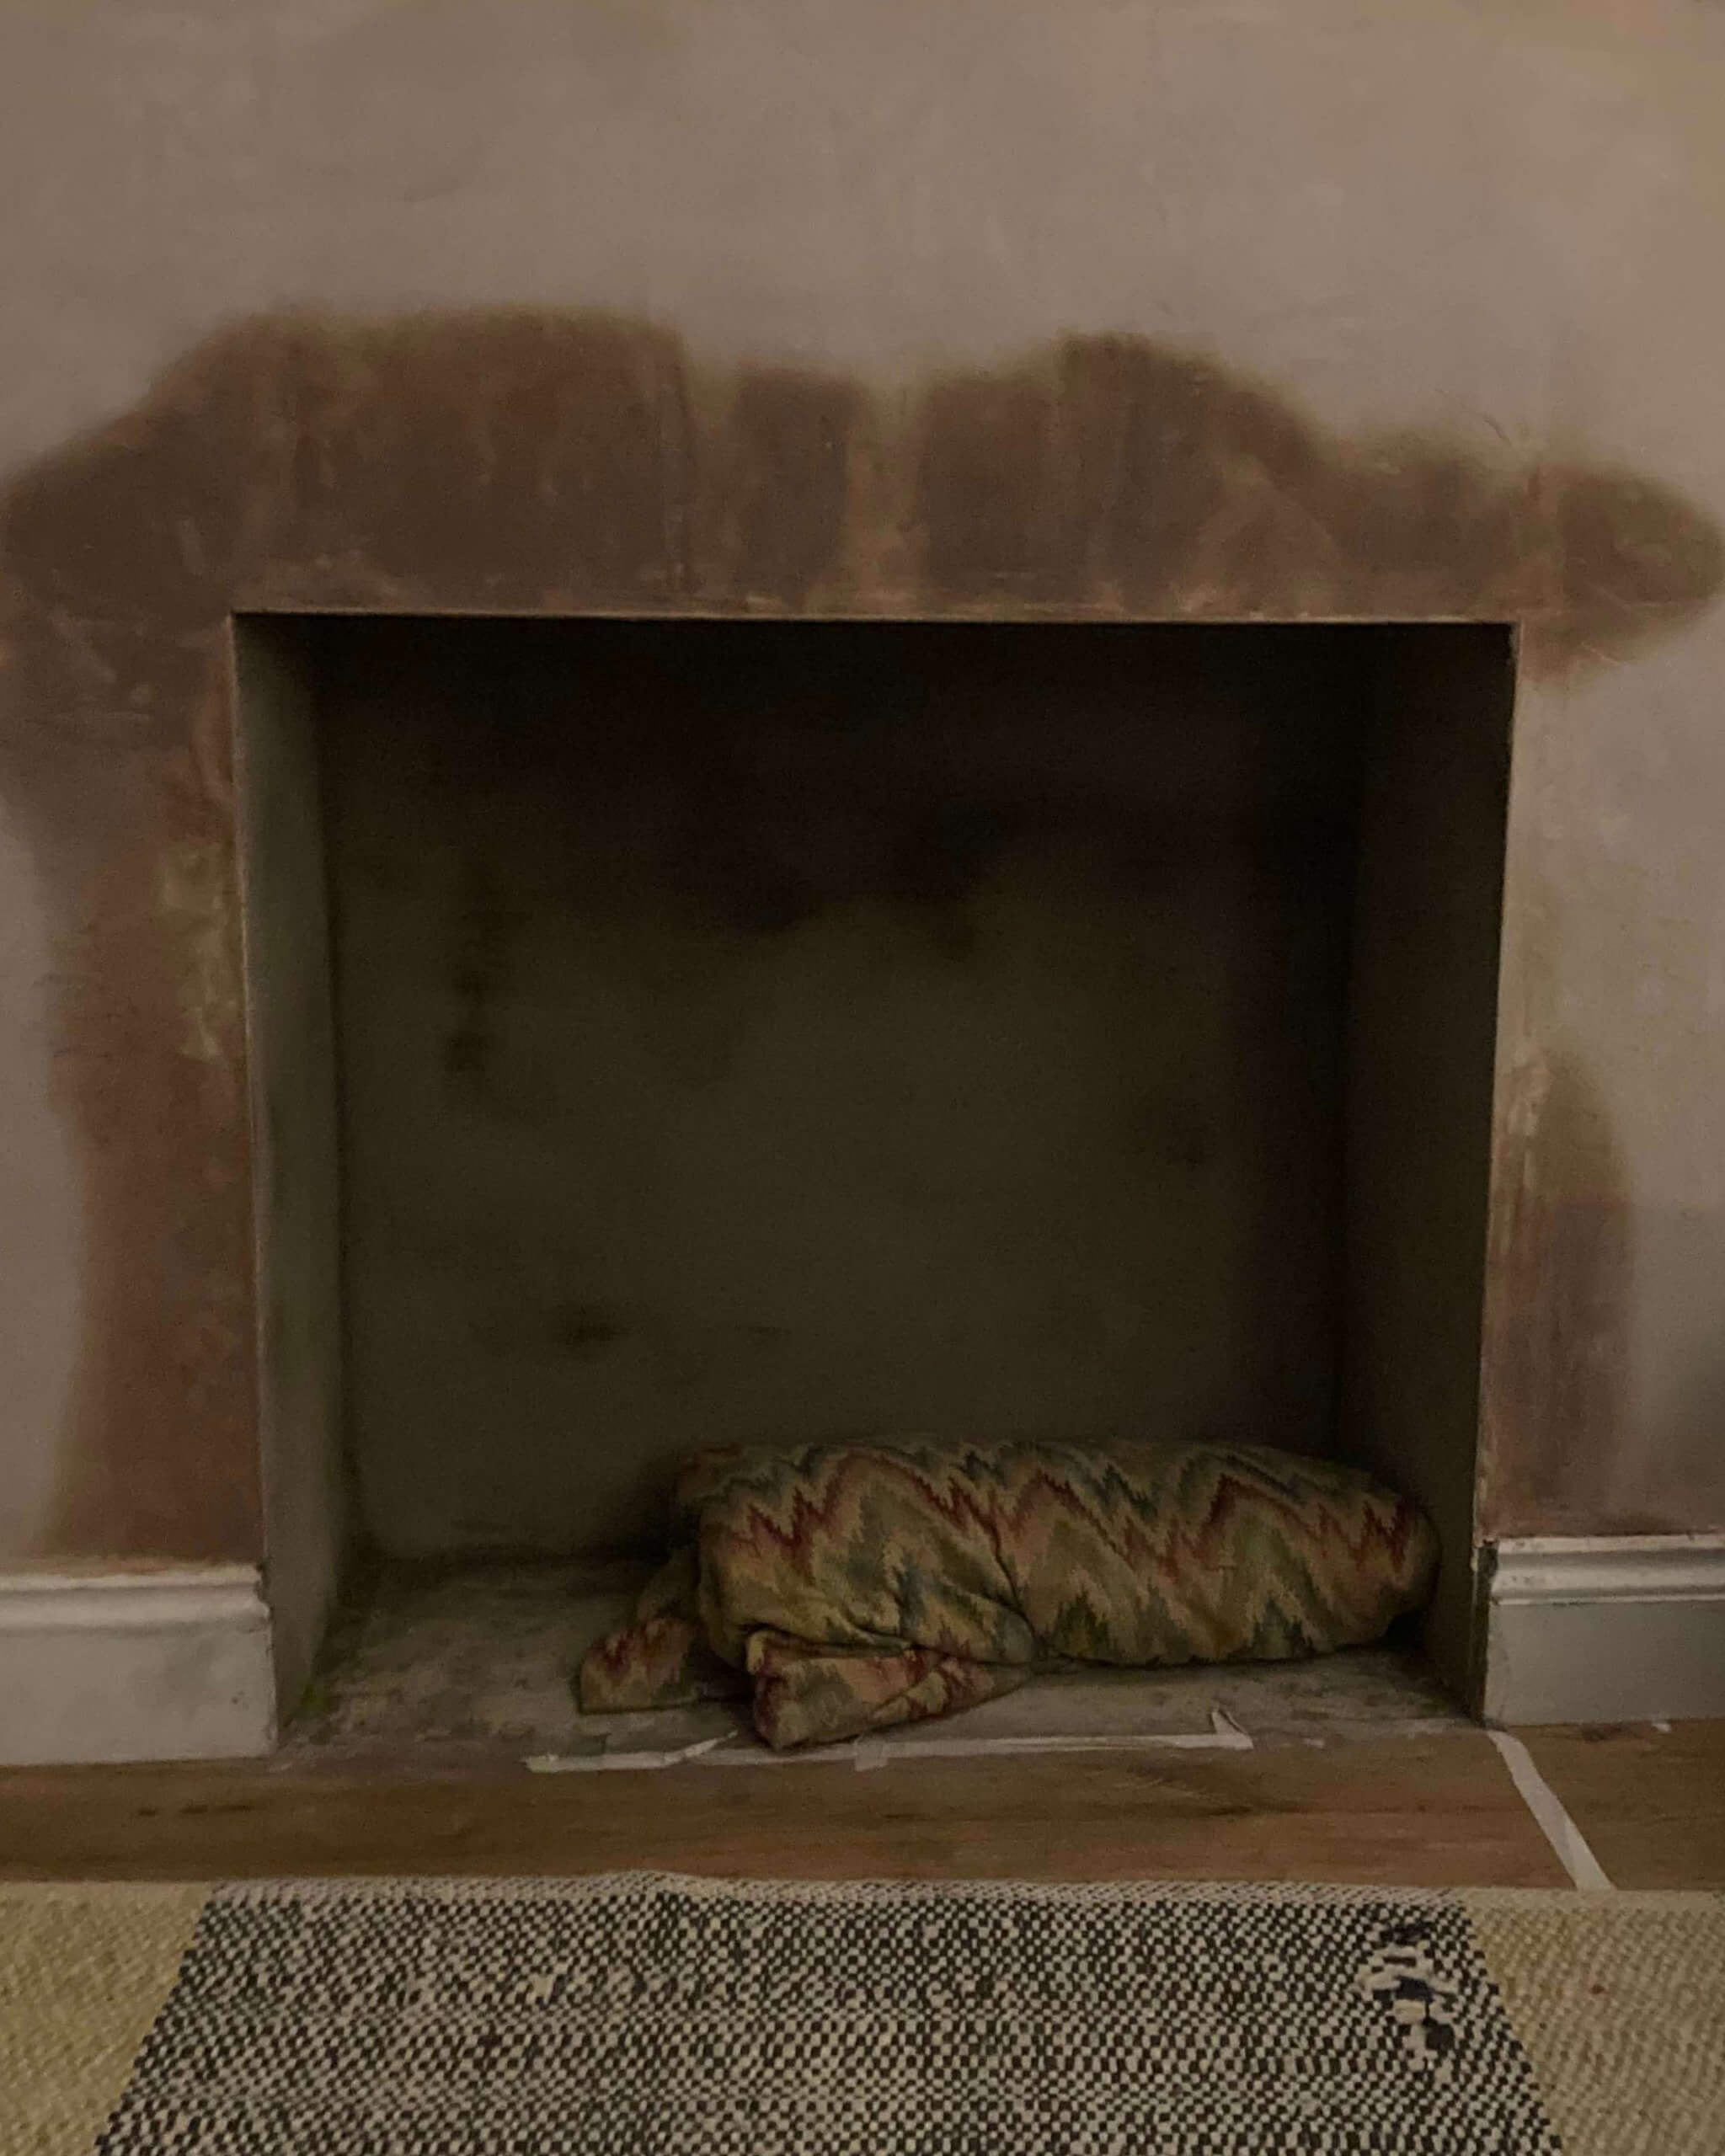
Phase 2 - Preparing the builders opening
The ‘builders opening’ is the name for the bare hole in the fireplace.
We had to shore it up with sand and cement prior to plastering but something didn’t seem right.
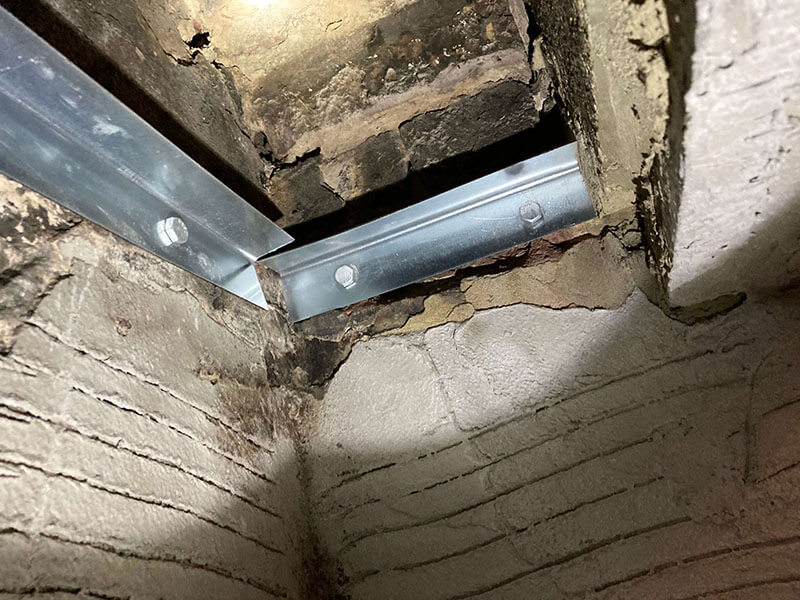
The original beam was a bit lower than we anticipated as this was overlapped by the original fireplace so we had to move that beam up.
To do this we removed the old beam and replaced with a concrete lintel.
Phase 3 - choosing the woodburner
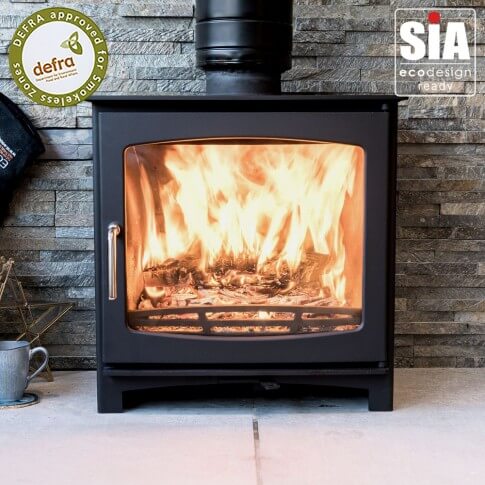
We live in a smoke controlled zone so we needed to find a suitable wood burner that was DEFRA approved.
We also needed to ensure it was the suitable size for the recess, and provide the right amount of heat for our room size.
This 5KW panoramic model was our chosen model.
If you fit stove with a heat output above 5KW then you need provide external ventilation to the room.
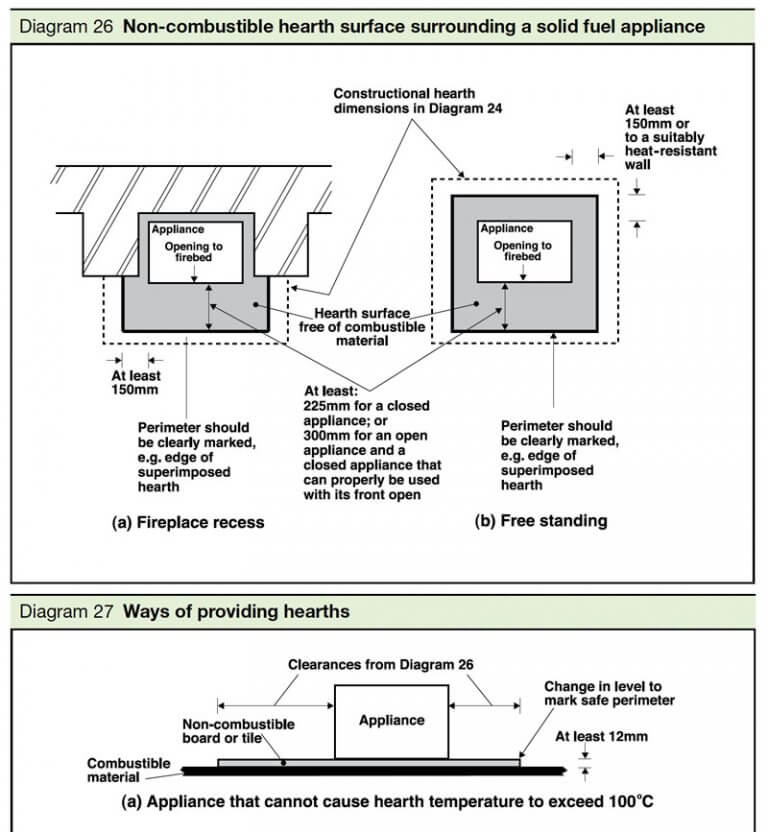
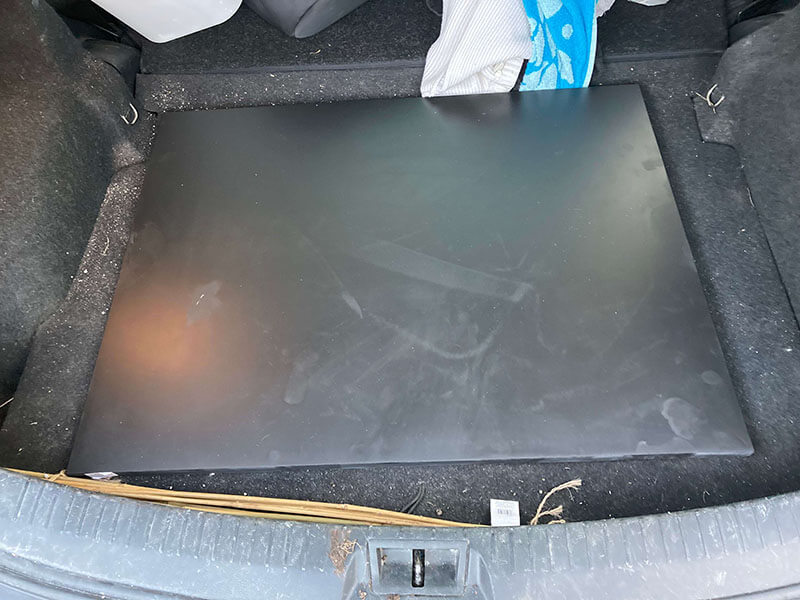
Phase 4 - choosing a hearth
We were fitting our hearth in a recess so needed to ensure we had the right shape, size and thickness as it would need extend over our engineered wood flooring and comply with building regs.
The stove/hearth setup fit this criteria because:
The stove width allowed for over 50mm gap at the rear (based on manufacturers guidelines)
There was over 150mm gap from the sides of the stove to the builders opening
The stoves would not cause the hearth to exceed 100℃
So we could fit a rectangle shape hearth as long as it extended more than 225mm from the stove door.
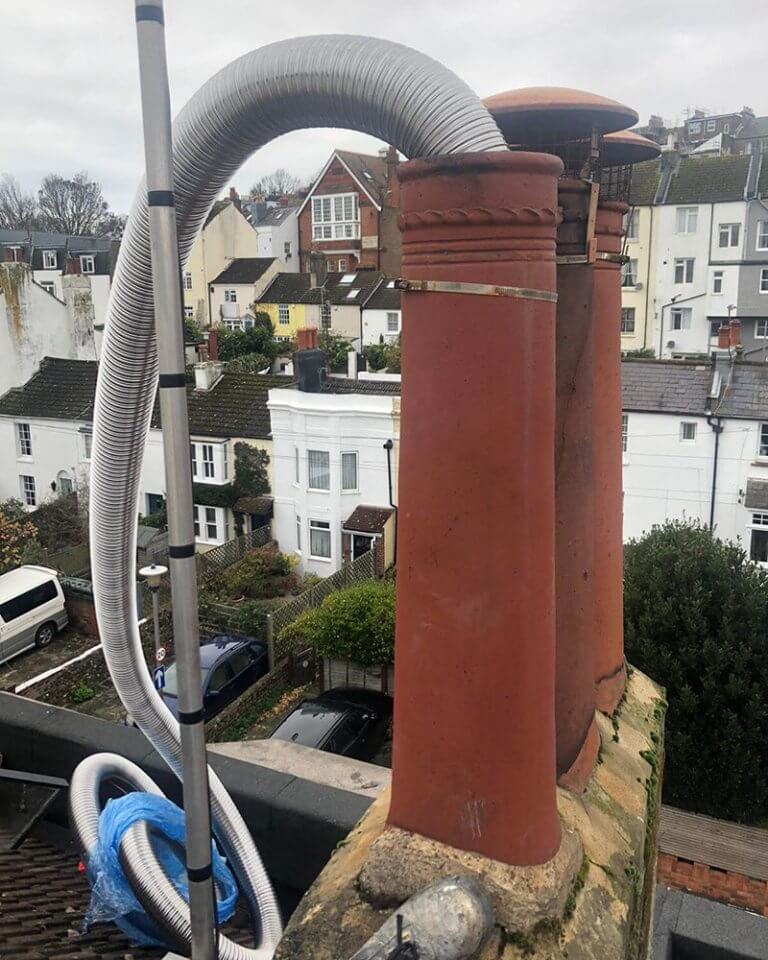
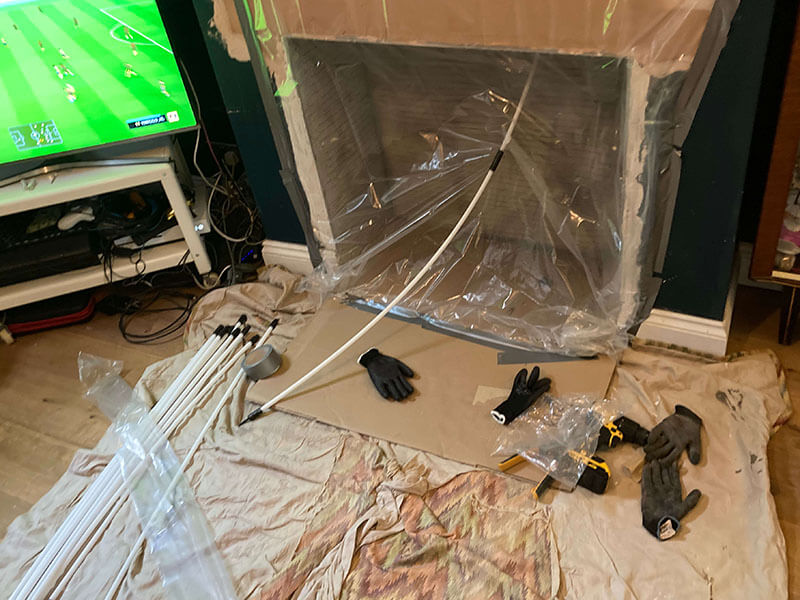
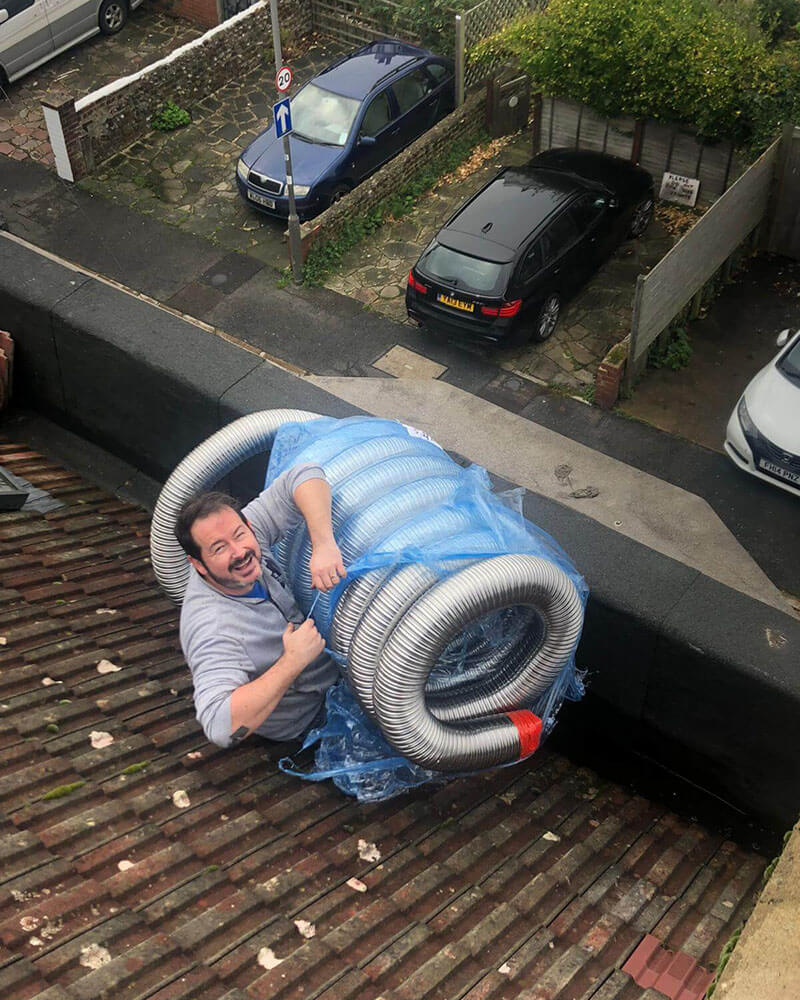
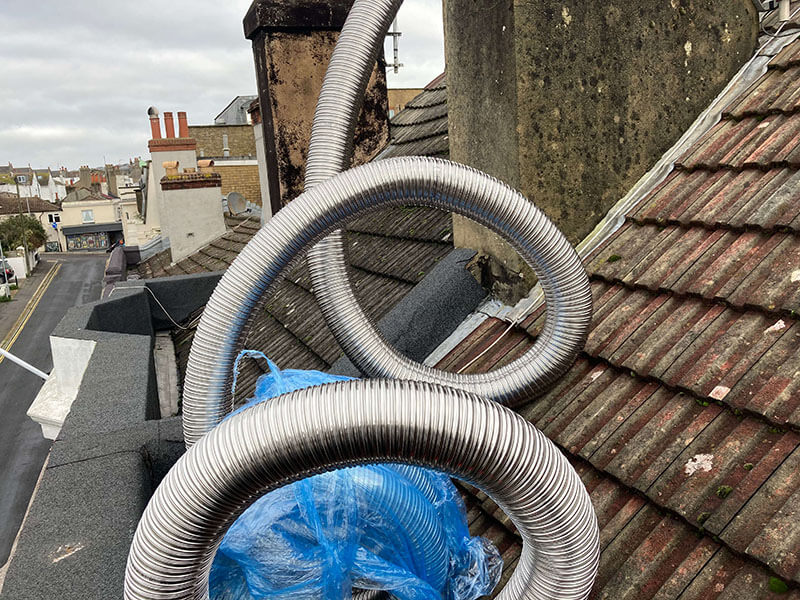
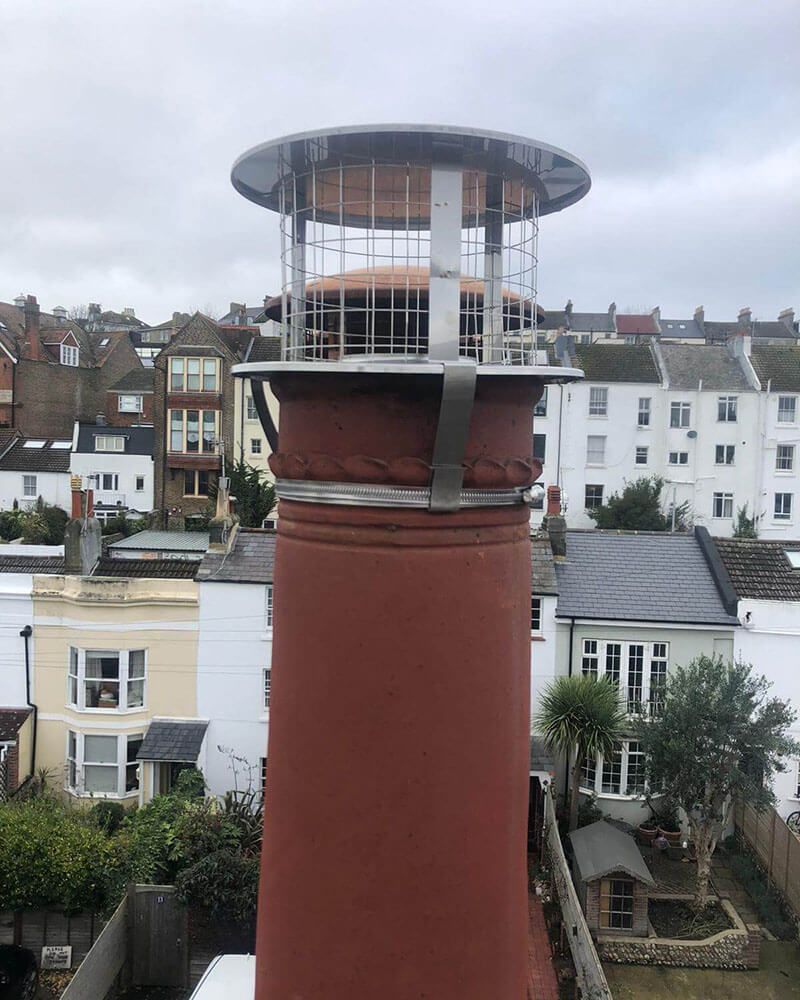
Phase 5 - Fitting the Flue
You need to measure how much you need and add 1 meter. We could do this by measuring our room heights, adding 40cm for the ceiling/floor gap and then measuring the top of the roof to the chimney – then added 1 extra meter for luck.
Before we fit this, we had to sweep our chimney. We did this ourselves by buying a ‘Chimney Typhoon’ from amazon.
As we used a flue we we bought the twin layer in line with building regs and the 904/904 grade which has a longer guarantee and allows us to burn right fuels.
We also chose the 5″ which was the size needed for the burning stove we chose, and i’m glad we didn’t have to get a 6″ as pushing it 12 meters down the chimney is not easy with the 5″.
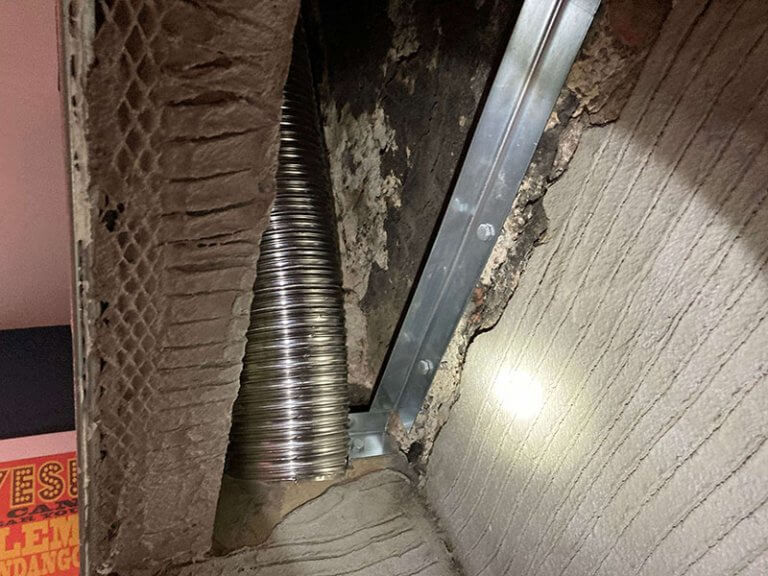
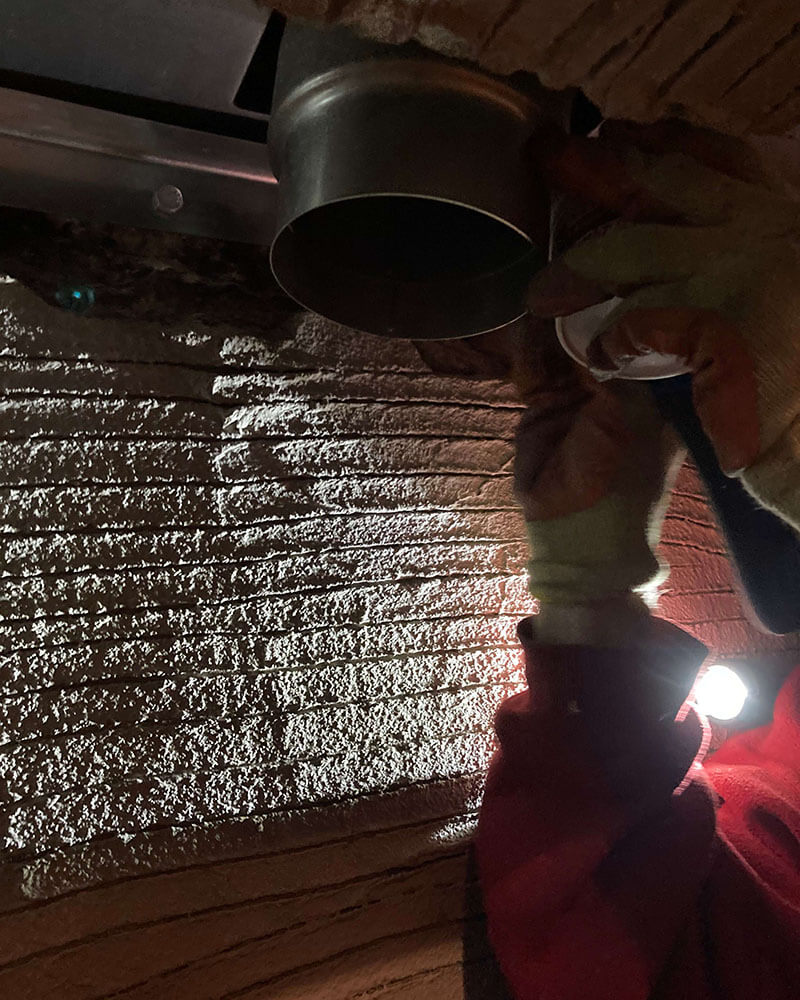
Phase 6 - cut the flue to size
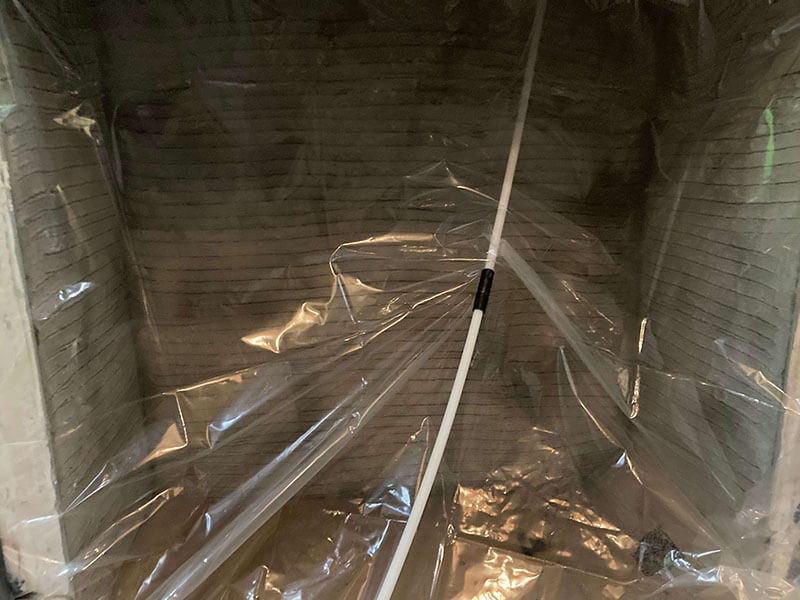
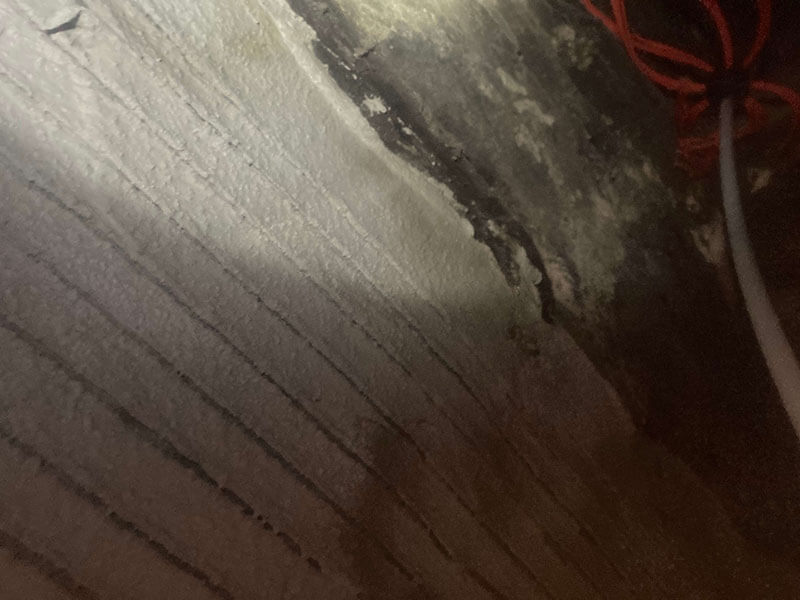
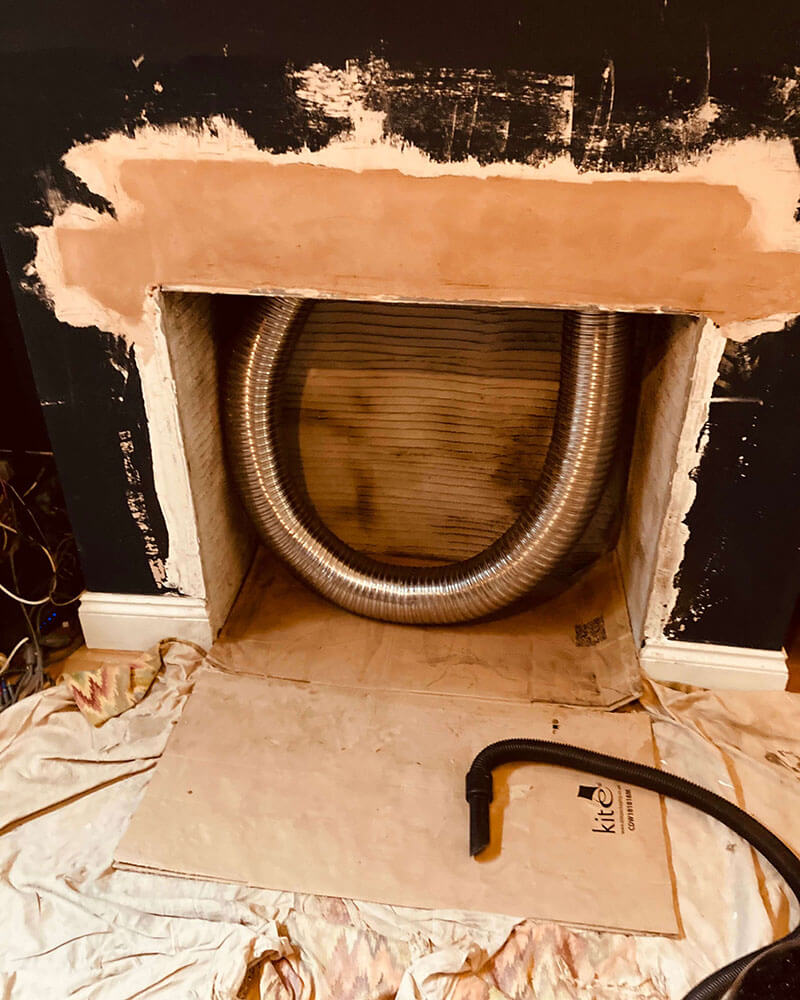
To terminate the flue is a dirty job as you are working directly under the open chimney, pulling around a flue and dodging the dirt.
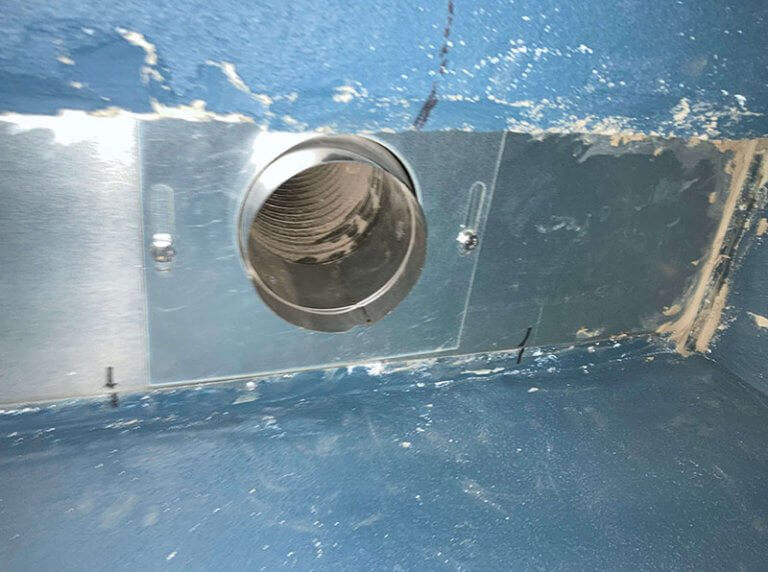
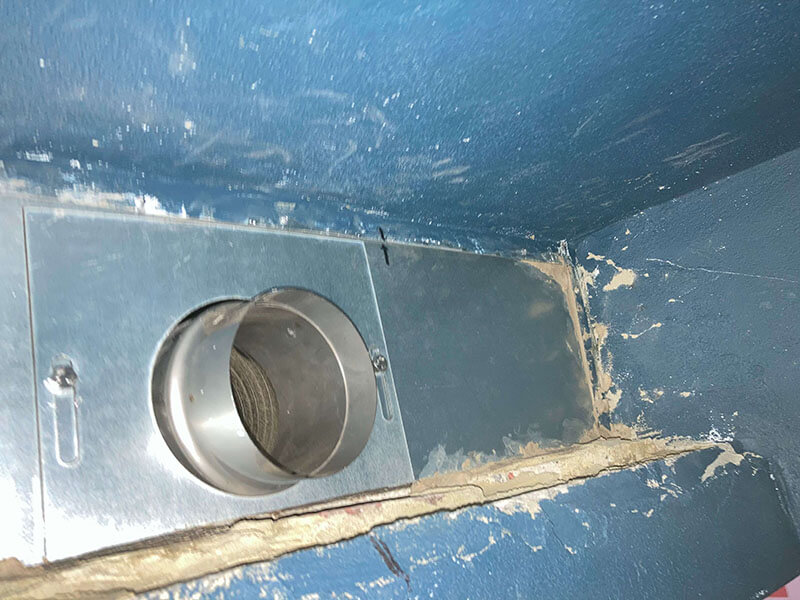
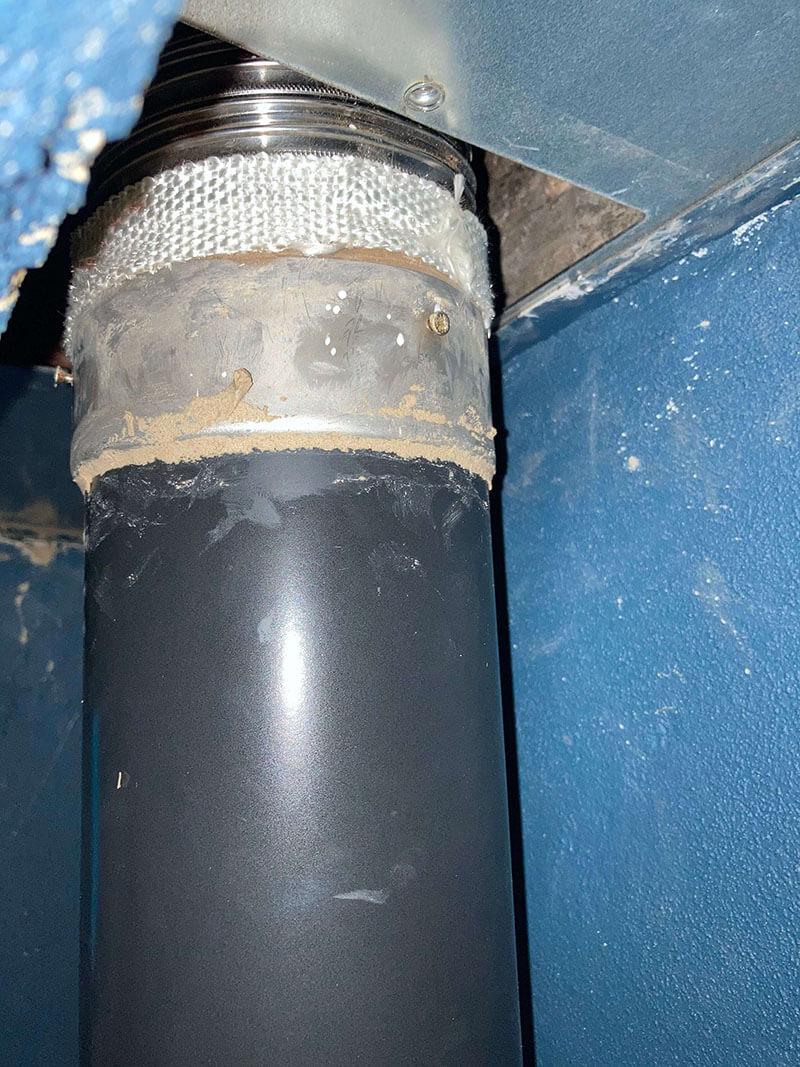
You put an adapter on the end of the flue that later connects to the black virtuous pipe that connects to the stove.
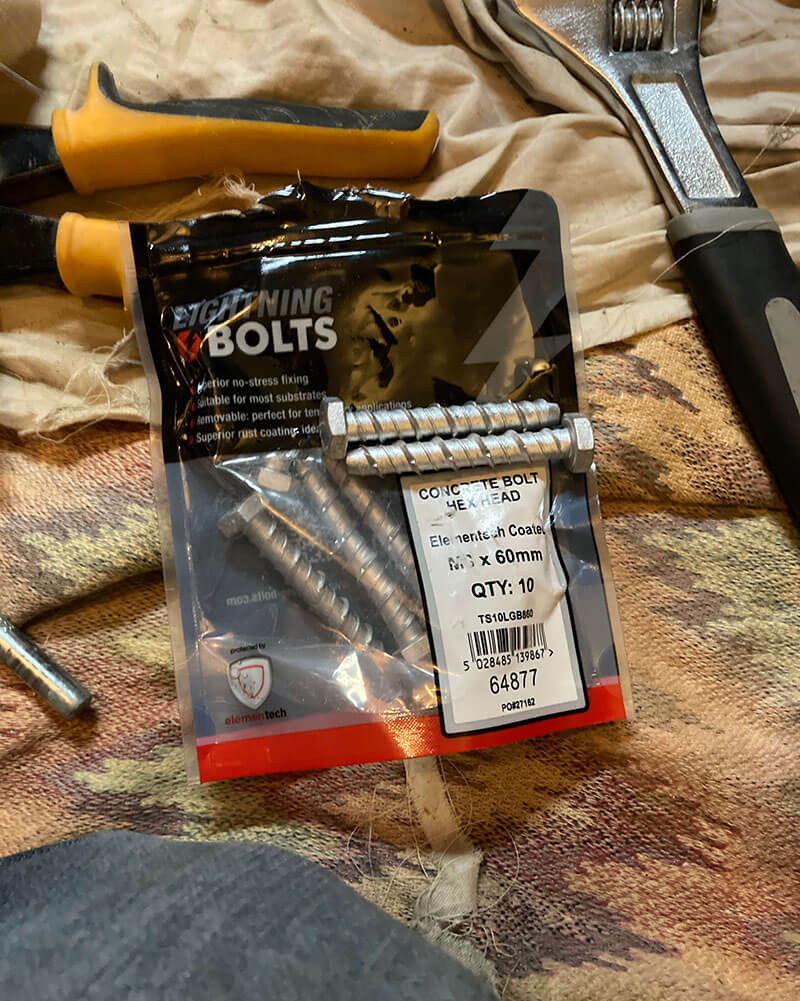
To stop debris falling on the stove you fit and seal a register/blanking plate. The brackets need to be fitted with concrete screws.
No plastic (combustible) raw plugs or other materials like wood should be used in this area.
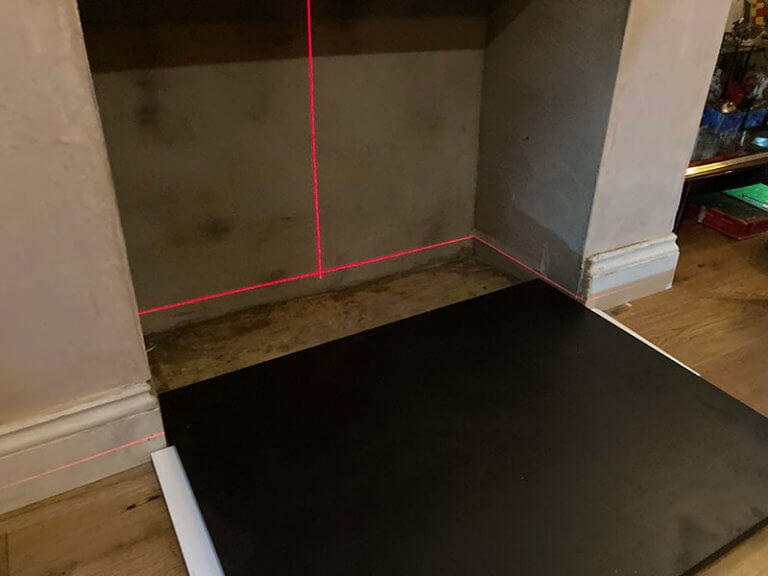
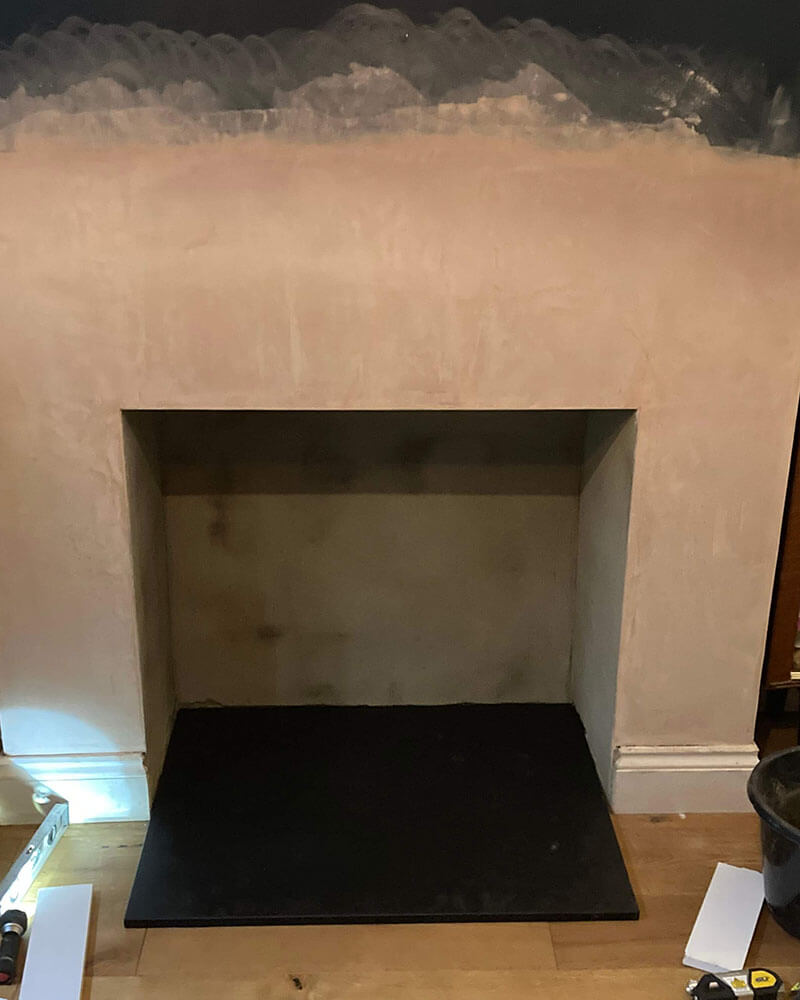
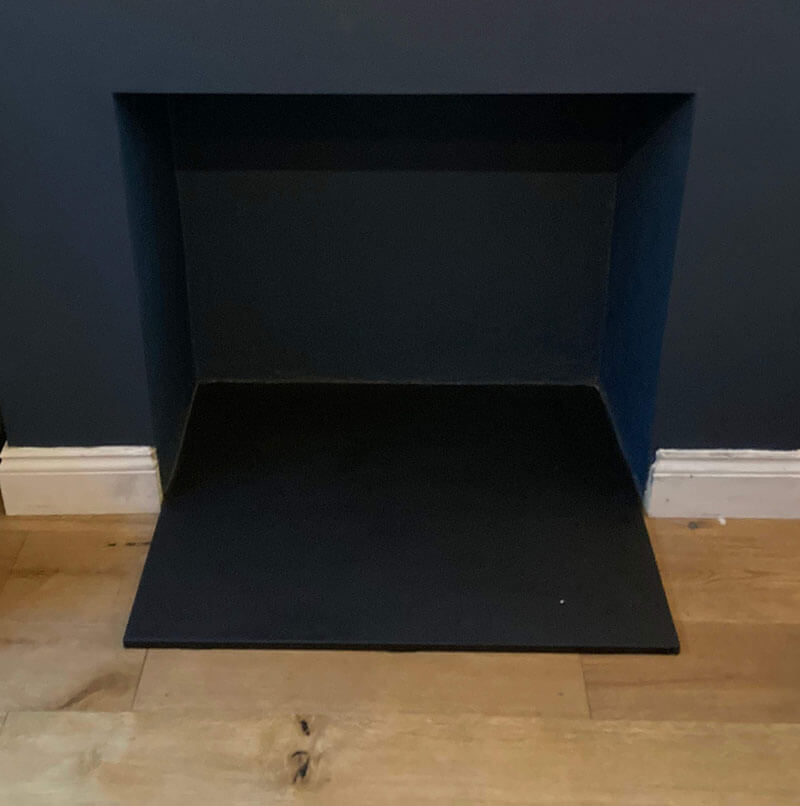
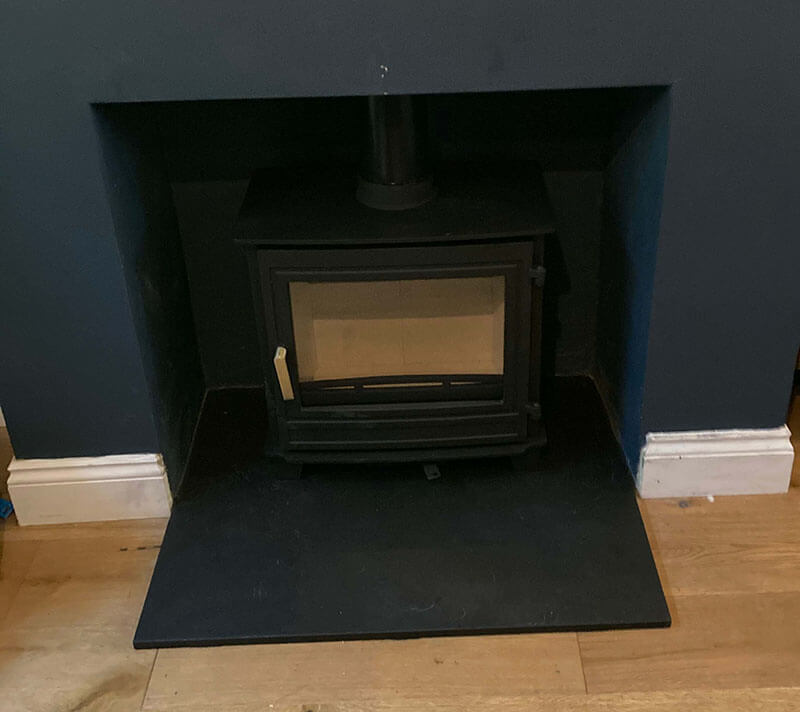
Phase 7 - Fit the hearth
Now we finished most of the dirty work we can fit the hearth. Steps included:
We had already levelled the surface in the fireplace
We used tile adhesive on the inside of the recess floor
Used blobs or thermal sealant on the wooden flooring that it will sit on
Raised the hearth up on wood by 10mm so we could slide it in nicely
Had chiseled out a gap in the walls to slide it in easier
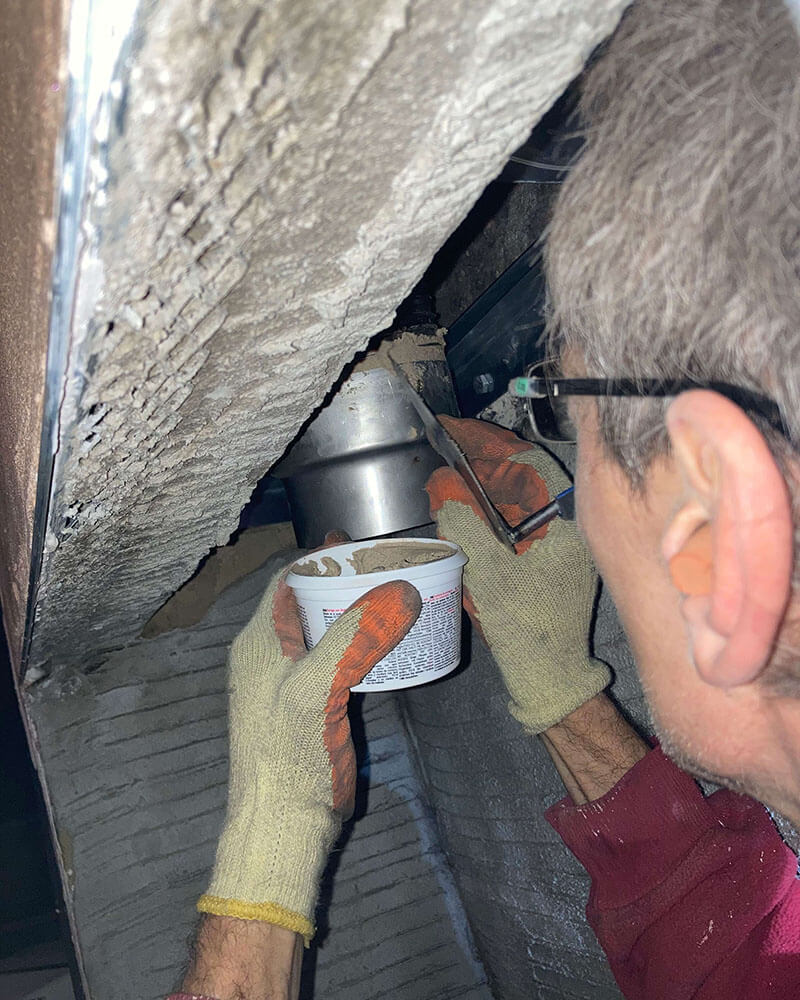
Phase 8 - Fit the register plate
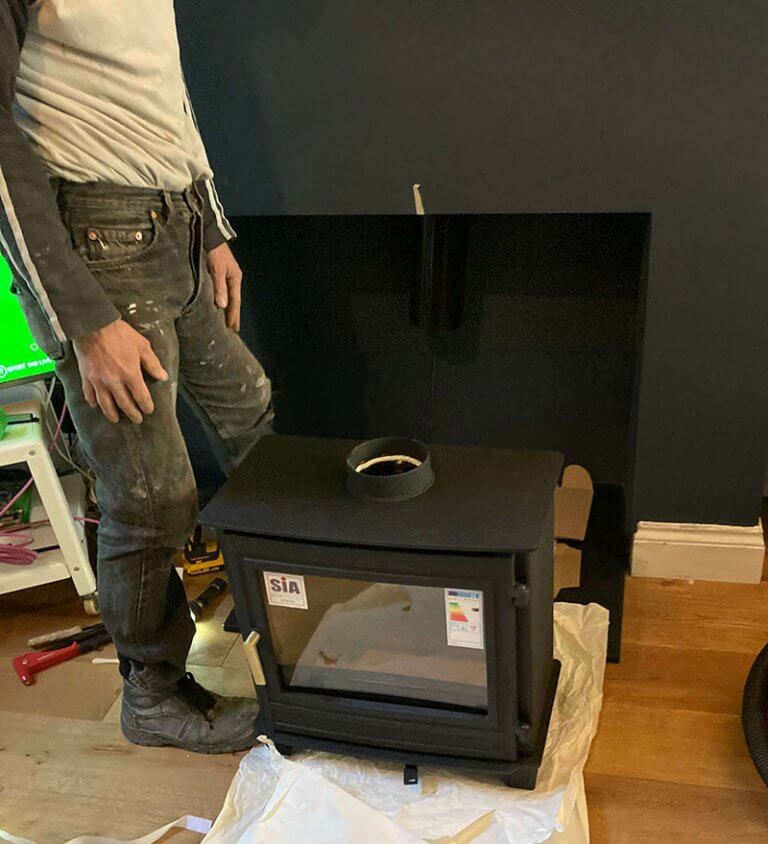
Nearly there now, time to fit the register plate BUT we needed to ensure that the black virtuous pipe from the stove connects to it perfectly straight.
The stove has to be centred in the recess, and we need to be the correct gap at the back of the stove.
BE CAREFUL moving the stove on the hearth below so you don’t scratch it.
When you are ready you can use a grinder to cut the register plate. We used rivets to connect it to the brackets and fire cement t fill any gaps.
Phase 9 - connecting it all up
This is it, the final stretch.
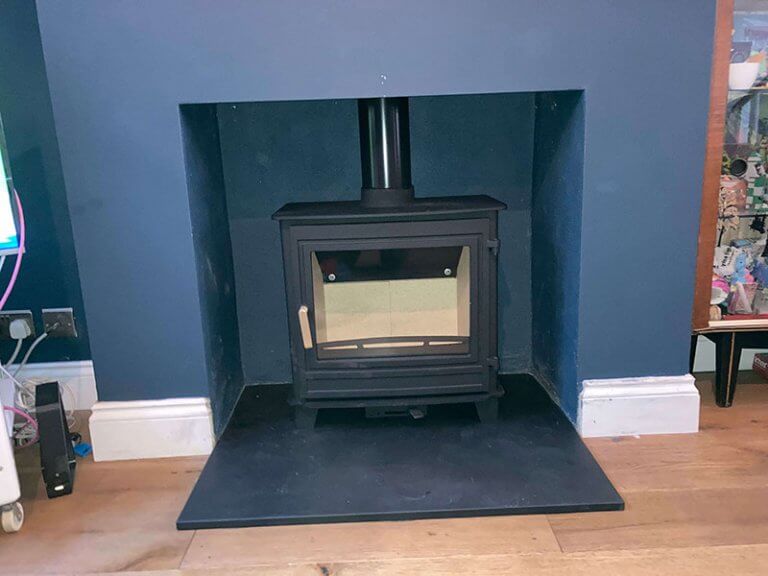
The hearth is in place standing on protective cardboard
That virtuous pipe has been cut with a grinder to size
The flue adapter is ready for the virtuous pipe
We have fire rope for the connections
The gaps around the adapter have fire-cemented as an added seal
We move it all into place and screw in some fixings
The feet on the stove are adjusted, checked with a level and it’s all done
Phase 10 - final sign off
So here it is, our new wood burning stove, nearly ready to go. To finish the job for sign off we now need to:
Fit a carbon monoxide detector in the room
Complete and fit a chimney notice / data plate by the utility meters
Have a chimney sweep perform a smoke test to confirm it is safe and drawing correctly
Get building control over for a final review
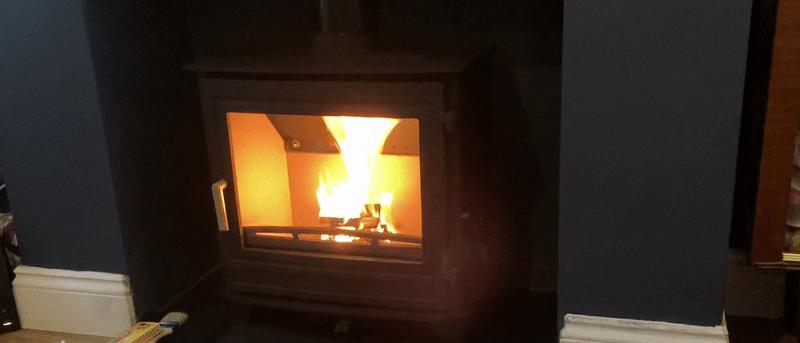
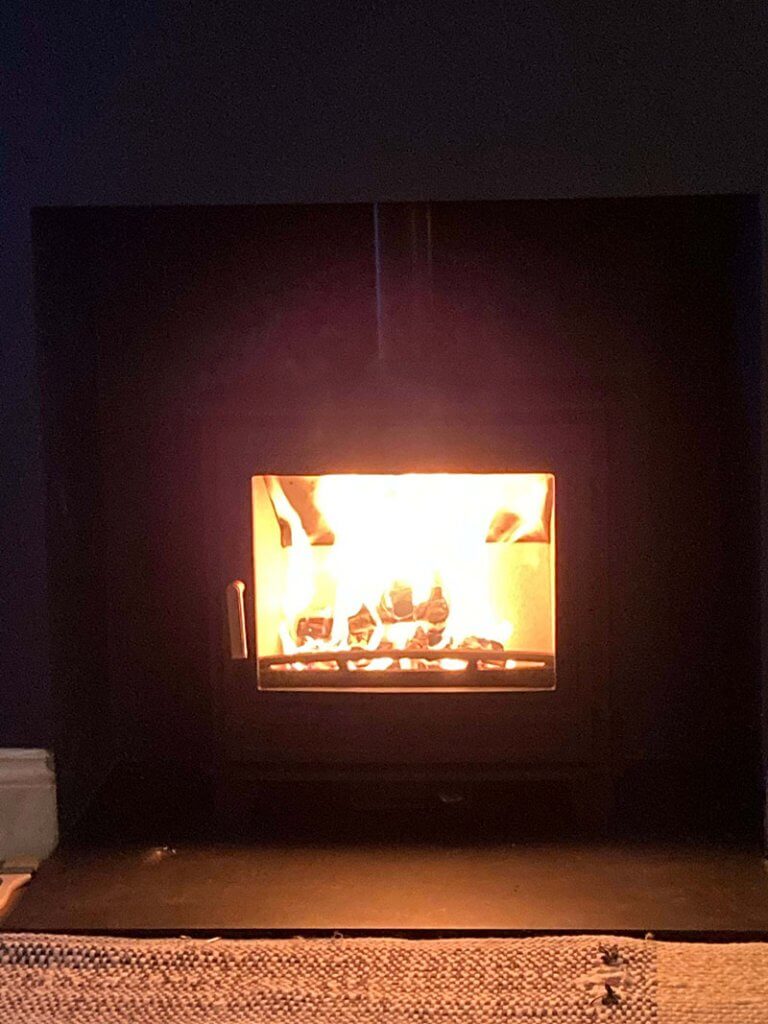
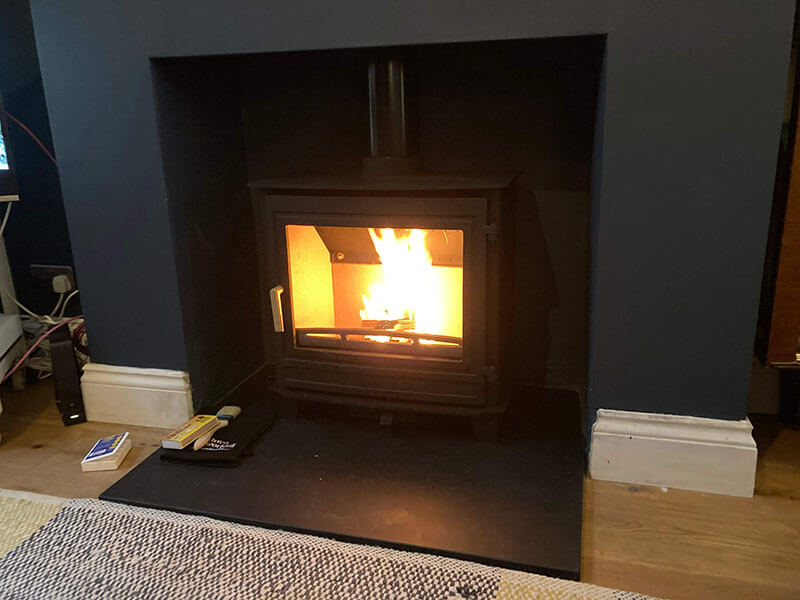
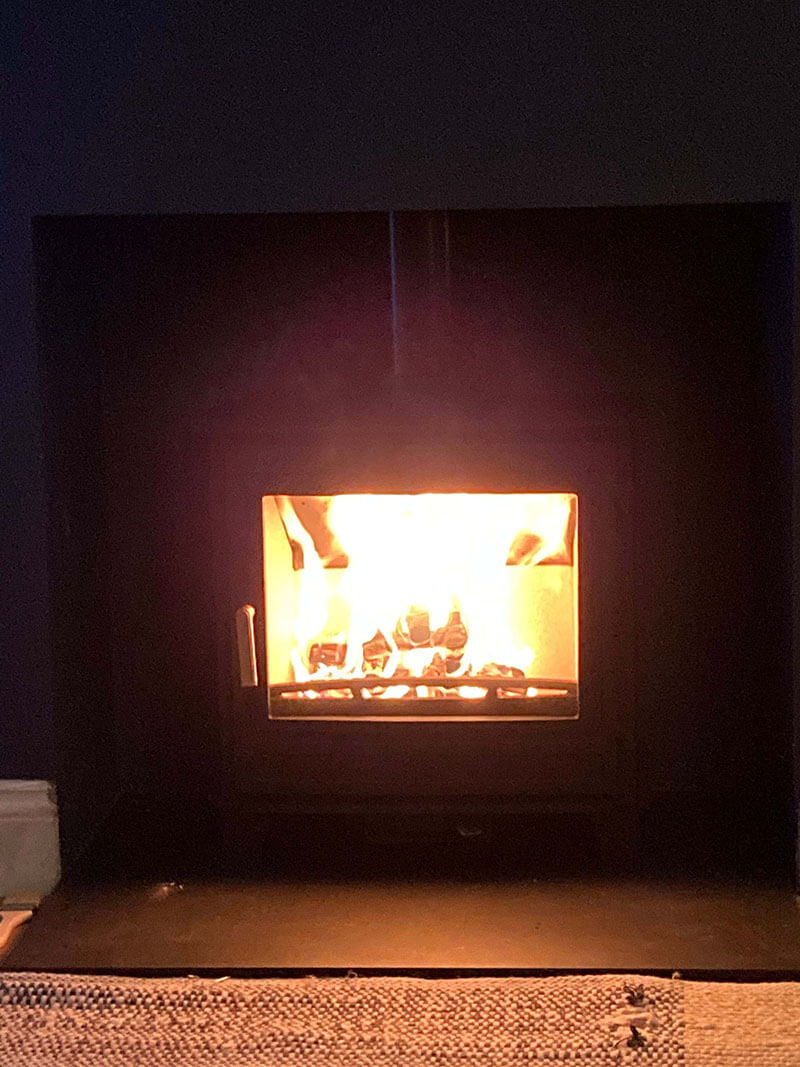
The result
We followed the manufacturers instructions to break it in over a few fires but we are so happy with the new addition to our home.
It looks amazing and keep us really warm and cosy during our evenings.
If you plan to fit one of these then plan early as the fitters get booked-up quick before Christmas and the stoves were selling like hot cakes. Otherwise you’ll need to start reading up on wood burning stove installation yourselves.
This 5KW stove is hot enough for our lounge/diner just under 40 sqm.
Time taken DIY = 4-weeks (during the weekends)
Money spent = £2,100
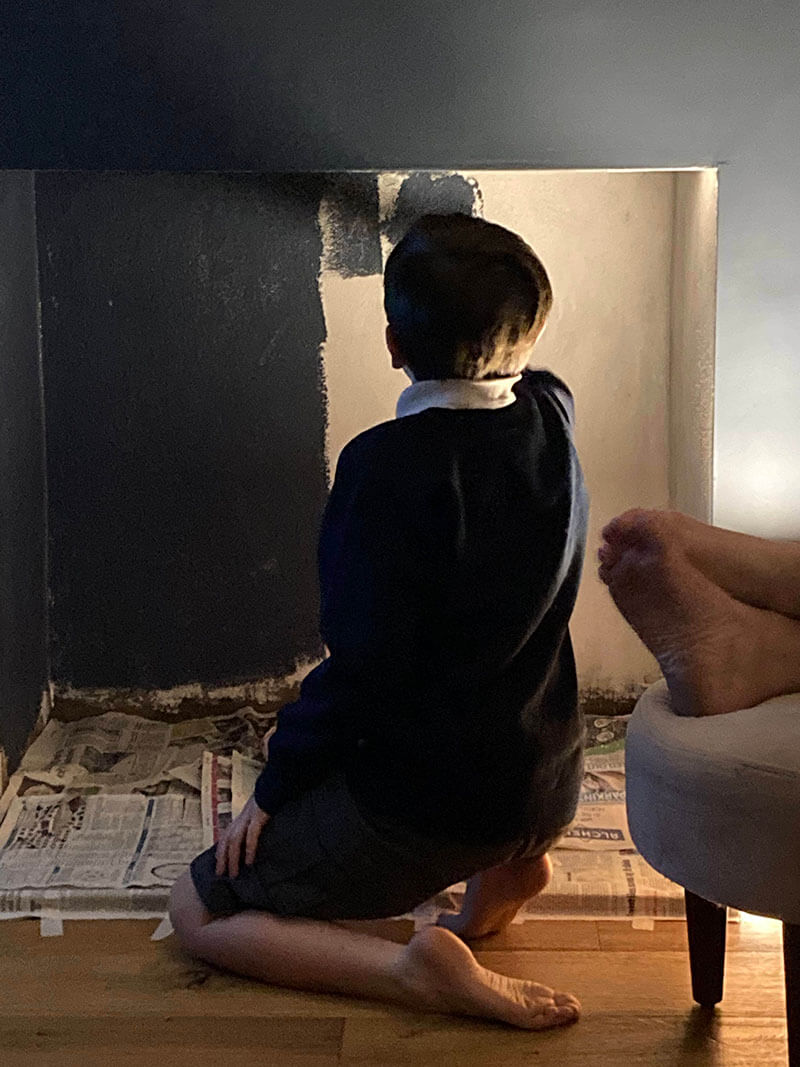
Progress pictures
money spent
13m of 904/904 flexible flue liner with free winter warmer kit (adapter and cowl) £420
Ecosy+ Panoramic Traditional – Defra Approved, 5kw Stove £650
Register plate £36
Date plate £5
Sand, cement and plaster £20
Concrete lintel £12
Labour – plasterer and fitting support £400
Honed slate hearth 20mm £250
Building control fee – £215
Chimney sweep smoke test £40
Carbon monoxide detector £12
Miscellaneous expenses approx £40
Total cost – £2,100 – inc vat and delivery charges
Suppliers and resources
Really amazing resource of advice and the best illustrative examples you’ll ever find on wood burning stove installation from the ‘stove fitters warehouse’
A terrific stone masons in Sussex, all the stones you need cut to size for hearths and worktops – LBS Stone
